Implementing ISO-Compliant IOL
Inspection in Your Production
Precise testing of flange focal length of miniature objective lenses
OptiSpheric®
The standard for comprehensive testing of optomechanical parameters of lenses
OptiSpheric® is the industry standard for non-contact inspection of basic axial optical and mechanical parameters and is used worldwide to fully measure and qualify single lenses – as well as intraocular lenses – and optical systems. The world’s largest laboratories and major optics manufacturers rely on TRIOPTICS optical inspection systems.
They use the OptiSpheric® for reliable and reproducible axial measurement of effective focal length, back focal length, flange focal length, radius of curvature and modulation transfer function (MTF). Different product variants are available that are optimized for different applications and simplify the measuring process: manual or automated processes in different measuring ranges, the combination with OptiCentric®, measurement at further wavelengths and in-air and in-situ measurement for intraocular lenses. The easy-to-use software allows accurate measurement of the test samples at any time.
Product Overview
OptiSpheric® AF
The standard for testing lenses
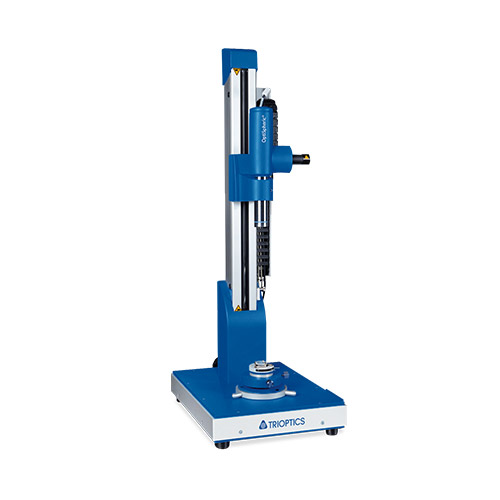
The automated OptiSpheric® AF enables fast and reliable test results in automated test sequences.
OptiSpheric® IOL R&D
Comprehensive testing of IOLs in R&D
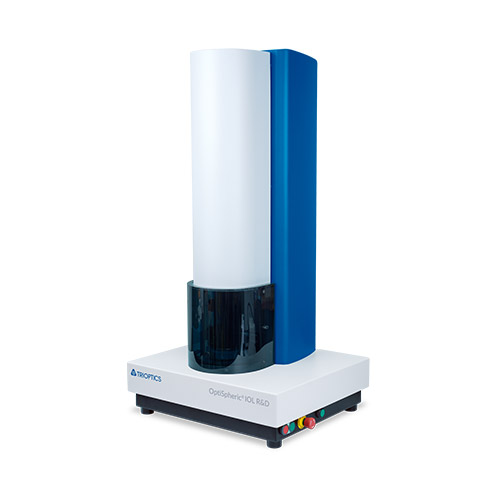
The OptiSpheric® IOL R&D allows the testing of intraocular lenses in research and development.
OptiSpheric® IOL PRO 2
Fully automated IOL measurement
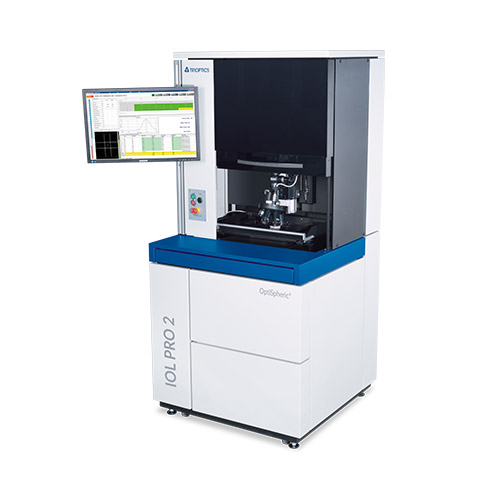
OptiSpheric® IOL PRO 2 enables the inspection of intraocular lenses in production.
Software
OptiSpheric® Software
Simple and intuitive operation
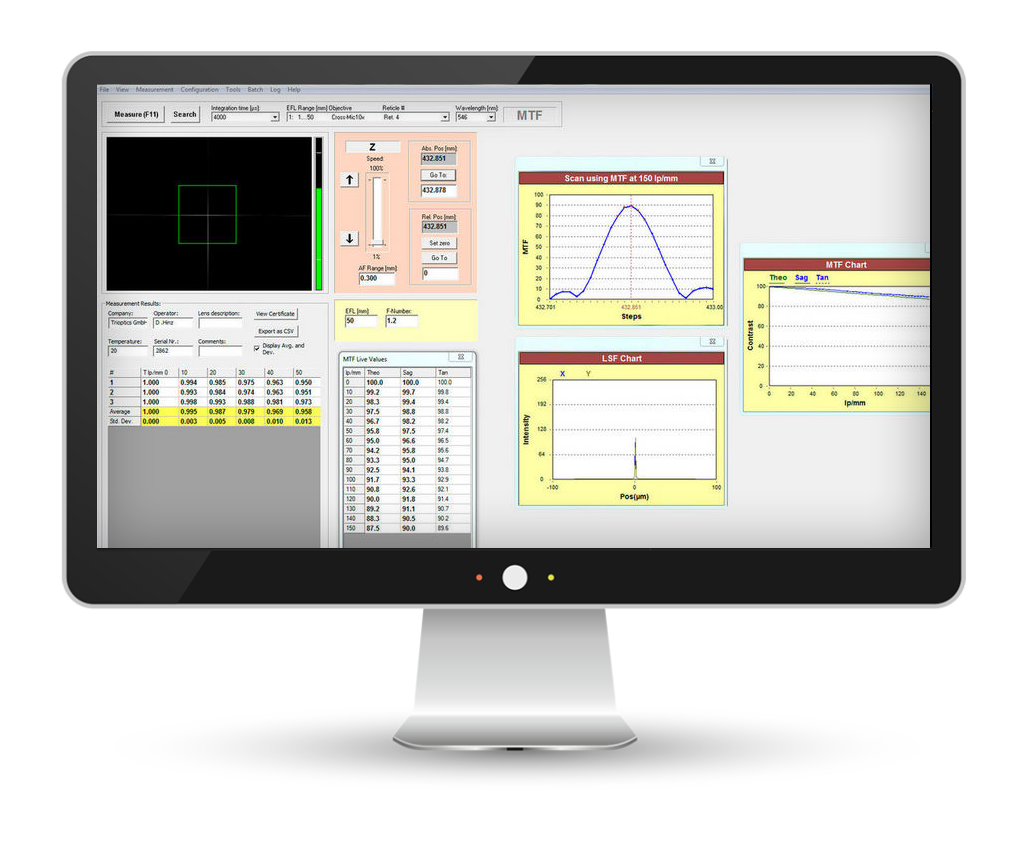
The proven OptiSpheric® software meets the requirements of optical manufacturing in terms of simple and intuitive operation. It fulfills the highest demands for measurement speed and precision while providing consistent, reliable measurement results. The standard measuring sequences are supplemented by the possibility of configuring individual measuring sequences.
The software is convincing in many respects:
Fast working thanks to optional automated positioning of the appropriate reticle for the current application
Usage for IOL measurement
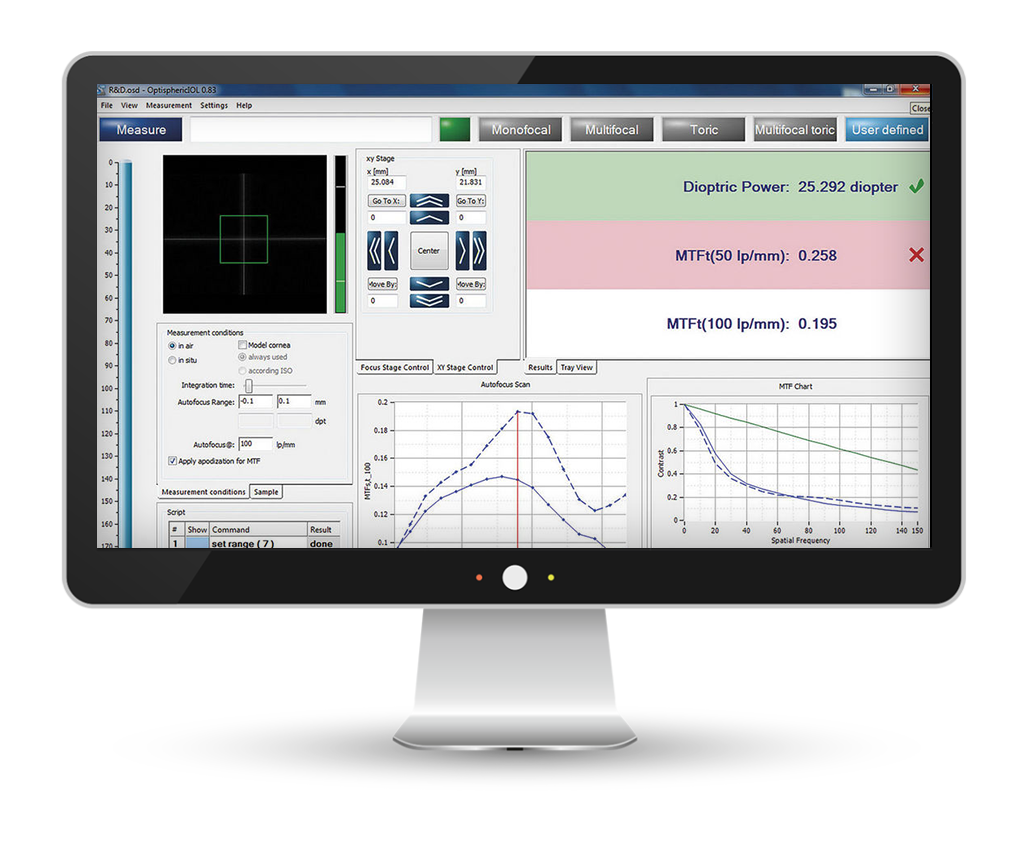
The software has been specially adapted for use in the field of IOL measurements.
Here it offers:

Technical Data
| Parameter | OptiSpheric® Auto Focus 500 automated measurement | OptiSpheric® Auto Focus 1000 automated measurement | OptiSpheric® Auto Focus 1500 automated measurement | OptiSpheric® Auto Focus 2000 automated measurement |
|---|---|---|---|---|
| Lens diameter | 3 mm ... 35 mm optional: 5 mm ... 75 mm | 5 mm ... 75 mm optional: 3 mm ... 35 mm | 5 mm ... 75 mm optional: 3 mm ... 35 mm | 5 mm ... 75 mm optional: 3 mm ... 35 mm |
| Clear aperture | 28 mm | 48 mm | 48 mm | 48 mm |
| EFL (Effective Focal Length) | +5 mm … +500 mm -5 mm … -450 mm | +5 mm … +1,000 mm -5 mm … -1,000 mm | +5 mm … +1,500 mm -5 mm … -1,200 mm | +5 mm … +2,000 mm -5 mm … -1,500 mm |
| Measurement range BFL and radius | ±5 mm … ±490 mm | ±5 mm … ±490 mm | ±5 mm … ±690 mm | ±5 mm … ±1,000 mm |
| MTF | absolute MTF-Test: 5 mm … 50 mm EFL | absolute MTF-Test: 5 mm … 50 mm EFL | absolute MTF-Test: 5 mm … 50 mm EFL | absolute MTF-Test: 5 mm … 50 mm EFL |
| Parameter | OptiSpheric® IOL R&D | OptiSpheric® IOL PRO 2 |
|---|---|---|
| Power range | • Water labelled, measured in air: -16.5 D ... -1 D and +1 D ... +41 D • Water labelled, measured in water: -50 D ... -2.5 D and +3 D ... +125 D • Water labelled, measured with model cornea: -200 D ... +150 D | • With model cornea: -200 D ... 0 D and 0 D ... +150 D • Without model cornea: -50 D ... -2.5 D and +3 D ... +125 D |
| Power accuracy | 0.3 % | 0.3 % |
| MTF range | • Water labelled, measured in air: +7 D ... +41 D • Water labelled, measured in water: +20 D ... +125 D • Water labelled, measured with model cornea: -45 D ... +45 D | • With model cornea: -200 D ... 0 D and 0 D ... +150 D • Without model cornea: -50 D ... -2.5 D and +3 D ... +125 D |
| MTF accuracy | ±2 % (0 ... 300 lp/mm) | ±2 % (0 ... 300 lp/mm) |
| Apertures diameter | 1 mm ... 6 mm with steps of 0.5 mm | 1 mm ... 6 mm with steps of 0.5 mm |
| Radius and BFL accuracy | 20 µm | 10 µm |
| Max. batch size | 1 | 100 |
| Sample positioning | Manual | Automatic |
| Dimensions (h x w x d) | 1,120 mm x 560 mm x 580 mm | 1,850 mm x 860 mm x 860 mm |
| Weight | 45 kg | 300 kg |
| Type | Table top device | Stand alone |
Upgrades & Accessoires
Lens holders
- Self-centering holders for lenses with an outer diameter from 3 mm to 35 mm with X-Y shifting device
- Self-centering holder for lenses with an outer diameter from 5 mm to 75 mm with X-Y sliding device
Measuring range and referencing
- Further optical attachments for the extension of the measuring ranges
- The OptiSpheric® is also available as a module for the OptiCentric®.
- Reference lenses
Illumination
- Additional light source for simplified BFL, FFL and curvature radius measurement
- Filter for measurement at further wavelengths

Self-centering seat for lens holder for measurement in air

Lens holder with various aperture sizes (3 mm standard, 1 mm – 6 mm optional)

Advanced model eye including replaceable model cornea, heating, X-Y displacement for cornea and lens, tilting adjustment by up to 5° to simulate a tilting positioning after implantation

Tray with self-centering holder for the measurement of single lenses and glass reference lenses in air

Tray for the measurement of 100 lenses in air

Model eye for in situ testing of single lenses with a tray

In situ tray for the measurement of 100 lenses

SortStation IOL for simple, fast and safe execution of all work steps upstream and downstream of the measurement:
- Loading of the trays:
The ideal positioning of the lenses is easily visible thanks to optimum illumination. - Sorting of the lenses after the measurement:
The test results are automatically transferred to the display and made visible directly at the location of the samples. The fulfilment of the pass/fail criterion is displayed in a green/red color scheme and the reliable assignment of each lens is made possible.

WorkStation IOL
The Workstation IOL is a complete workplace in which the Sortstation IOL is integrated. With its storage space for unused trays and other accessories, the Workstation IOL keeps everything in order. Drawer inserts support safe and organized storage. With the corresponding holder, the in-situ trays can be easily and safely set up for drying.

Customized lens holder

Others:
- Heating for model eye
- Corneas of various designs, e.g. with spherical aberration
- High-performance LED (light source)
- Customized lens holder for tray
- Filters for measurements at various wavelengths and photopic lighting
- High-resolution camera
Knowledge Base
Measurement of ophthalmic lenses
Measurement of power, add power and cylinder in compliance with ISO 11979
The OptiSpheric® IOL bench is using the imaging of an object through the lens under test. The resulting image is analyzed in order to evaluate the parameters of the lens (Power, Imaging quality through MTF calculation, energy distribution, Strehl ratio, and more…). Using this imaging technique is similar to realistic conditions and allows testing any type of IOLs designs.
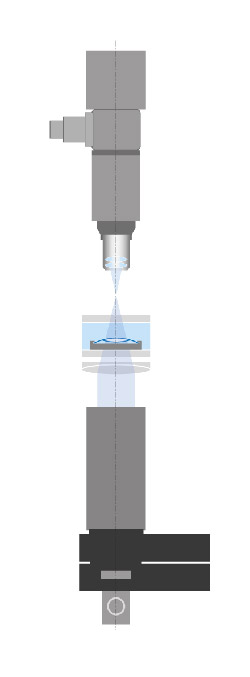
Different types of target are projected to infinity through a collimator. The lens under test gives therefore an image of the target in its focal plane. A measuring CCD microscope is used for analyzing the image by the help of an autofocus mechanism. The instrument also includes different aperture sizes and different imaging objectives chosen automatically by the system according to the power of the lens under test. The wavelength used for the measurement is 546 nm as requested in the ISO 11979 standard.
More knowledge for experts
This article inspired you? Are you looking for further knowledge transfer?
Then you might also be interested in the following topics …
Power measurement principle
Power, add power and cylinder are measured from the magnification of a double slit test target. The powers are determined in each focal planes of the IOLs, two different focal planes in case of a bifocal lens, two different crossed focal planes in case of a toric lens, four different focal planes in the case of a bifocal toric IOL, etc. The add power is calculated by subtraction of the near and far powers and the cylinder is calculated by subtraction of the crossed directions powers of a toric lens.
MTF measurement principle
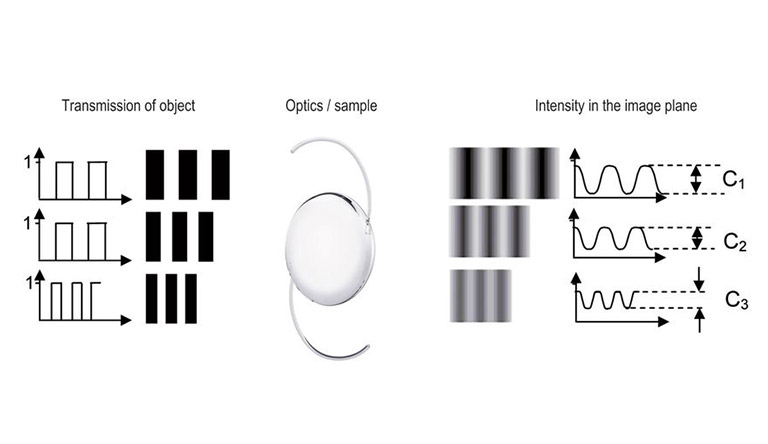
The measurement of the imaging quality is done through the evaluation of the Modulation Transfer Function (MTF). This objective and accurate method gives a full frequency resolved measurement of the optical quality.
The OptiSpheric® IOL measures the MTF on axis. It uses a single illuminated slit as object which is imaged on the focal plane of the sample. Due to diffraction and aberrations, there will not be a perfect slit image in this plane but a broadened slit, the so called Line Spread Function (LSF). The Fourier analysis of the LSF, giving the contribution of each spatial frequency, corresponds to the MTF of the sample. Alternatively to a slit it is also possible to use a cross (i.e. two perpendicular slits) giving the MTF in two image directions simultaneously or a pinhole giving as image a Point Spread Function (PSF) containing the complete MTF information in all directions.


