Angle measurement
Do your optical instruments require light to pass through multiple elements and be deliberately deflected along the way? Then it is certainly important for you to maintain defined angles. We are talking about angles between the elements or between the legs of the prisms used. TRIOPTICS offers several systems for active alignment or testing of angles:
- OptiTest® – Collimators, industrial telescopes, autocollimators for visual angle measurement
- TriAngle – Electronic autocollimators for software-supported angle measurement
- PrismMaster® – Goniometer for angle measurement on prisms, polygons and wedges
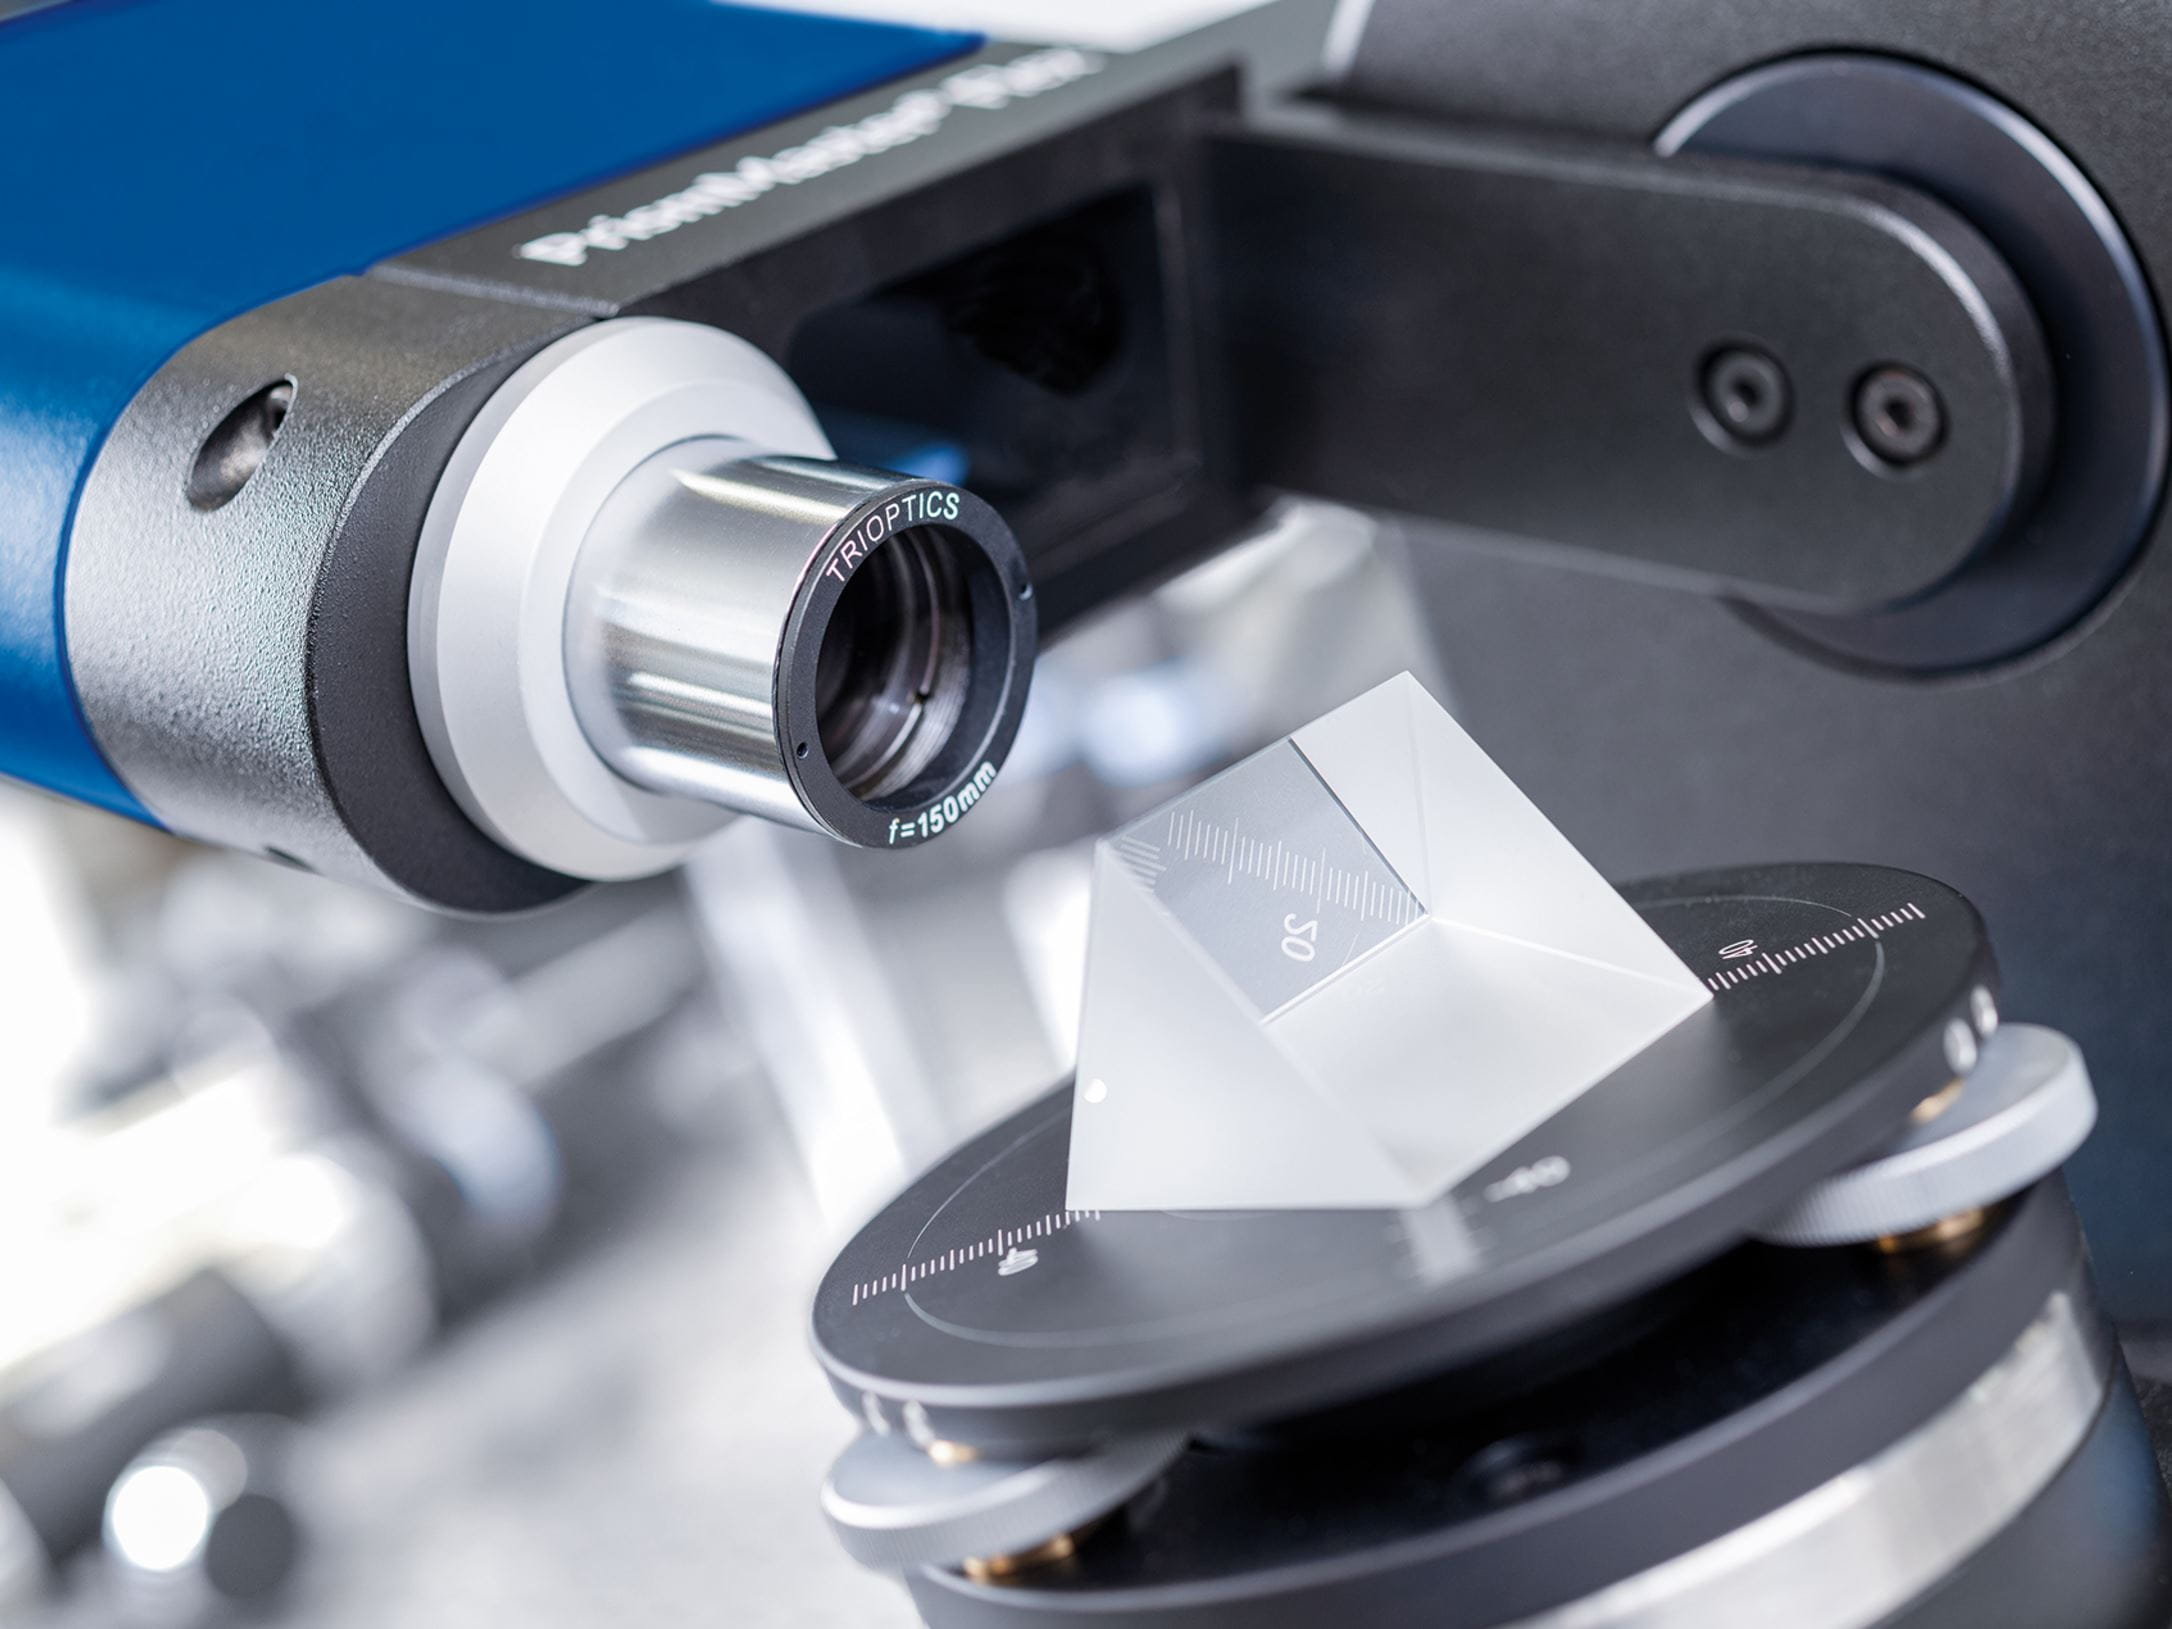
Angle measurement on wedges and prisms
The optical effect of wedges and prisms is essentially based on the angles between the surfaces. These can be precisely determined with our systems PrismMaster®, TriAngle and OptiTest®.
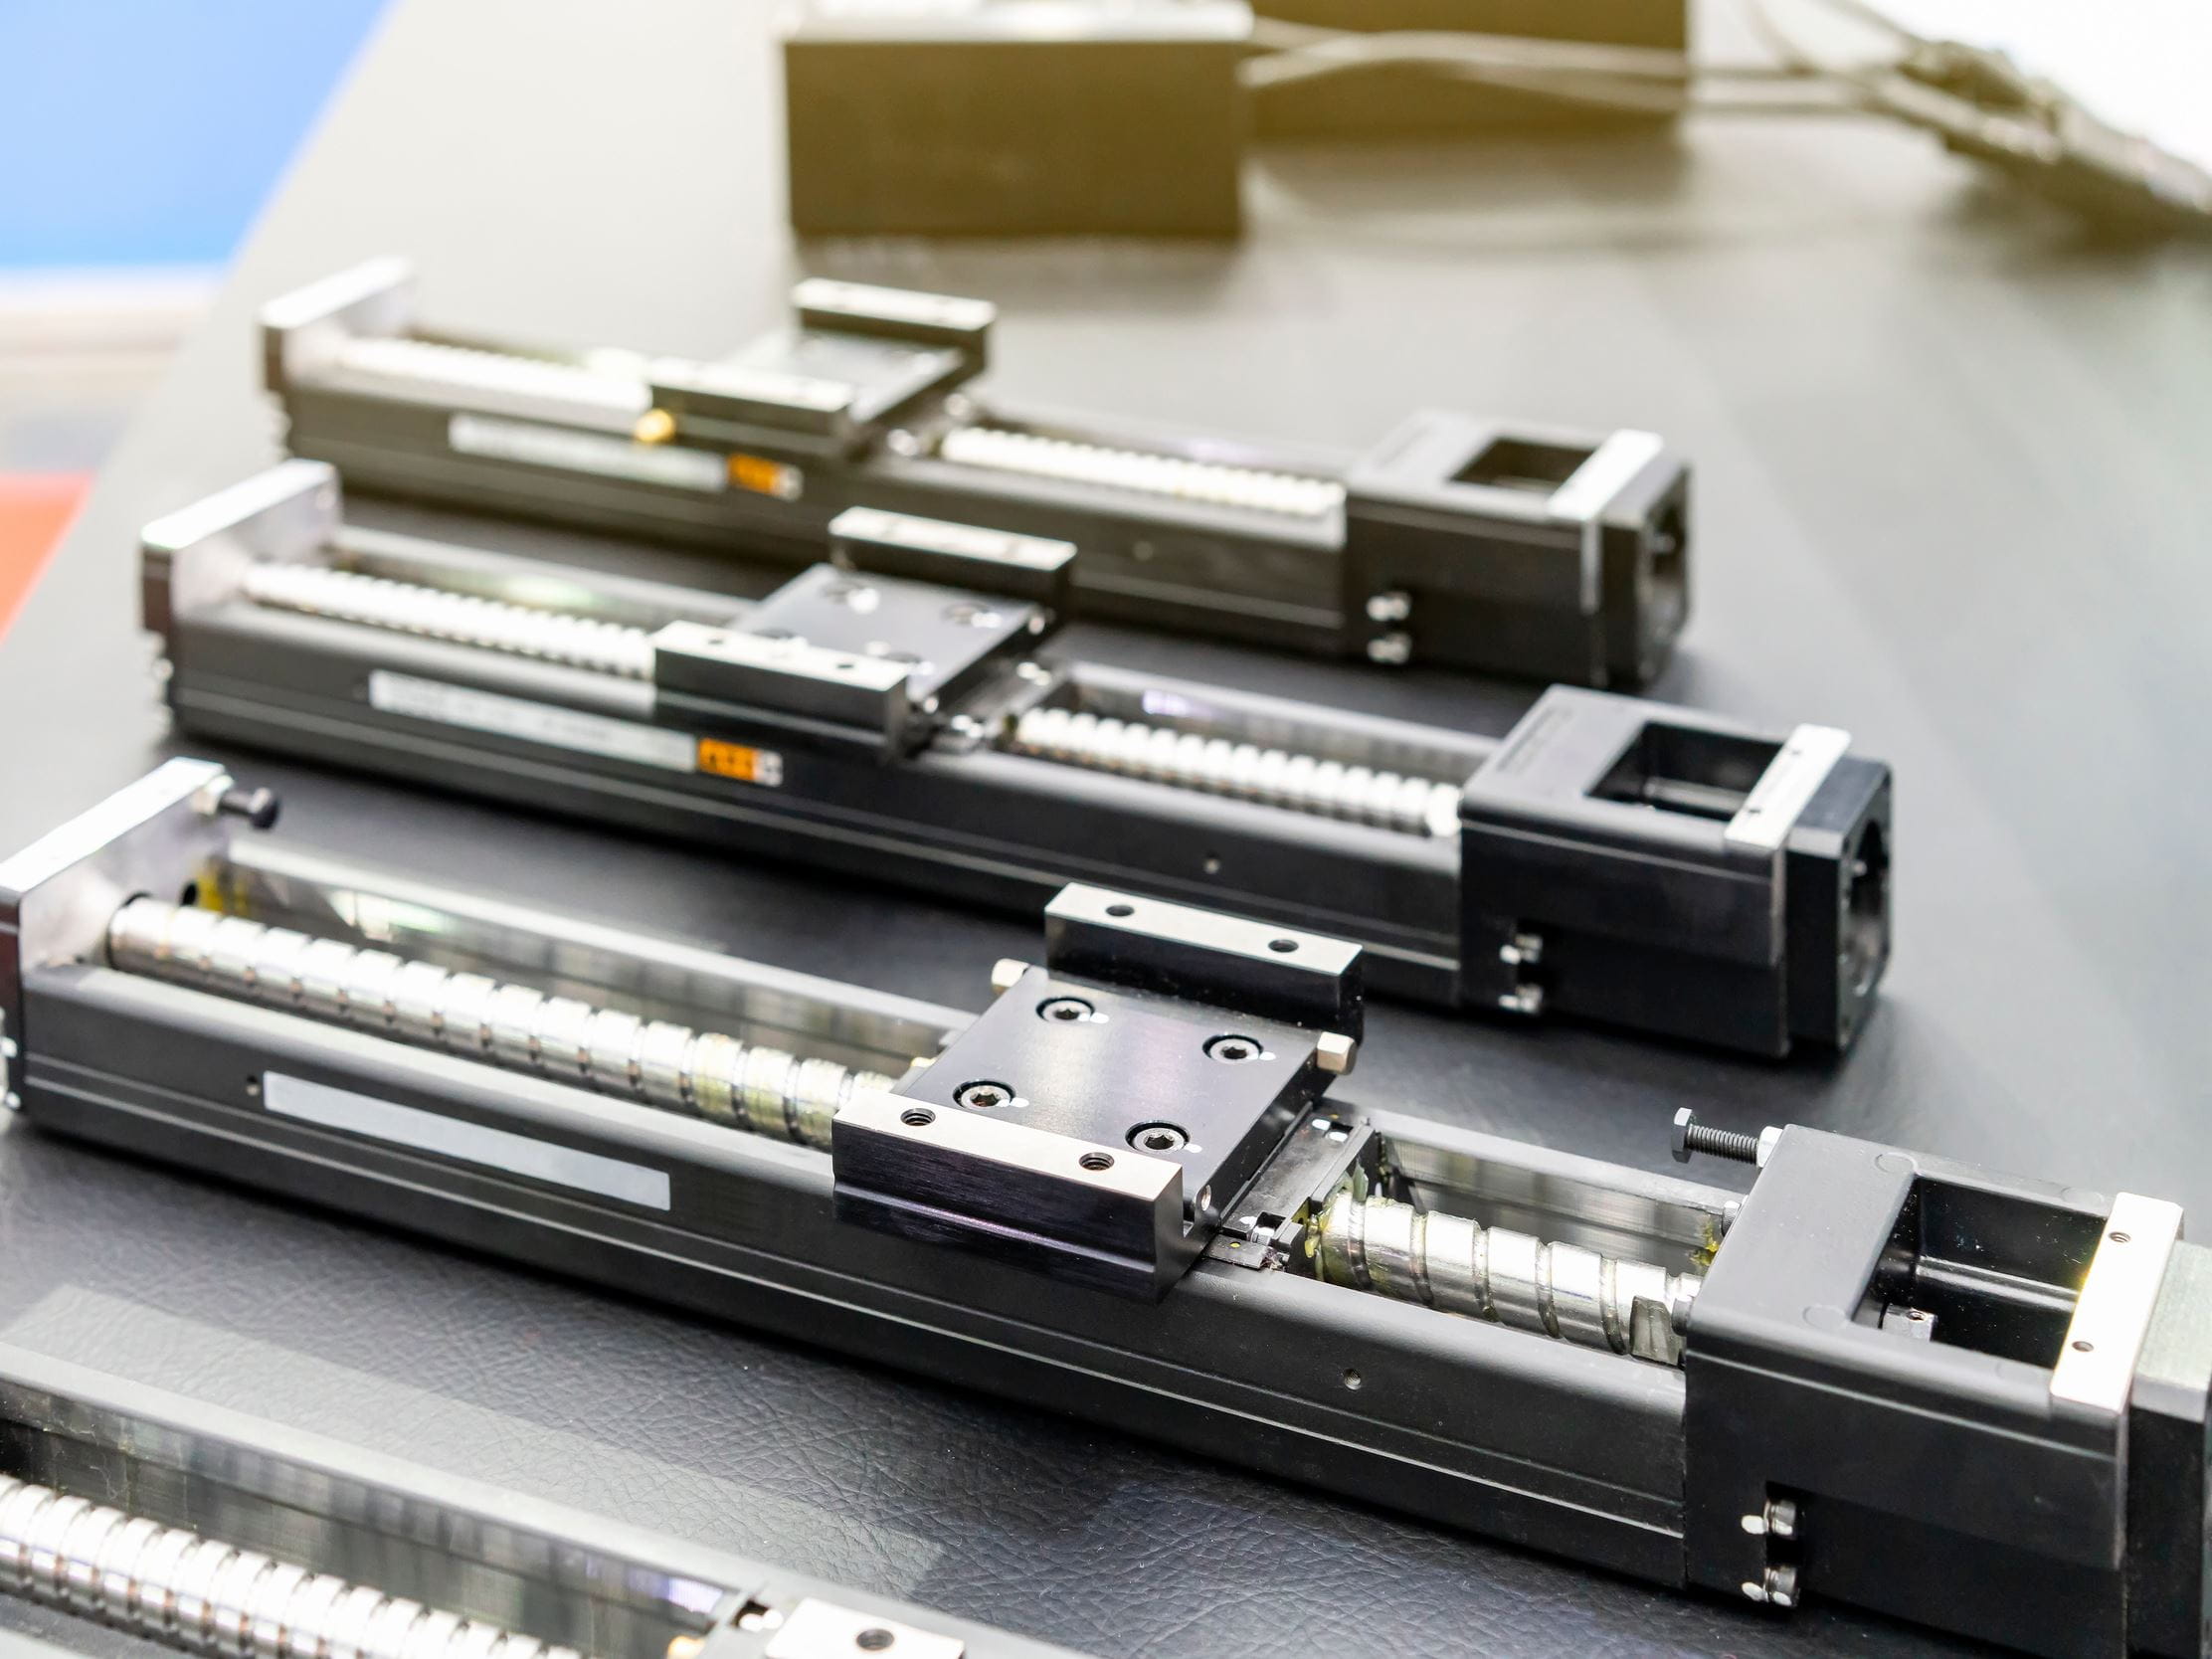
Checking mechanical parts
In mechanical engineering, the measurement of geometric parameters of mechanical parts on machine tools is typical and varied. The following are measured:
- Straightness of guideways
- Flatness of surfaces
- Perpendicularity between two surfaces
- Angular accuracy of rotary tables
- The parallelism of bearings and rollers
Our TriAngle and OptiTest® products provide these capabilities.
Coffee Break
No time for long explanation videos?
Get the essentials on a wide range of technology topics during a coffee break.
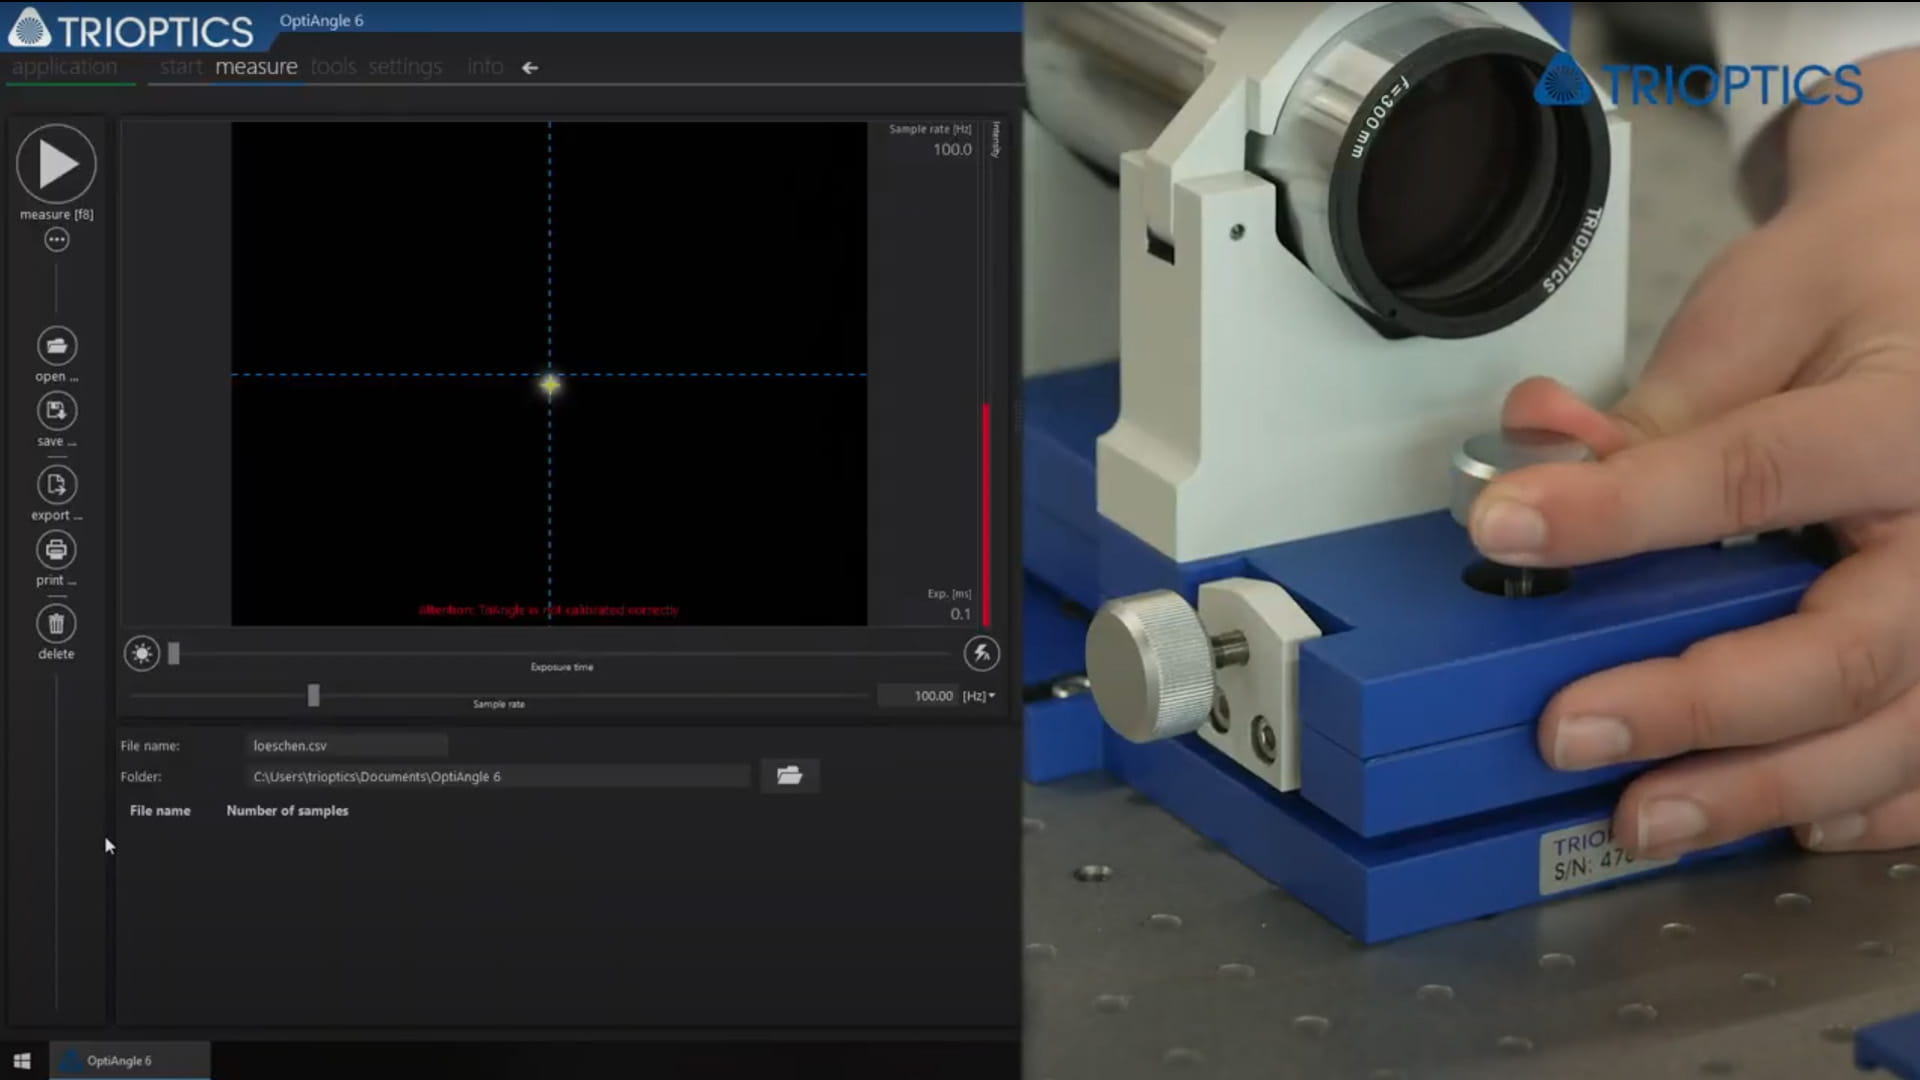
Easy alignment of optical components
Electronic autocollimator TriAngle
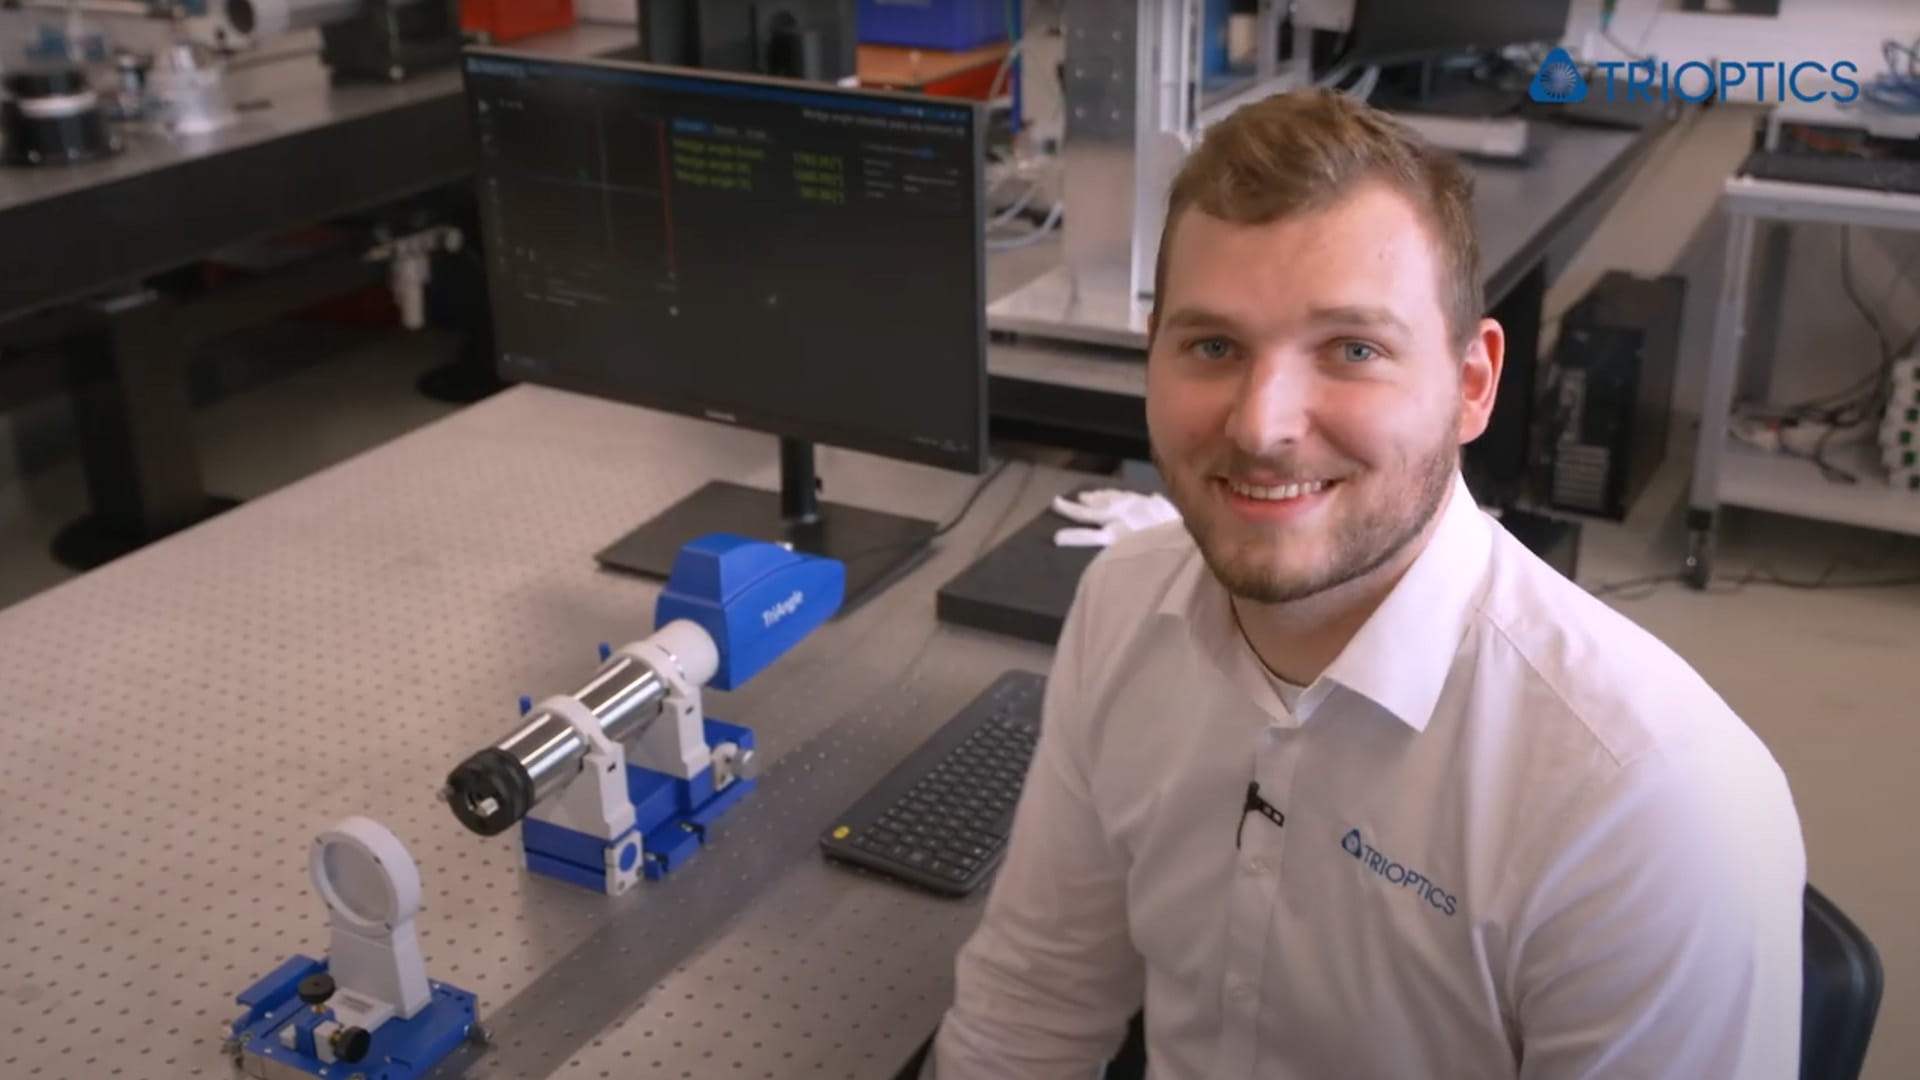
Measuring the wedge angle
Electronic autocollimator TriAngle
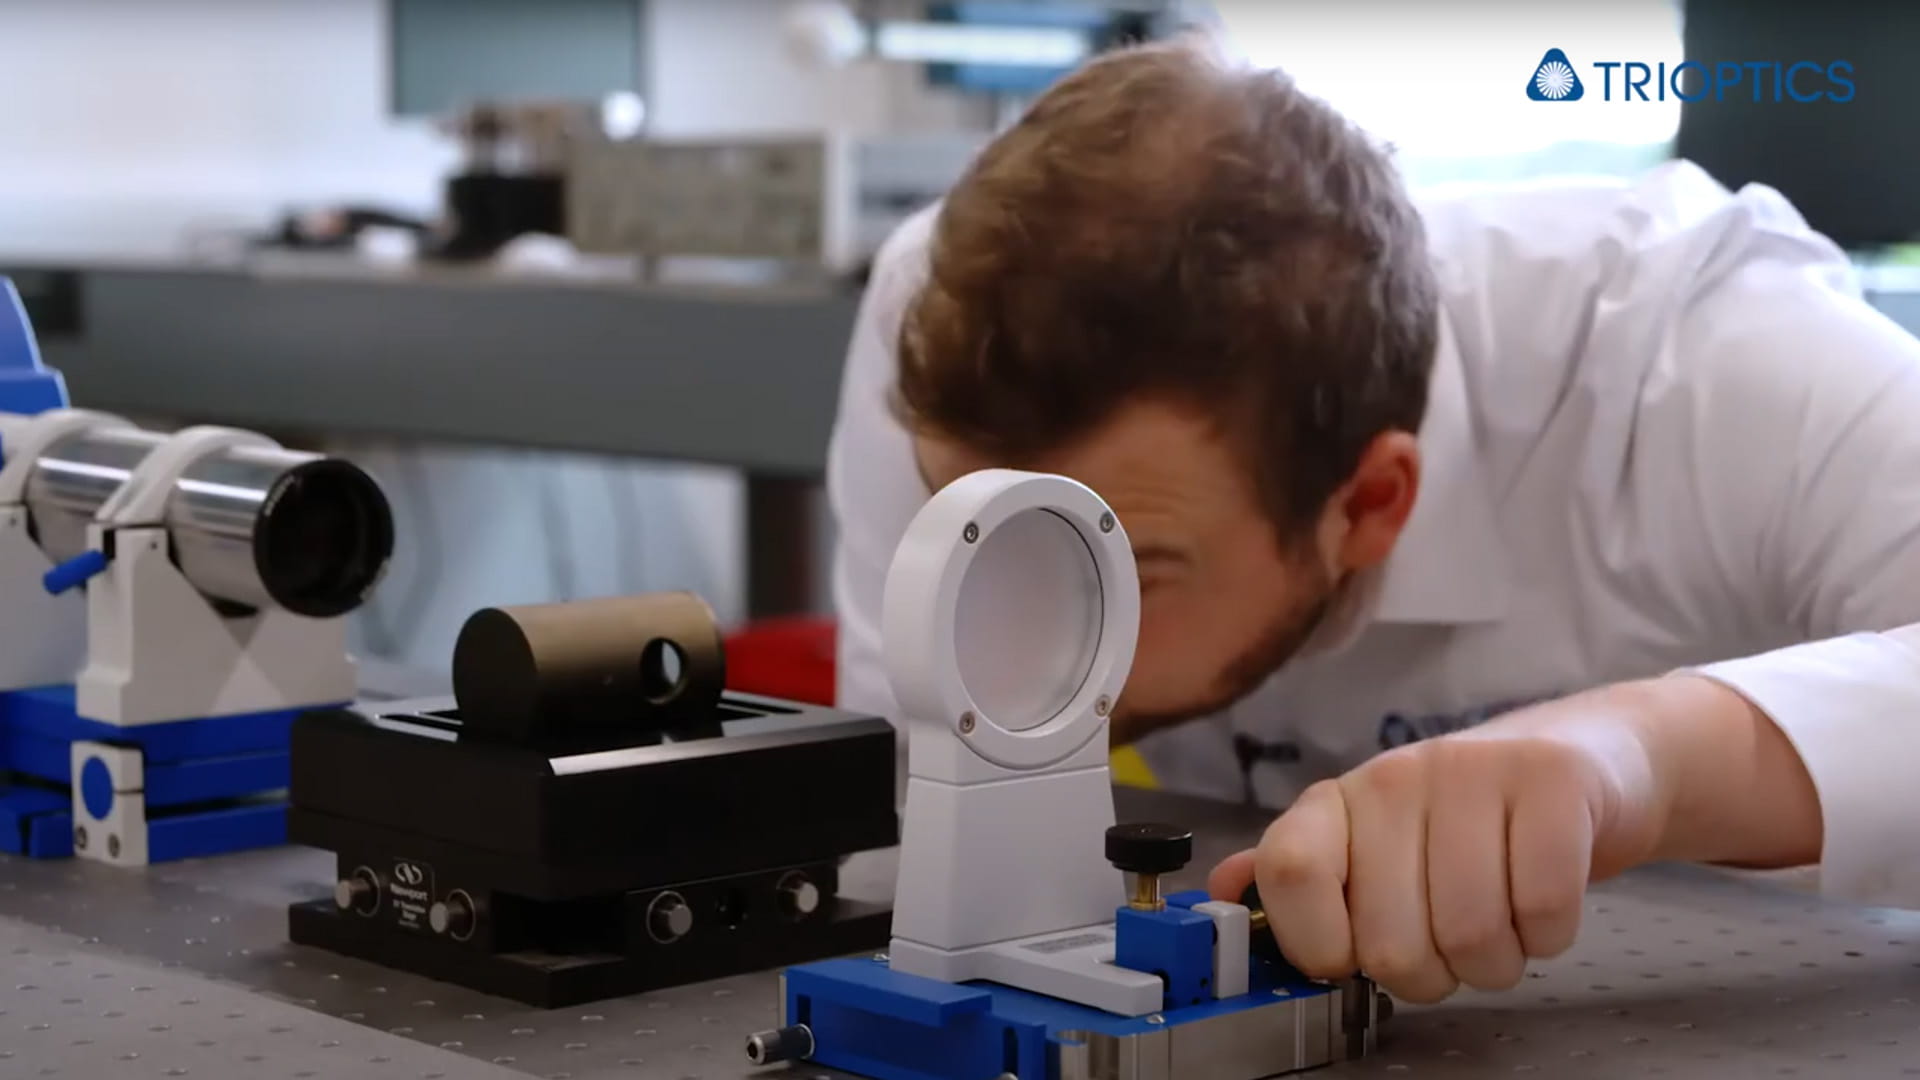
Accessories for quick setup
Electronic autocollimator TriAngle
Knowledge base
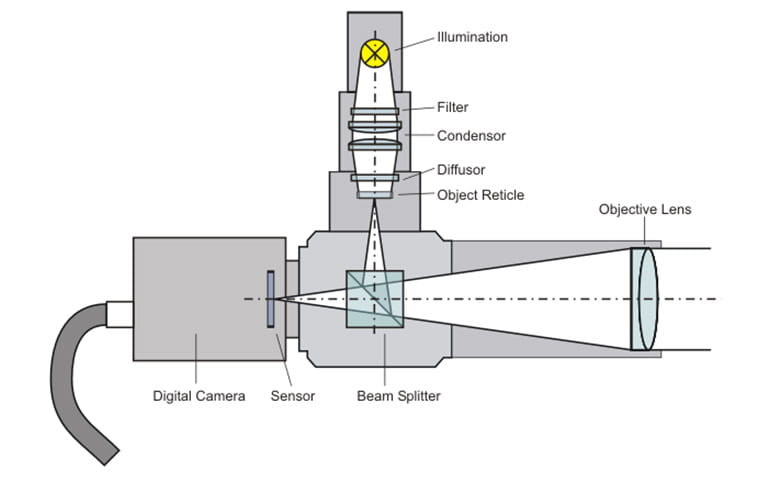
Electronic autocollimator
In an electronic autocollimator the eyepiece is replaced by an electronic camera with discrete sensor pixels (e.g. CCD or CMOS sensor type). It can be of a 2D frame type allowing angular measurements in two directions, or a 1D line scan sensor for single axis measurements. The digital camera is usually connected to a PC which calculates the measured angle from the image by using image analysis software. The PC assisted measurement guarantees much higher resolution, accuracy and repeatability of the results compared to the visual inspection, since it does not depend on the operators experience and attention.
The high resolution of electronic autocollimators is due to the evaluation of gray scale levels in the image which allows for sub pixel interpolation of the image position. Depending on the focal length of the objective lens and the stability of the setup, angular resolutions of 1/100 up to 1/1000 arcsecs can be achieved.
Our Newsletter – Your advantage in knowledge
Be one of the first to experience our product novelties and innovative application possibilities.
