Centration measurement
The precise centration and alignment of a lens is critical to the image quality of the optical system! Rigid thesis: But what is lens centration? Well, a centration error occurs when the optical axis of the lens does not match the position and direction of a given reference axis, such as the lens edge, the cell, or the optical axis of a second lens. It occurs during the production, cementing, bonding, and adjustment of lenses and lens systems.
The OptiCentric® family of products provides solutions for checking the centration of individual lenses and lens systems after manufacture and for optimizing them directly during production. It does not matter whether the sample is small or large in diameter, has spherical, aspherical, or cylindrical surfaces, and operates in the visual or infrared spectral range.
Applications
Centration testing of spherical lenses
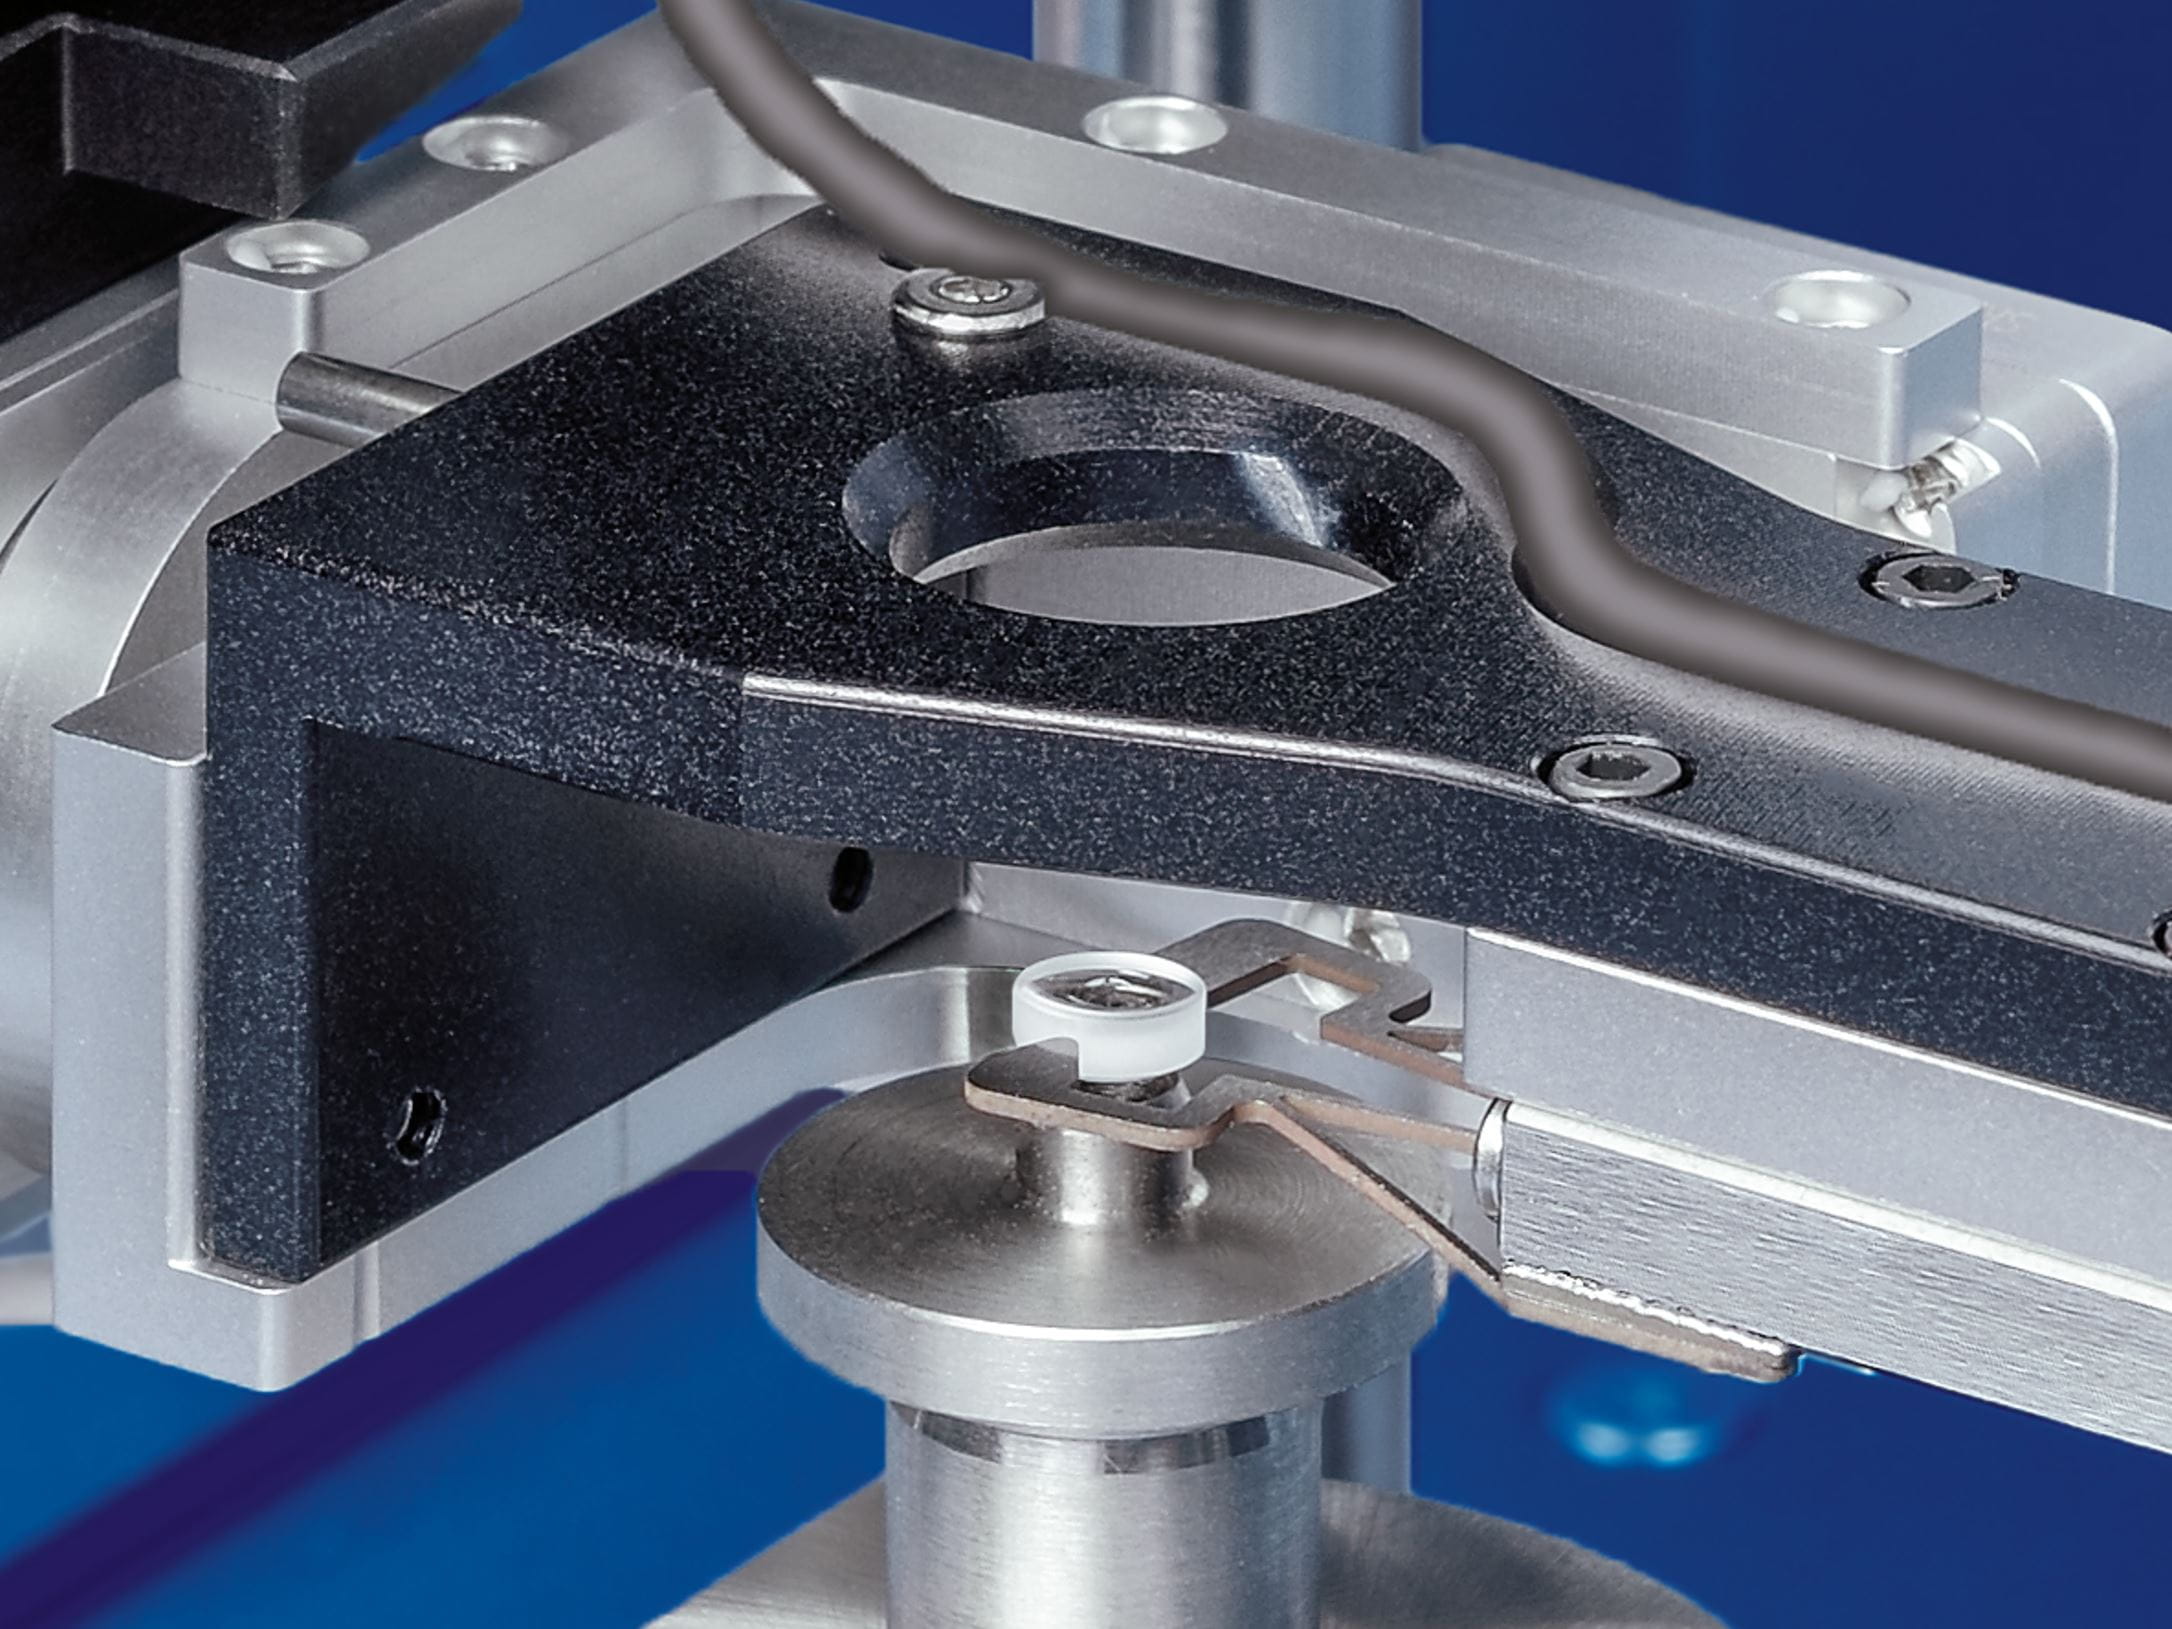
Automated alignment of lenses on a centering arbor
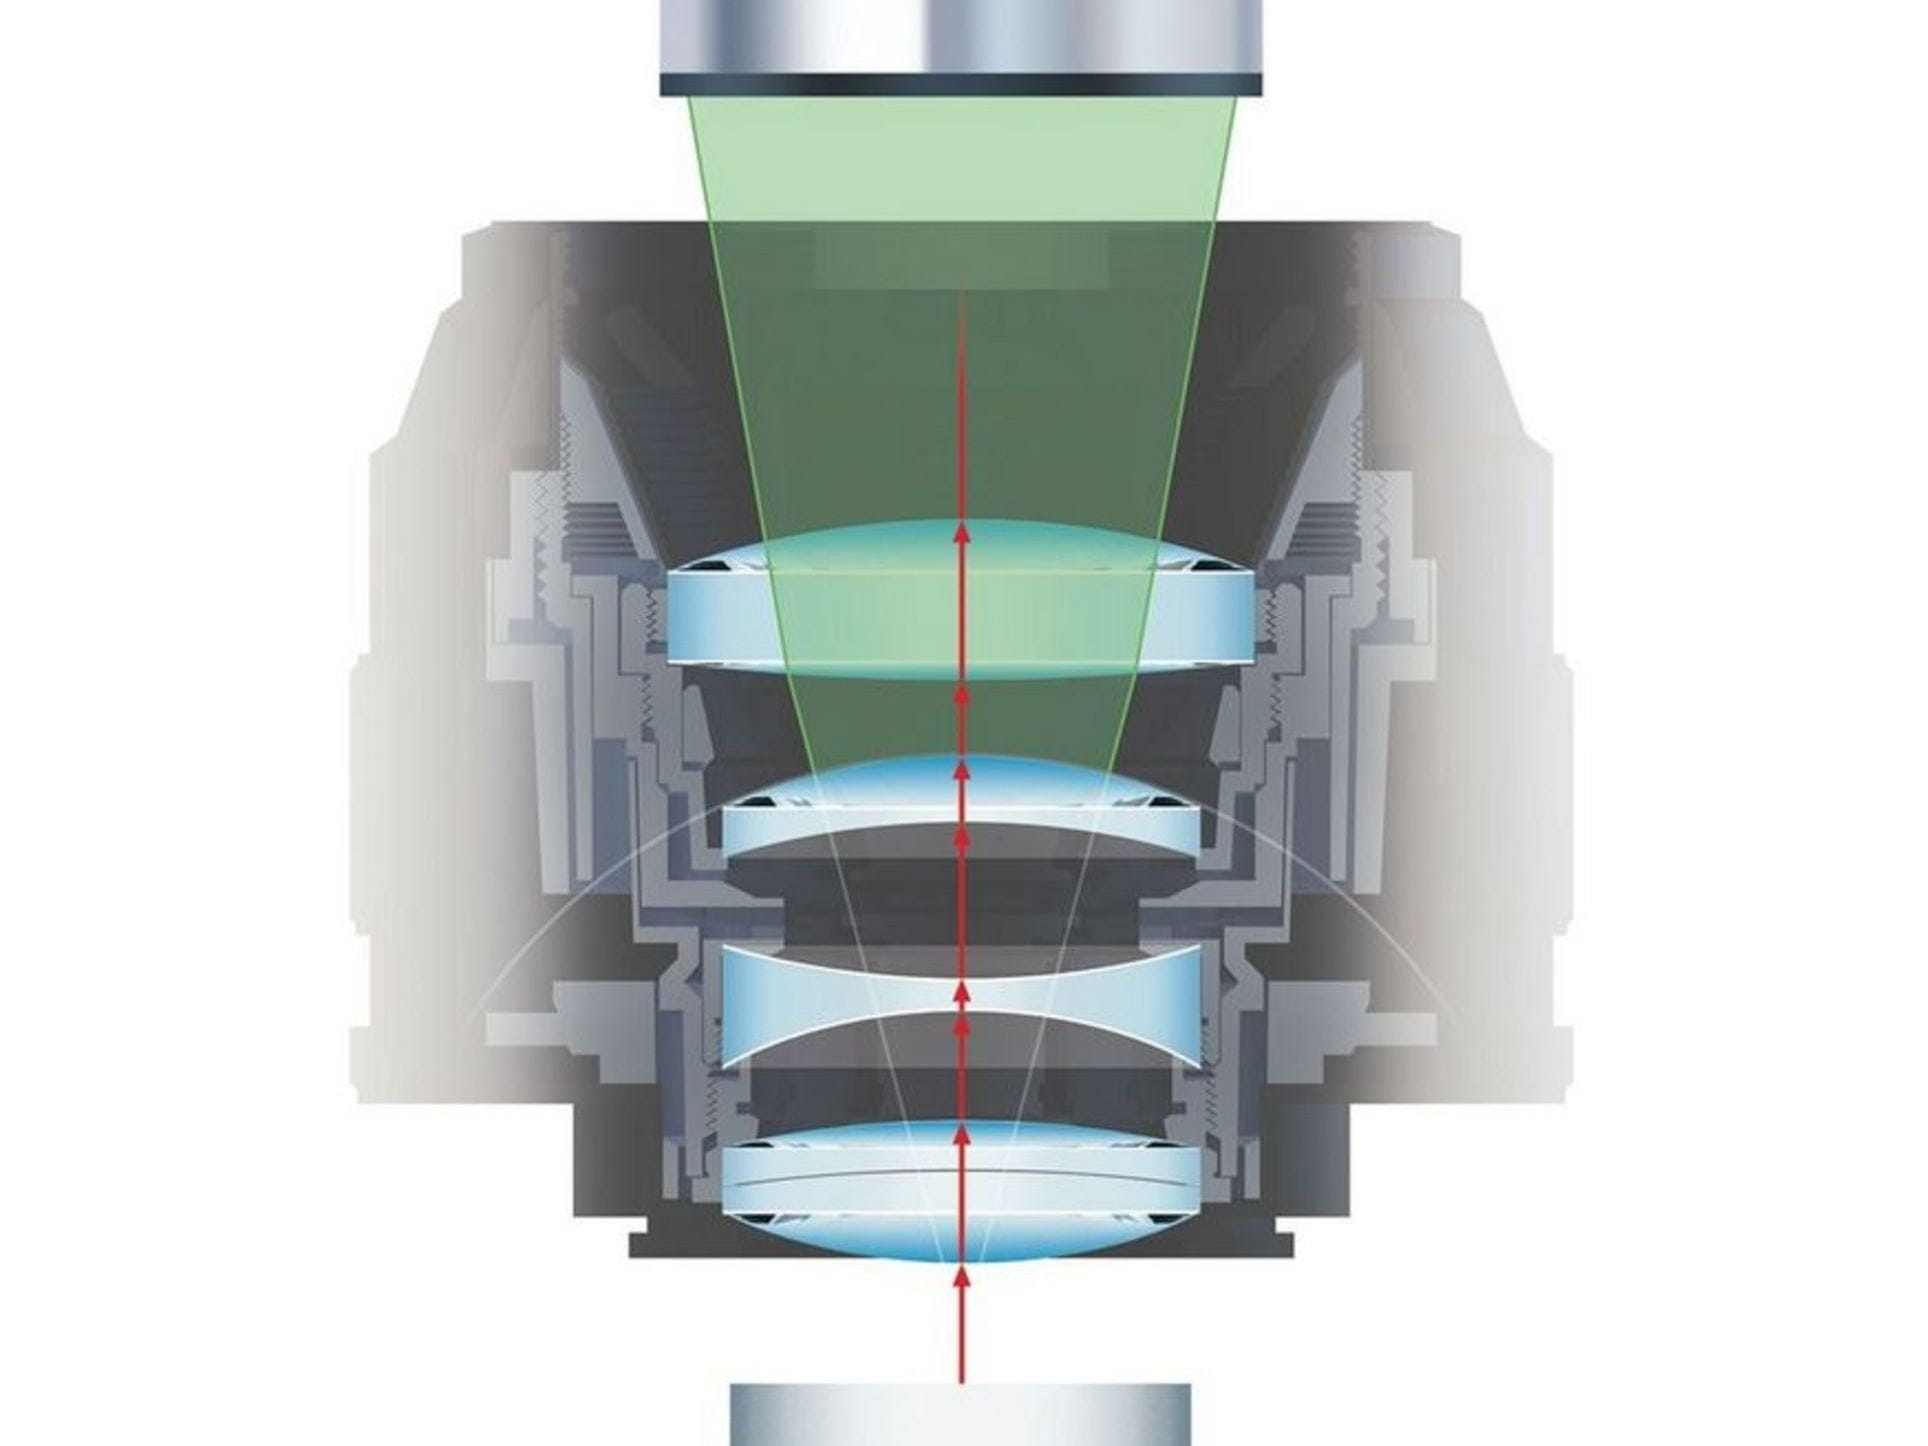
Center thickness and air gap measurement in combination with centration testing
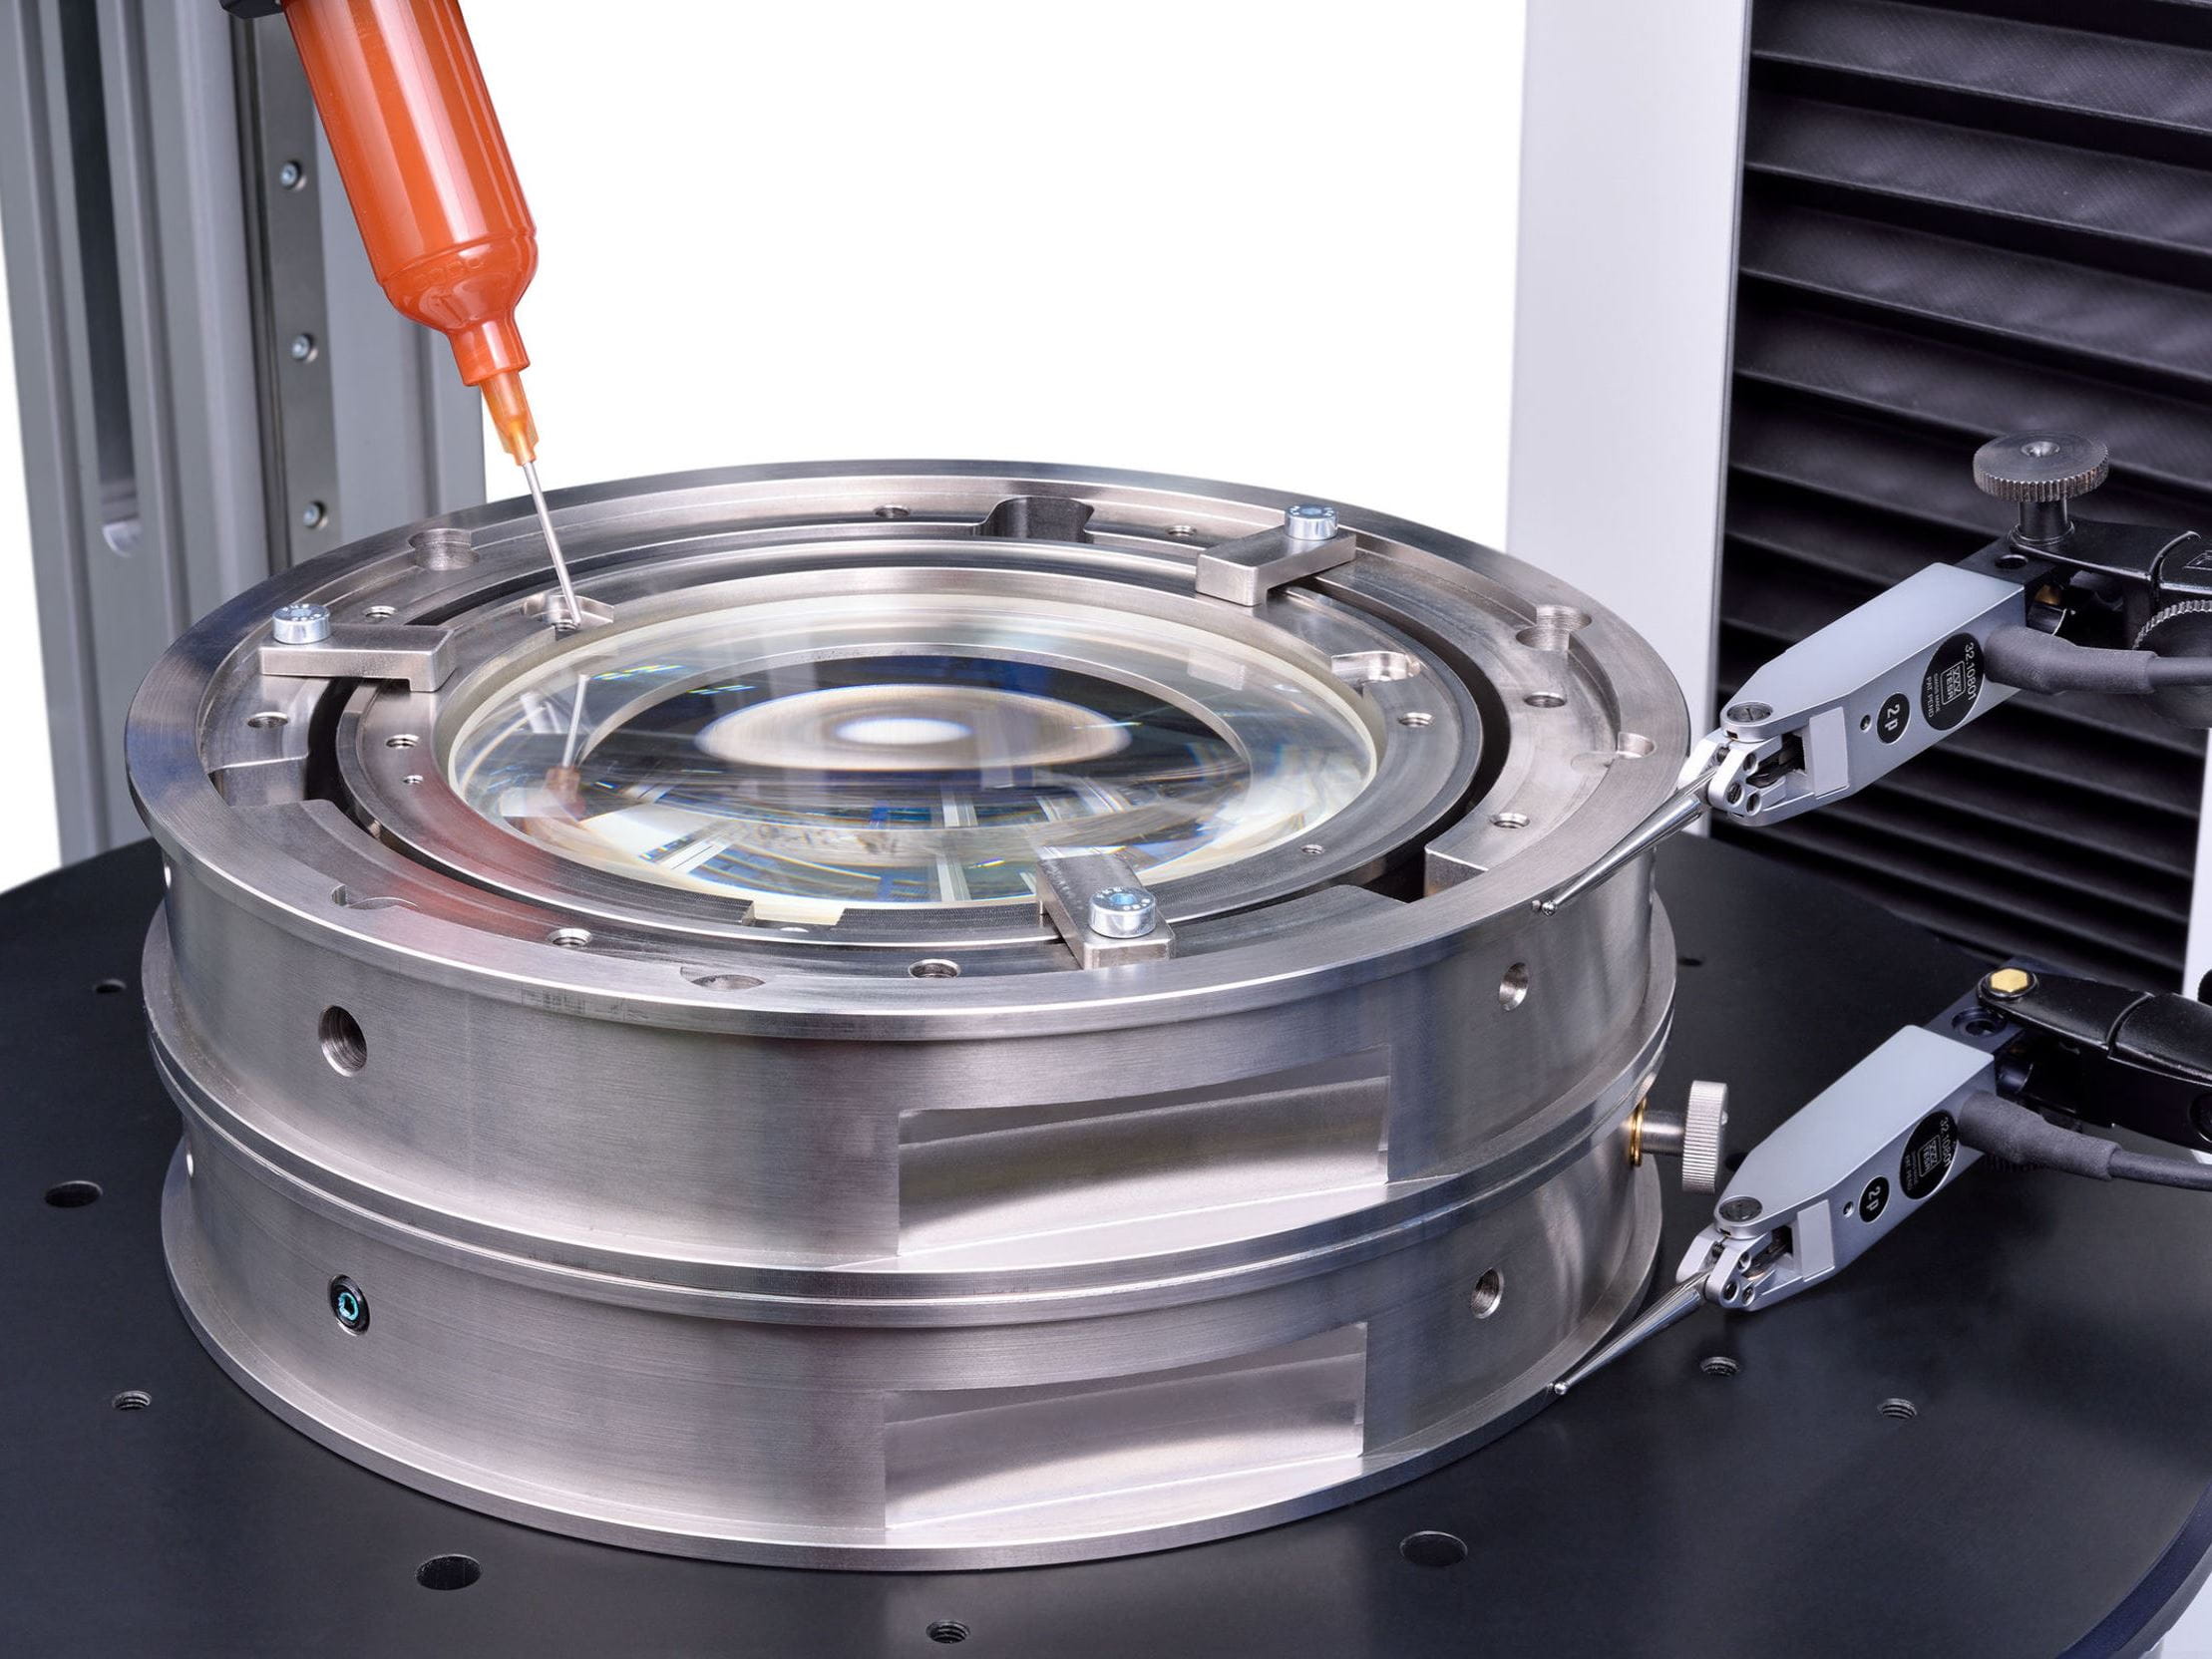
Automated bonding in five degrees of freedom
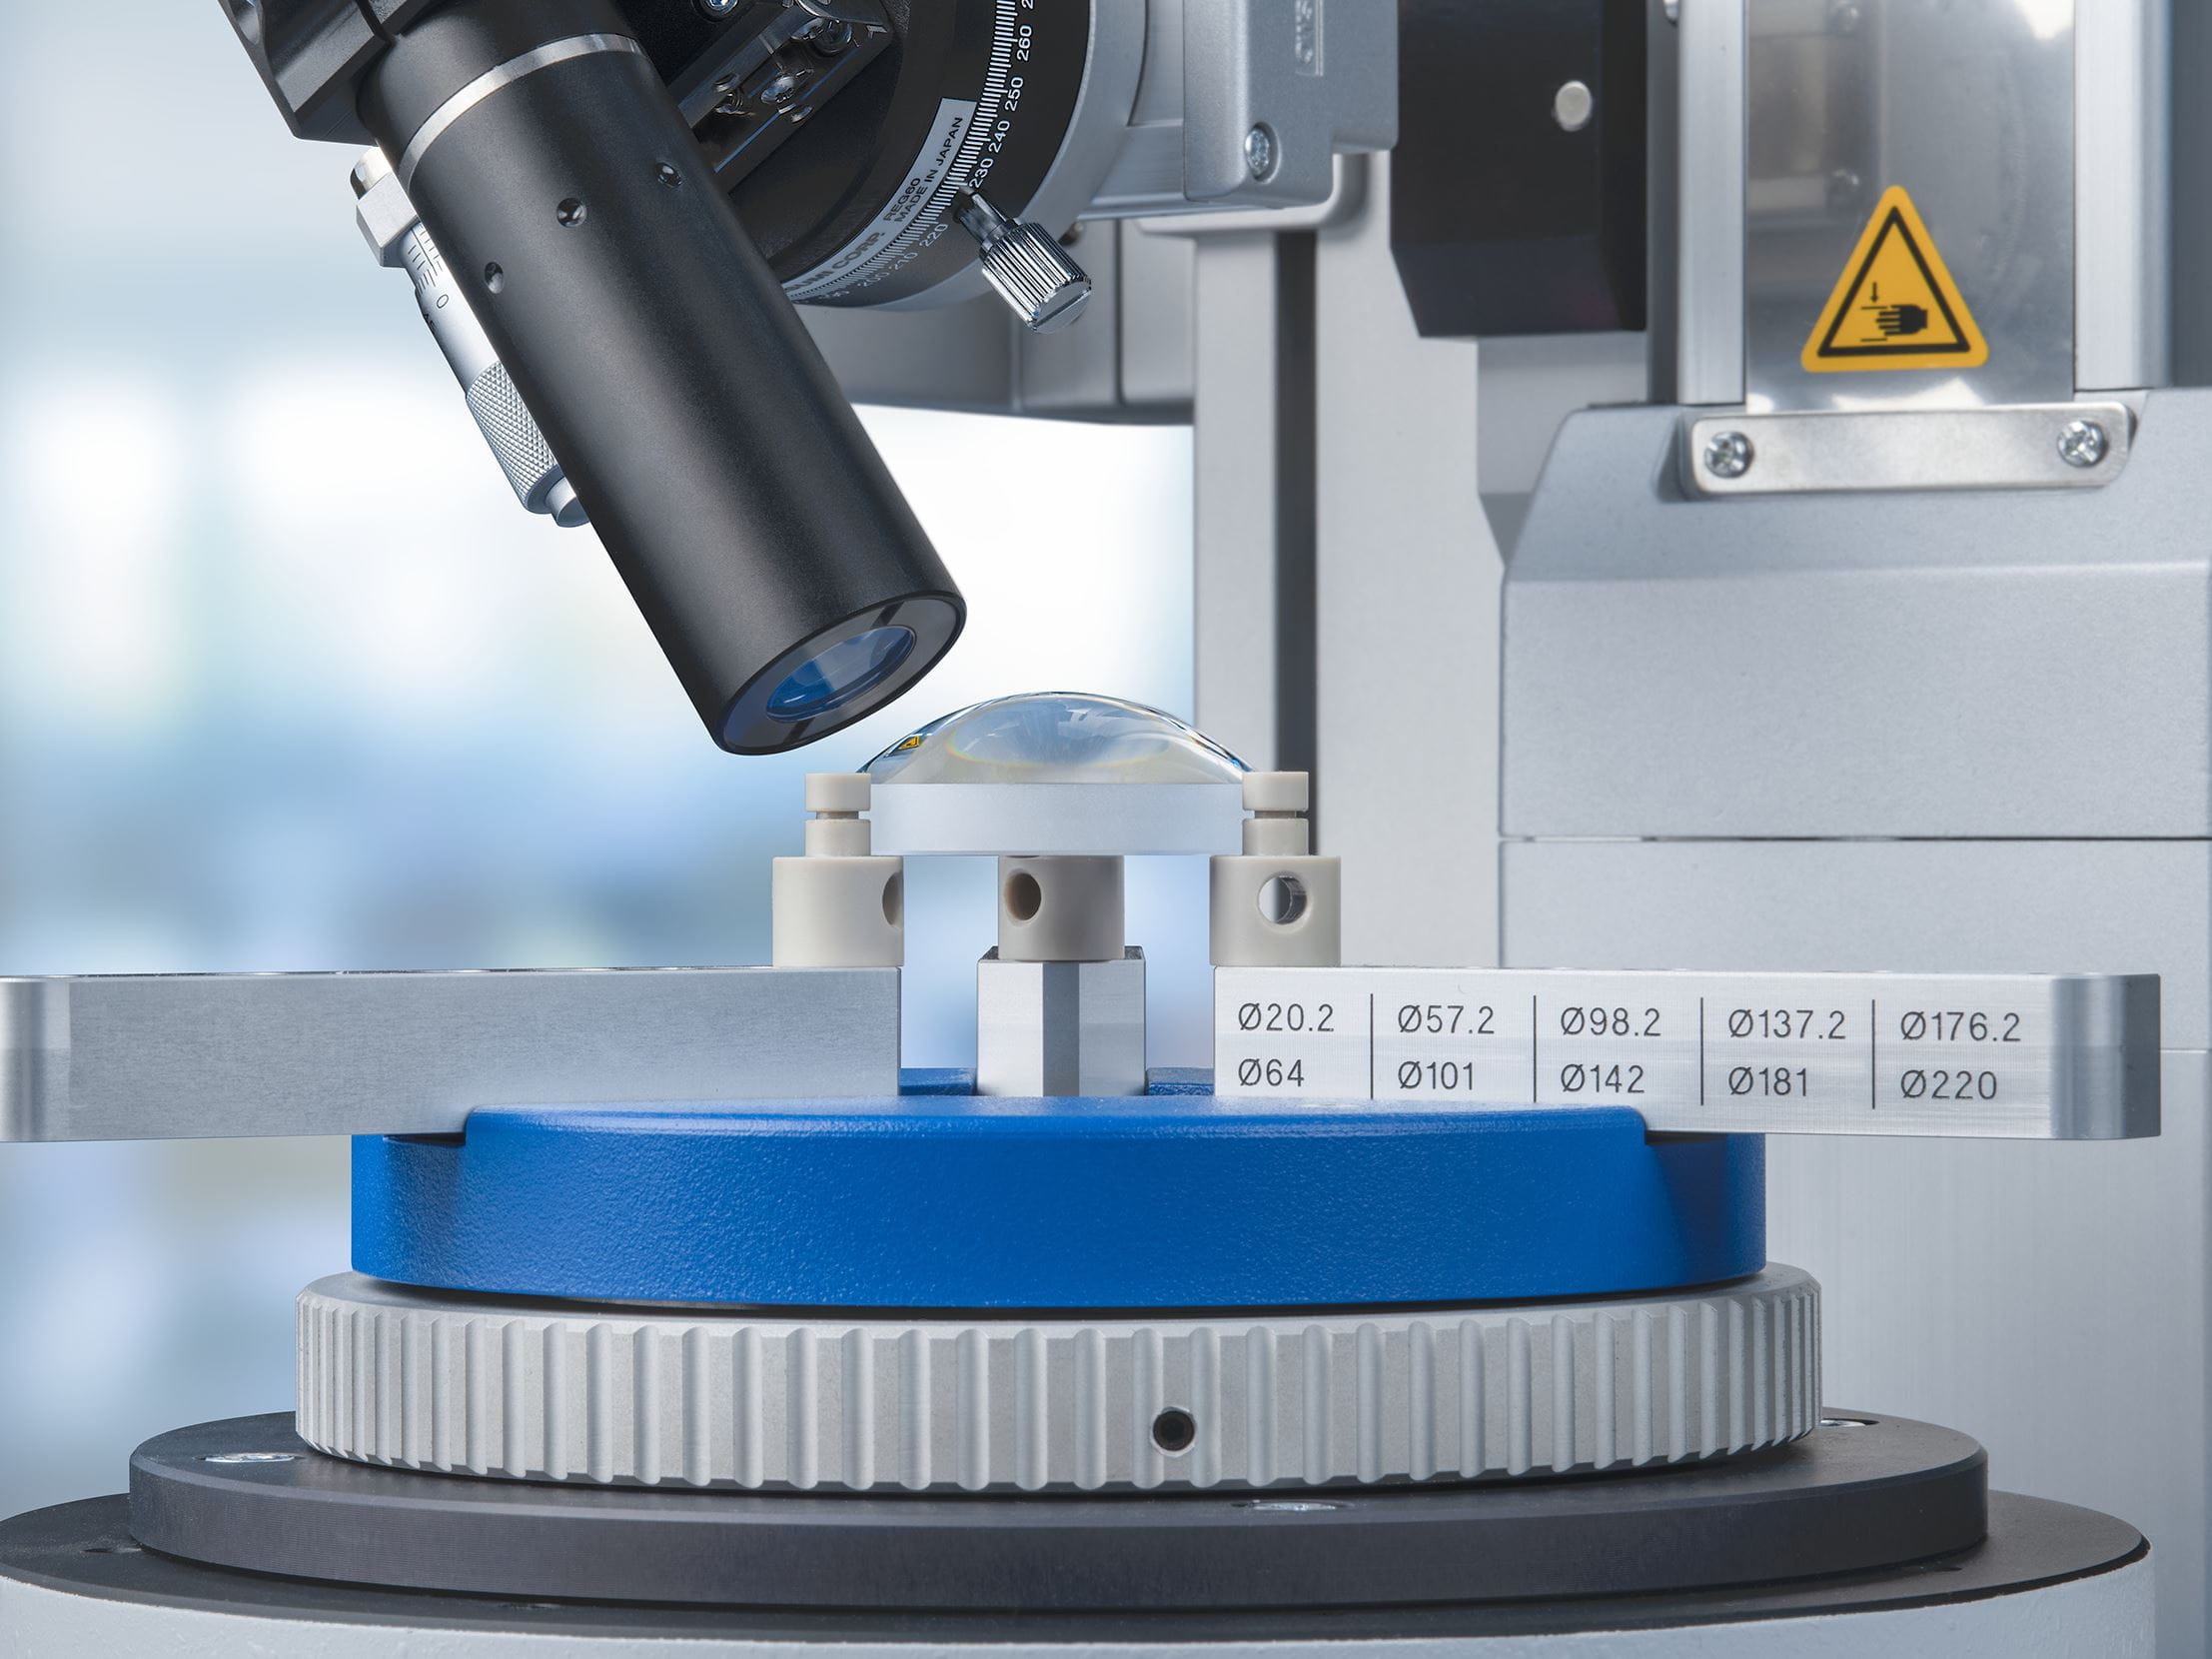
Centration testing of aspheres
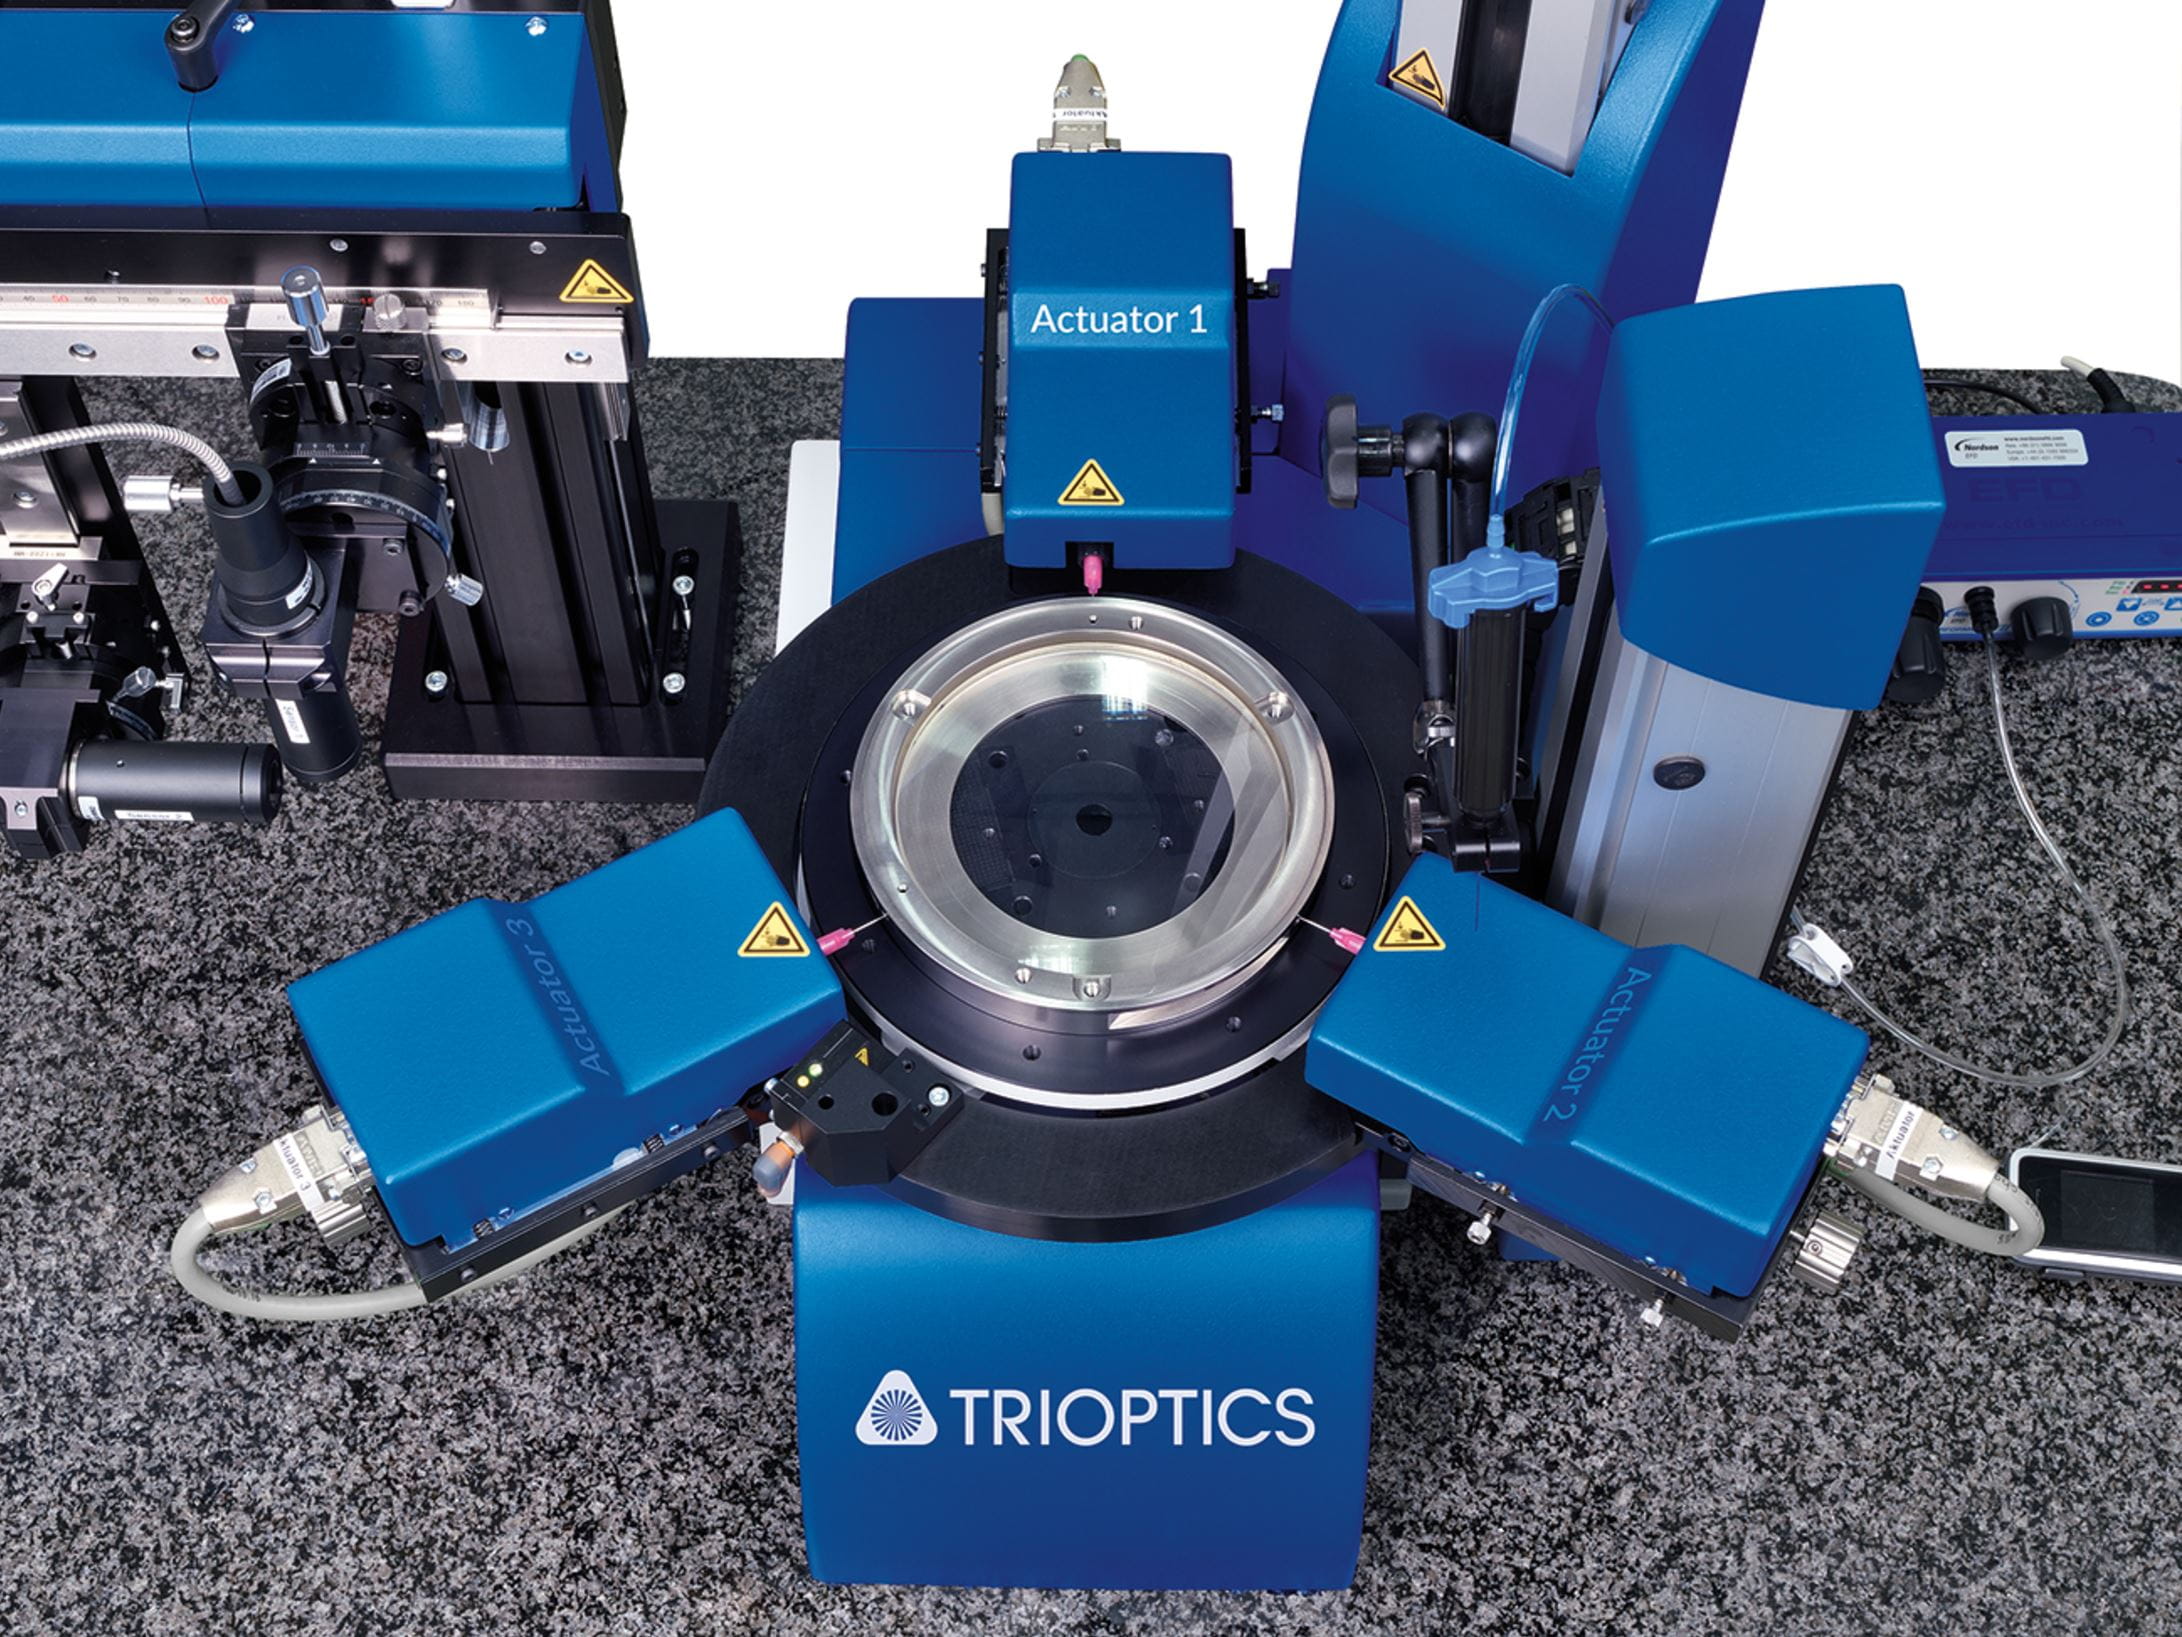
Automated bonding in two degrees of freedom
Measurement of effective focal length and back focal length, flange focal length, radius, and axial MTF in combination to centration testing
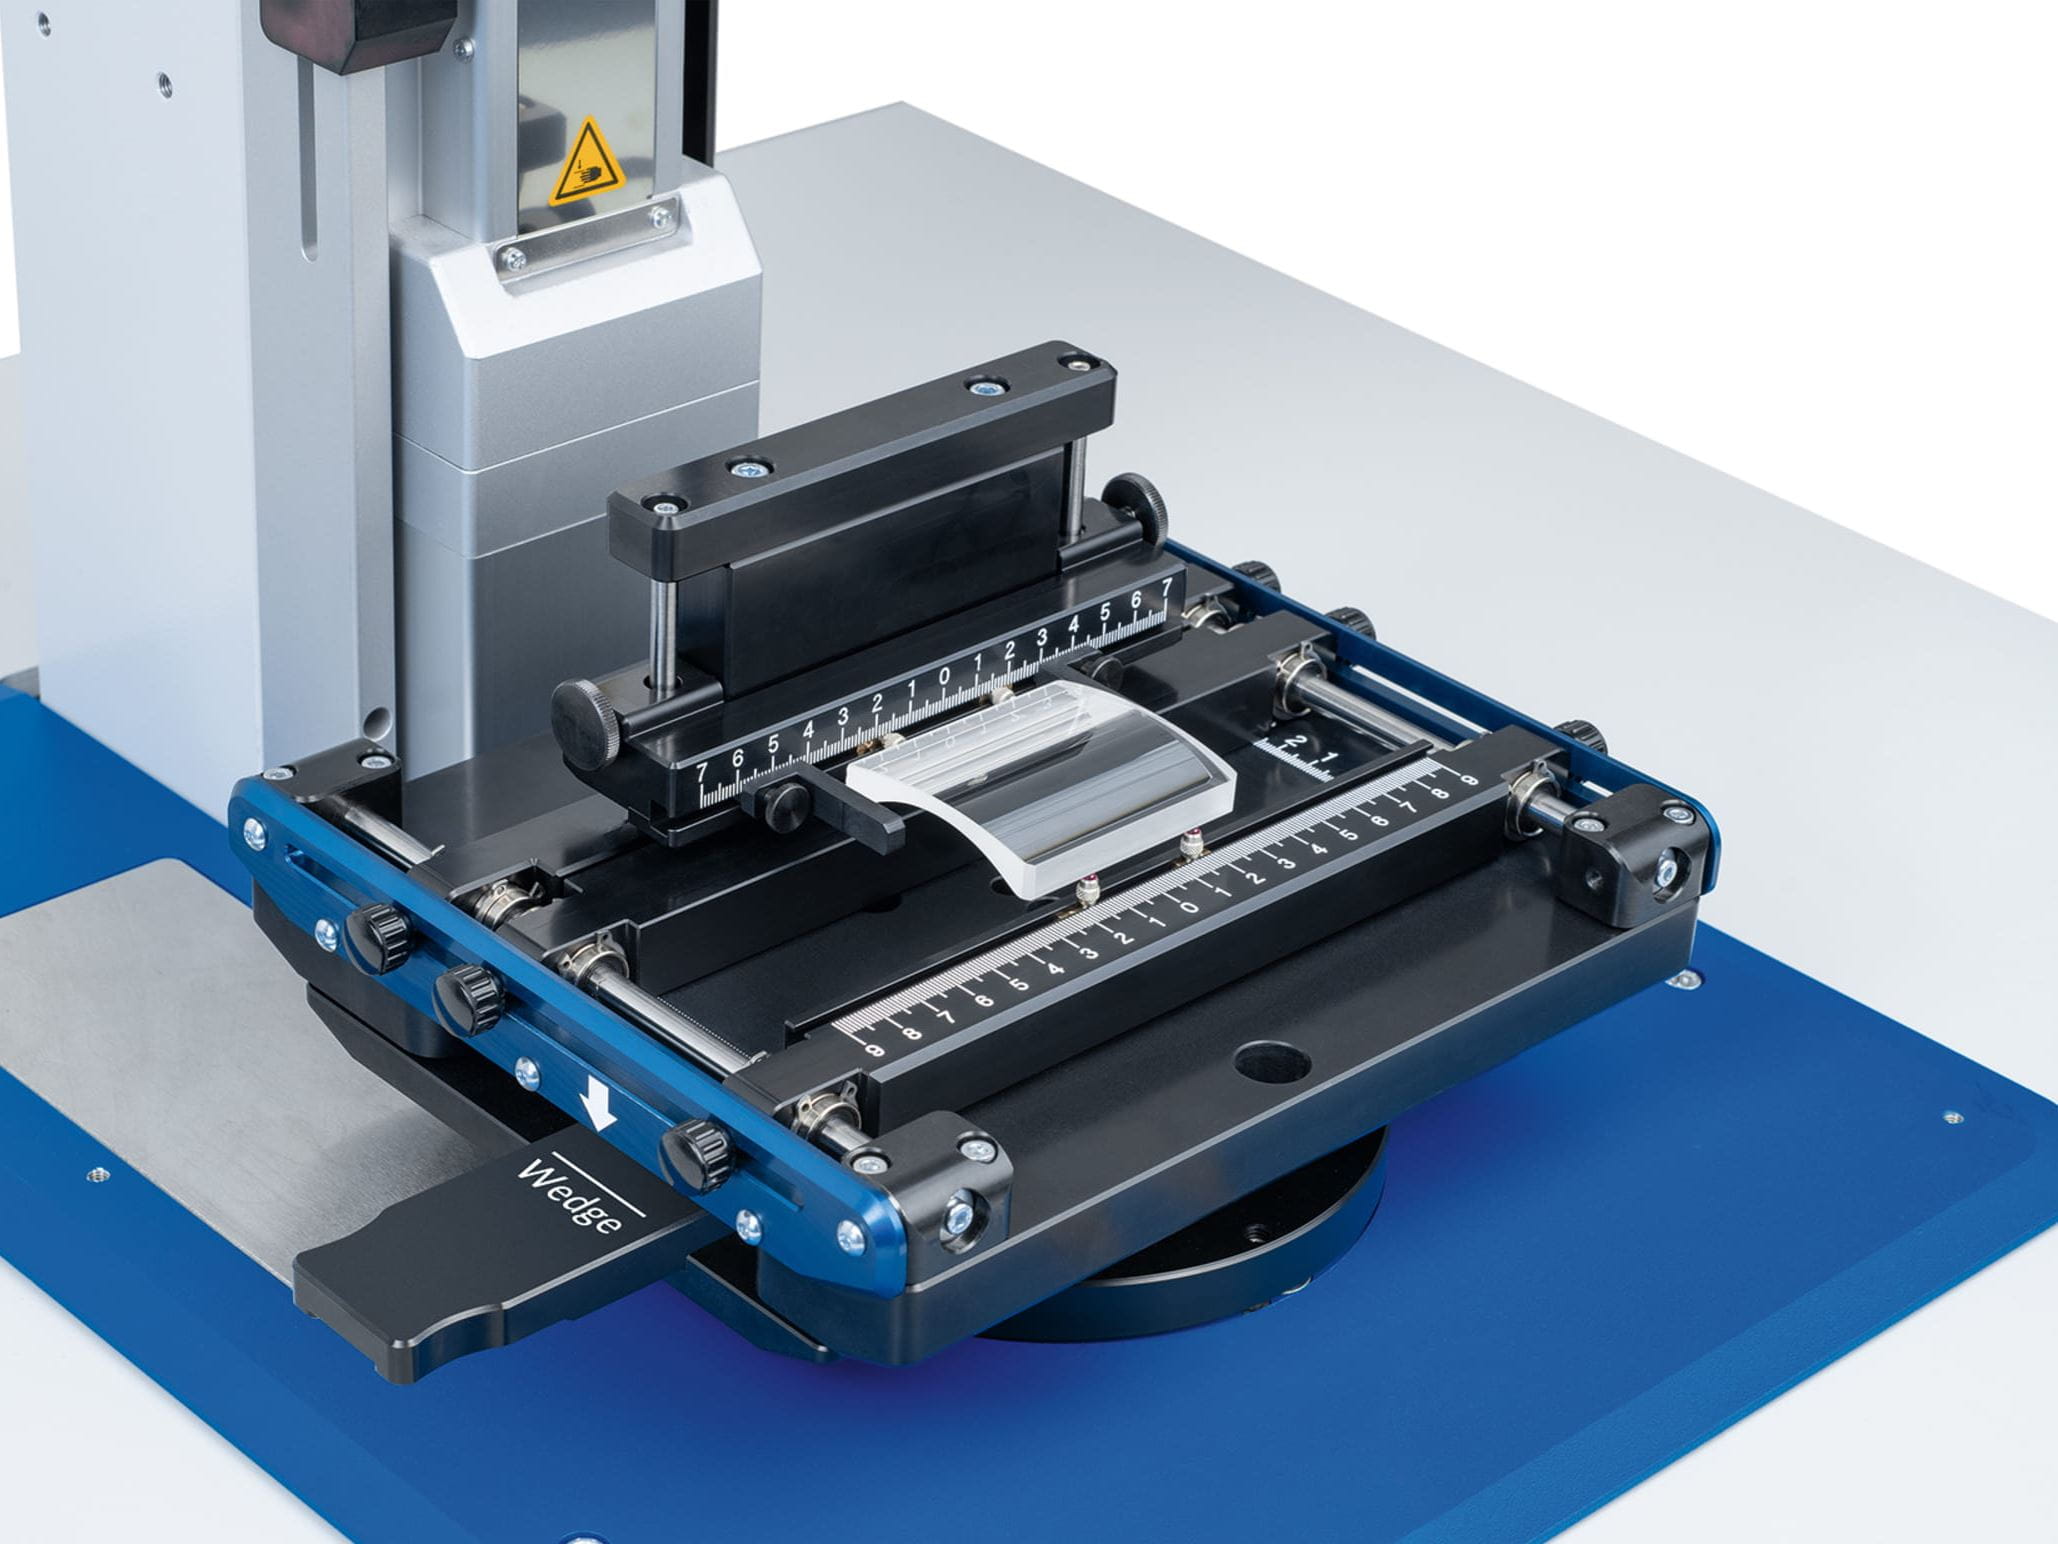
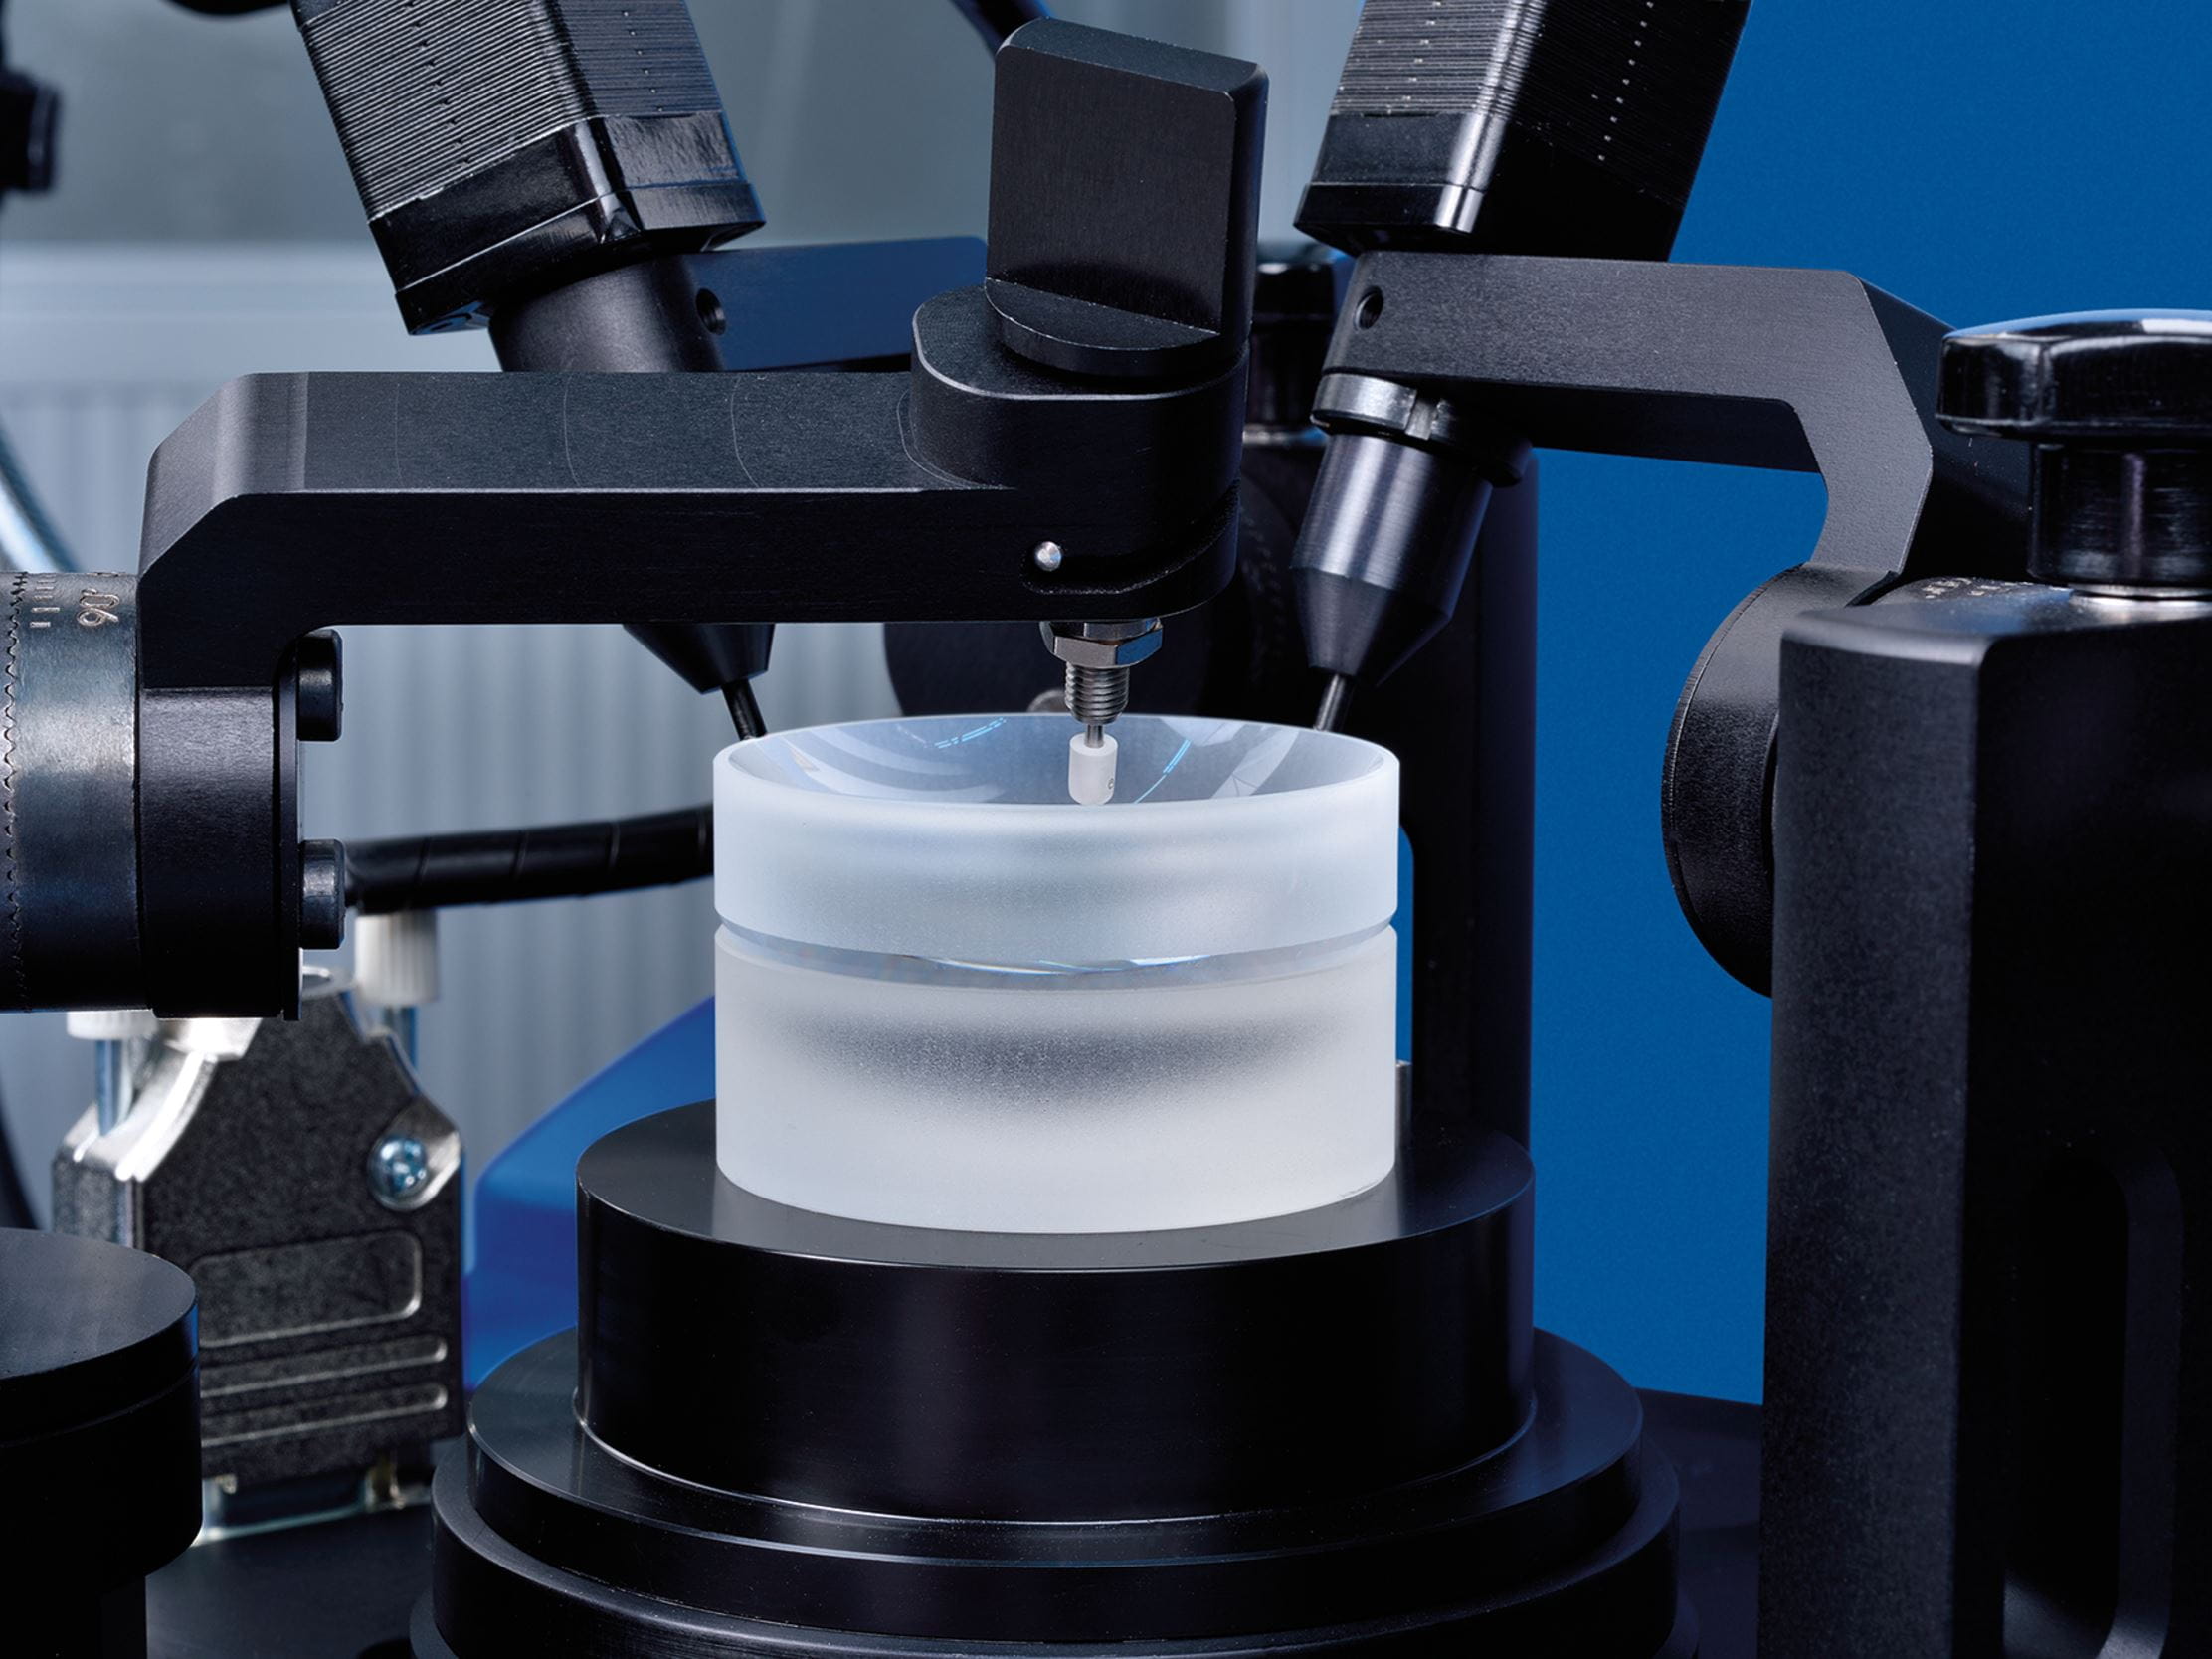
Centration test for cylinder lenses
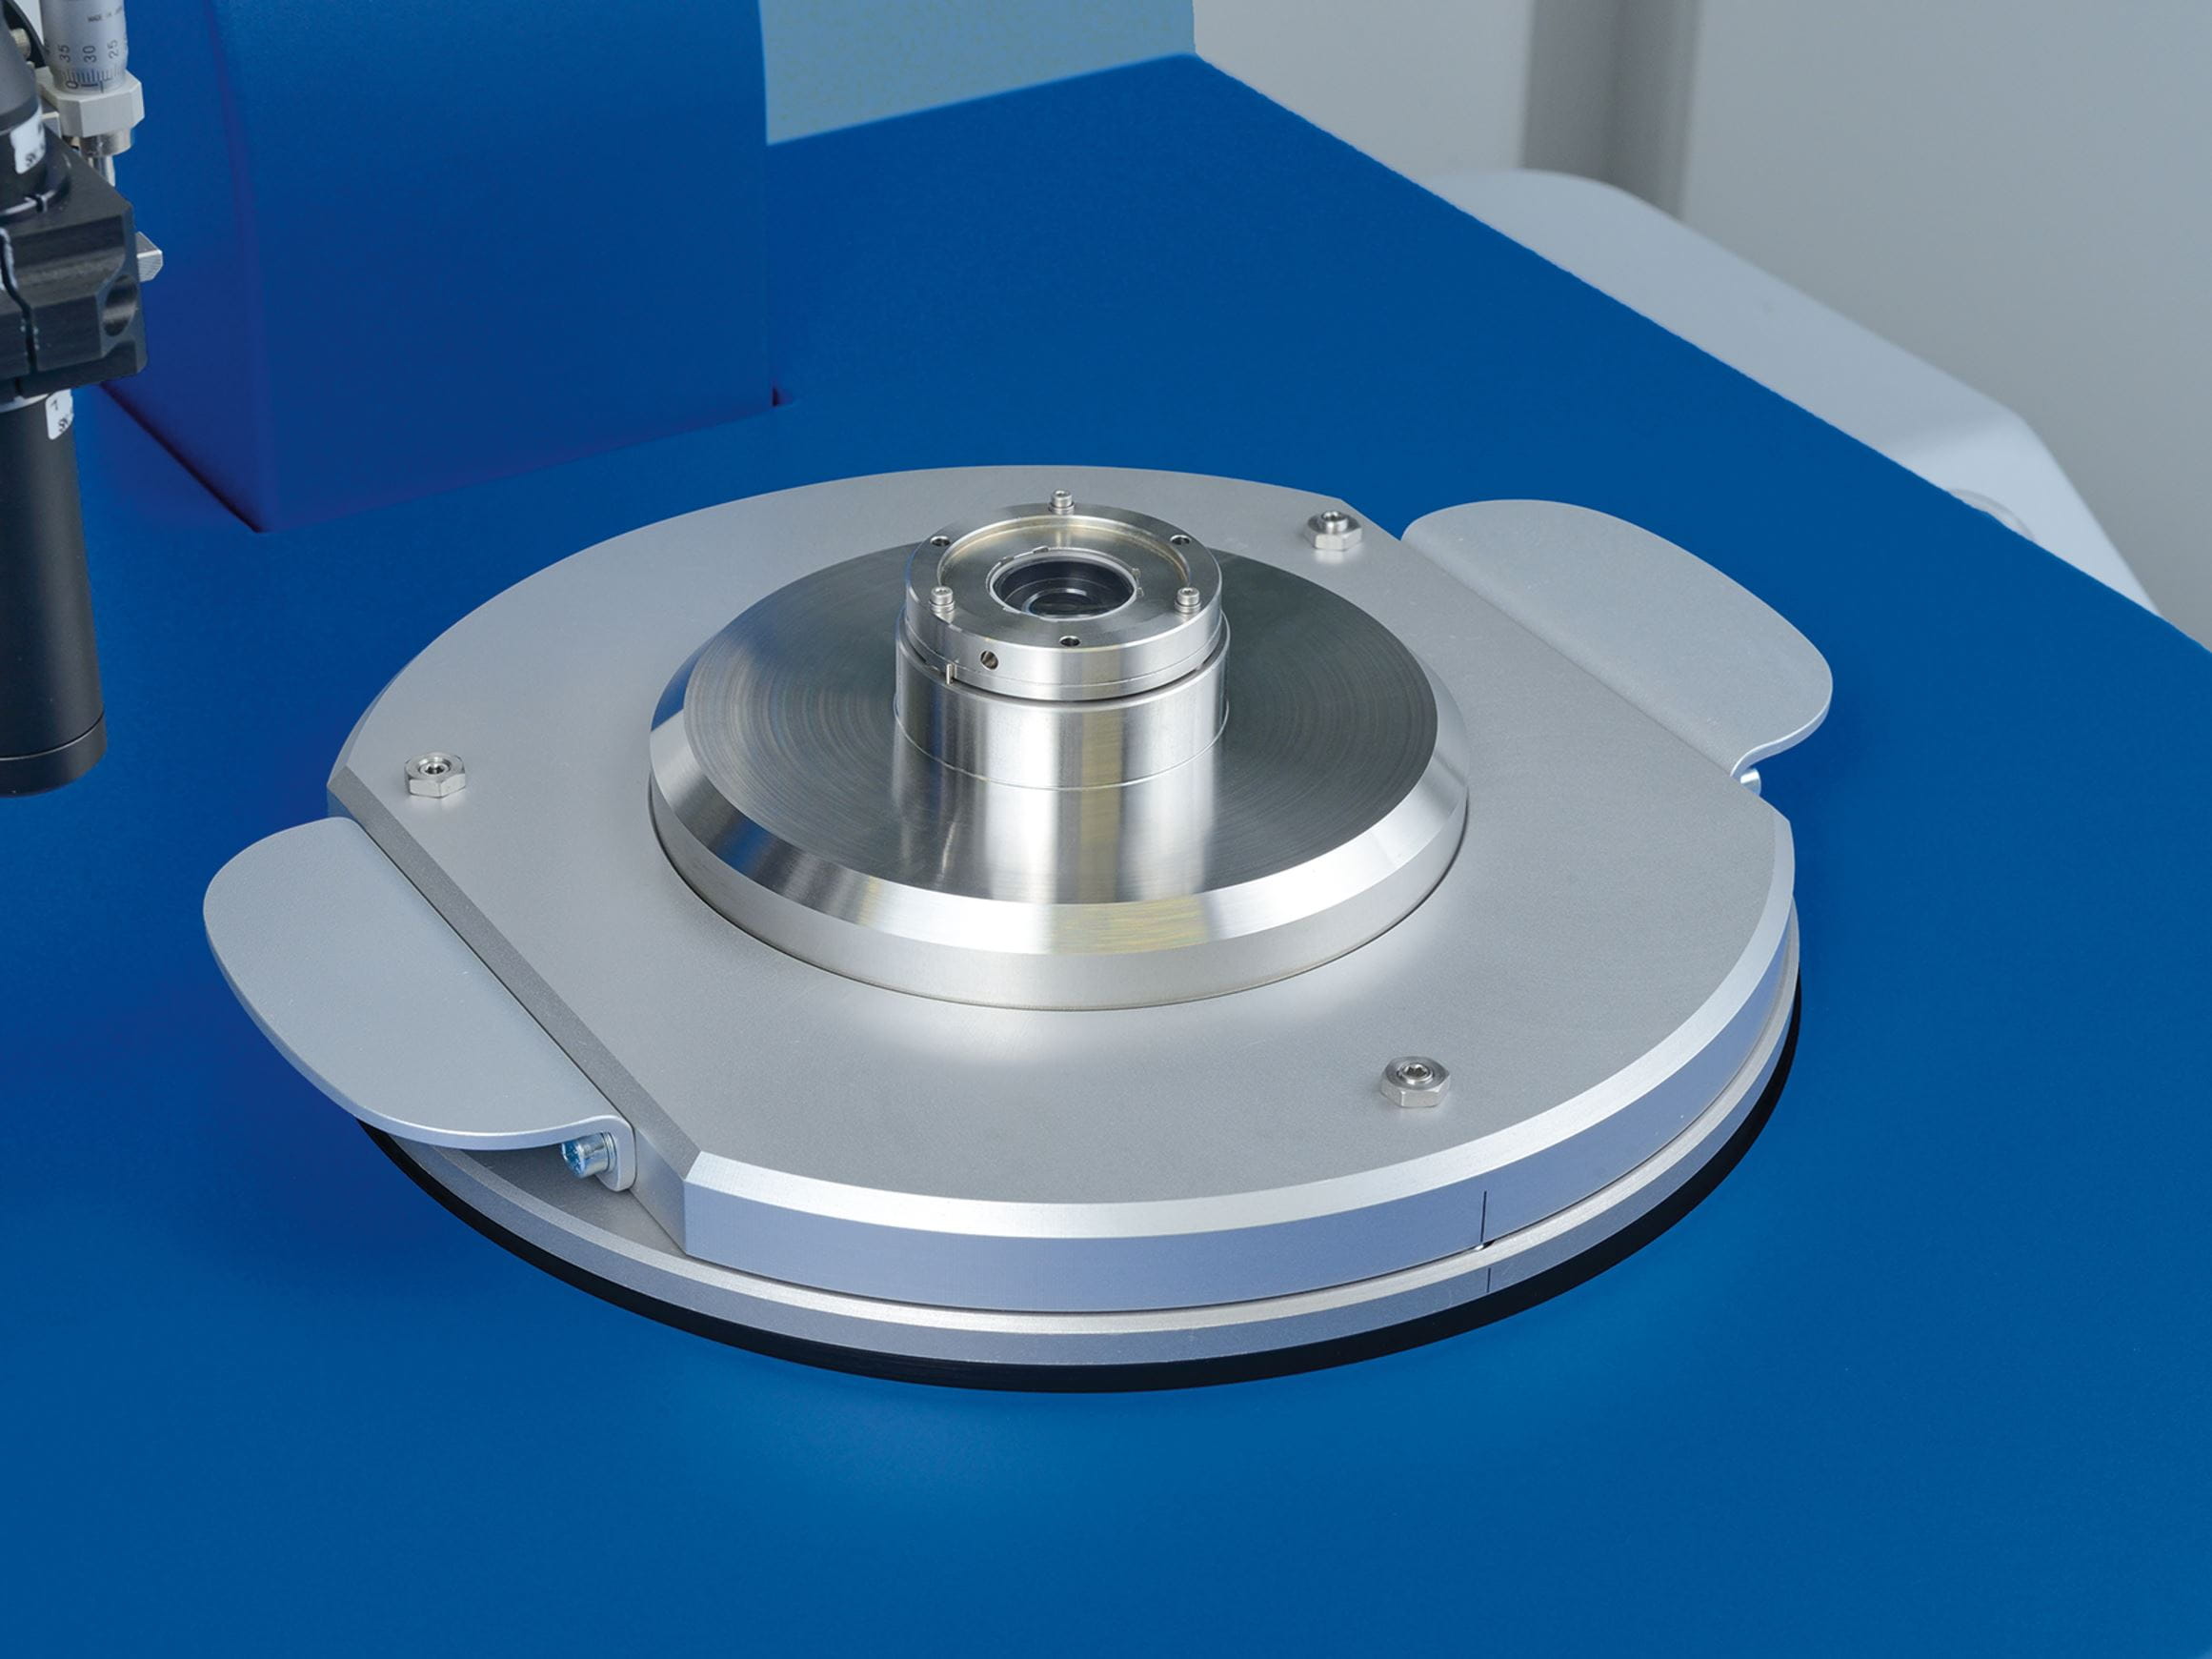
Automated bonding in five degrees of freedom
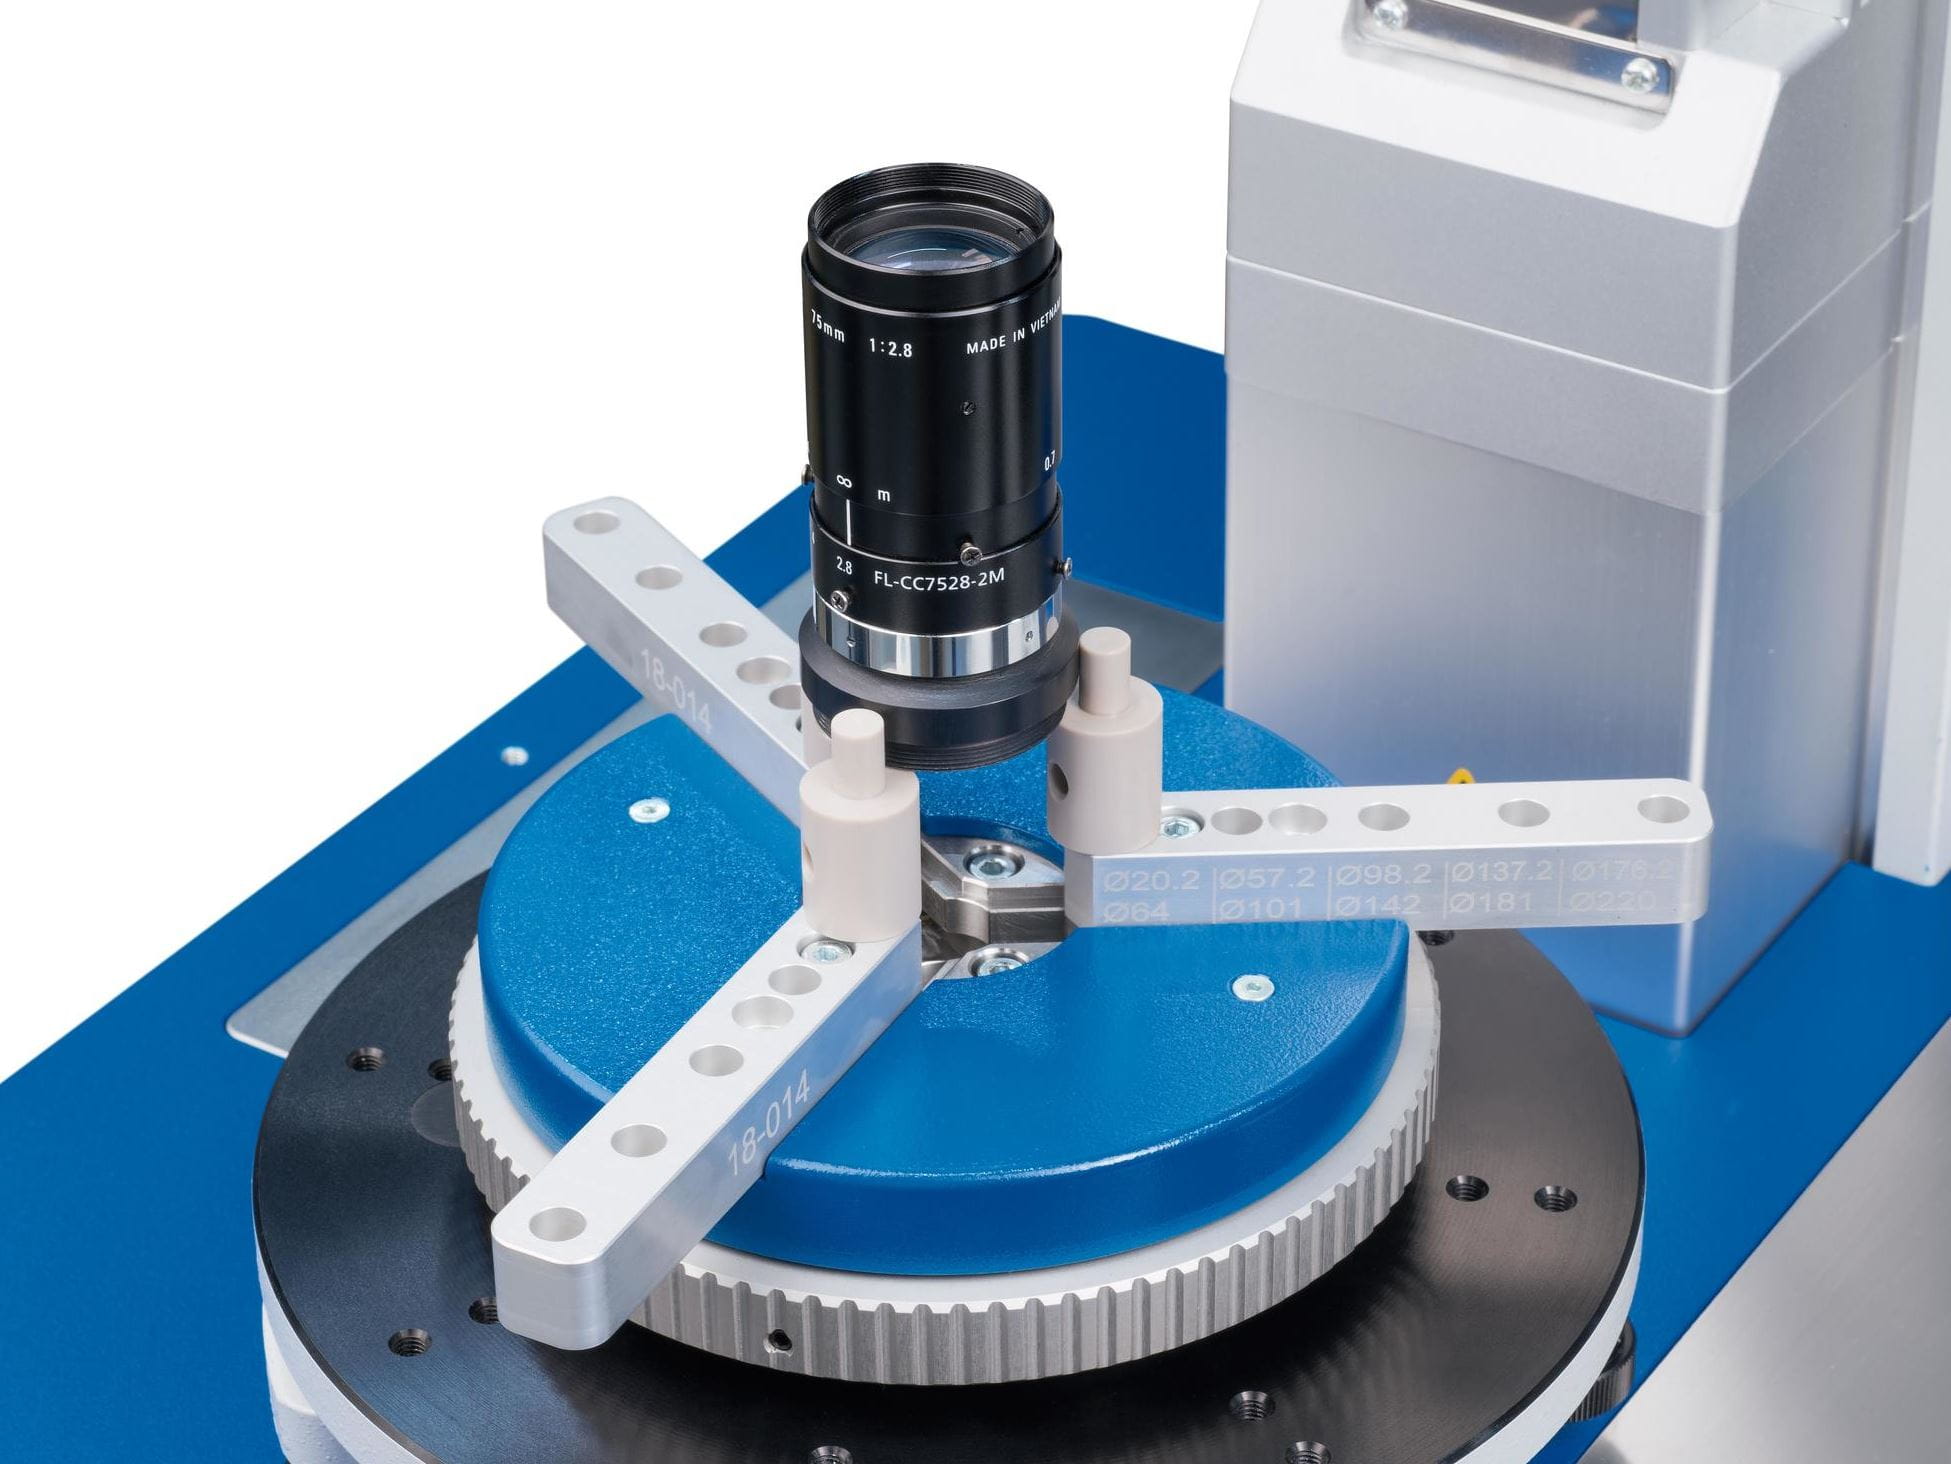
Centration testing of surface groups within optical lens systems
Automated cementing of doublets
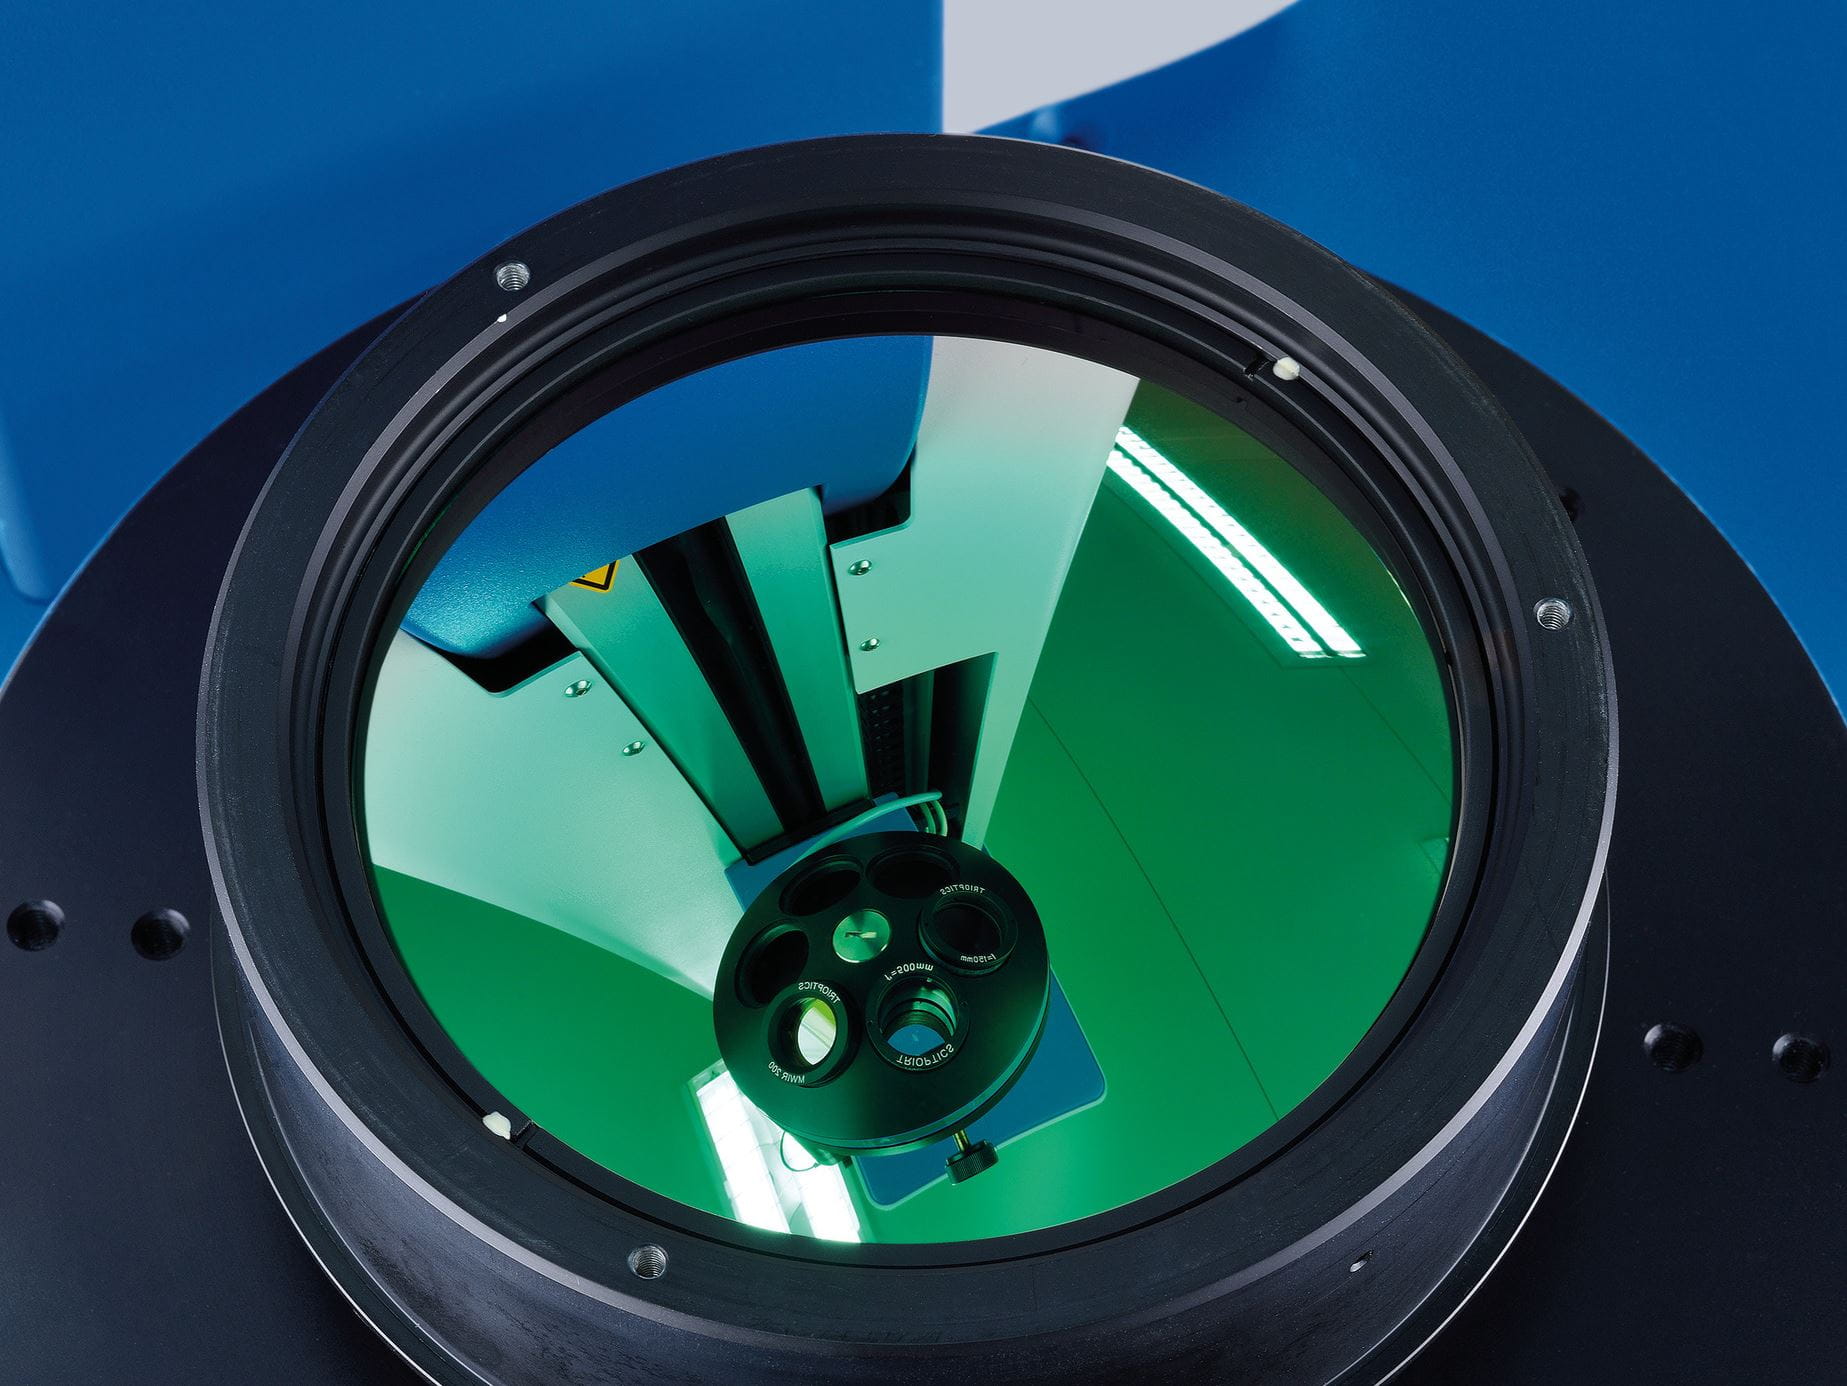
Centration testing of surface groups within infrared lens assemblies
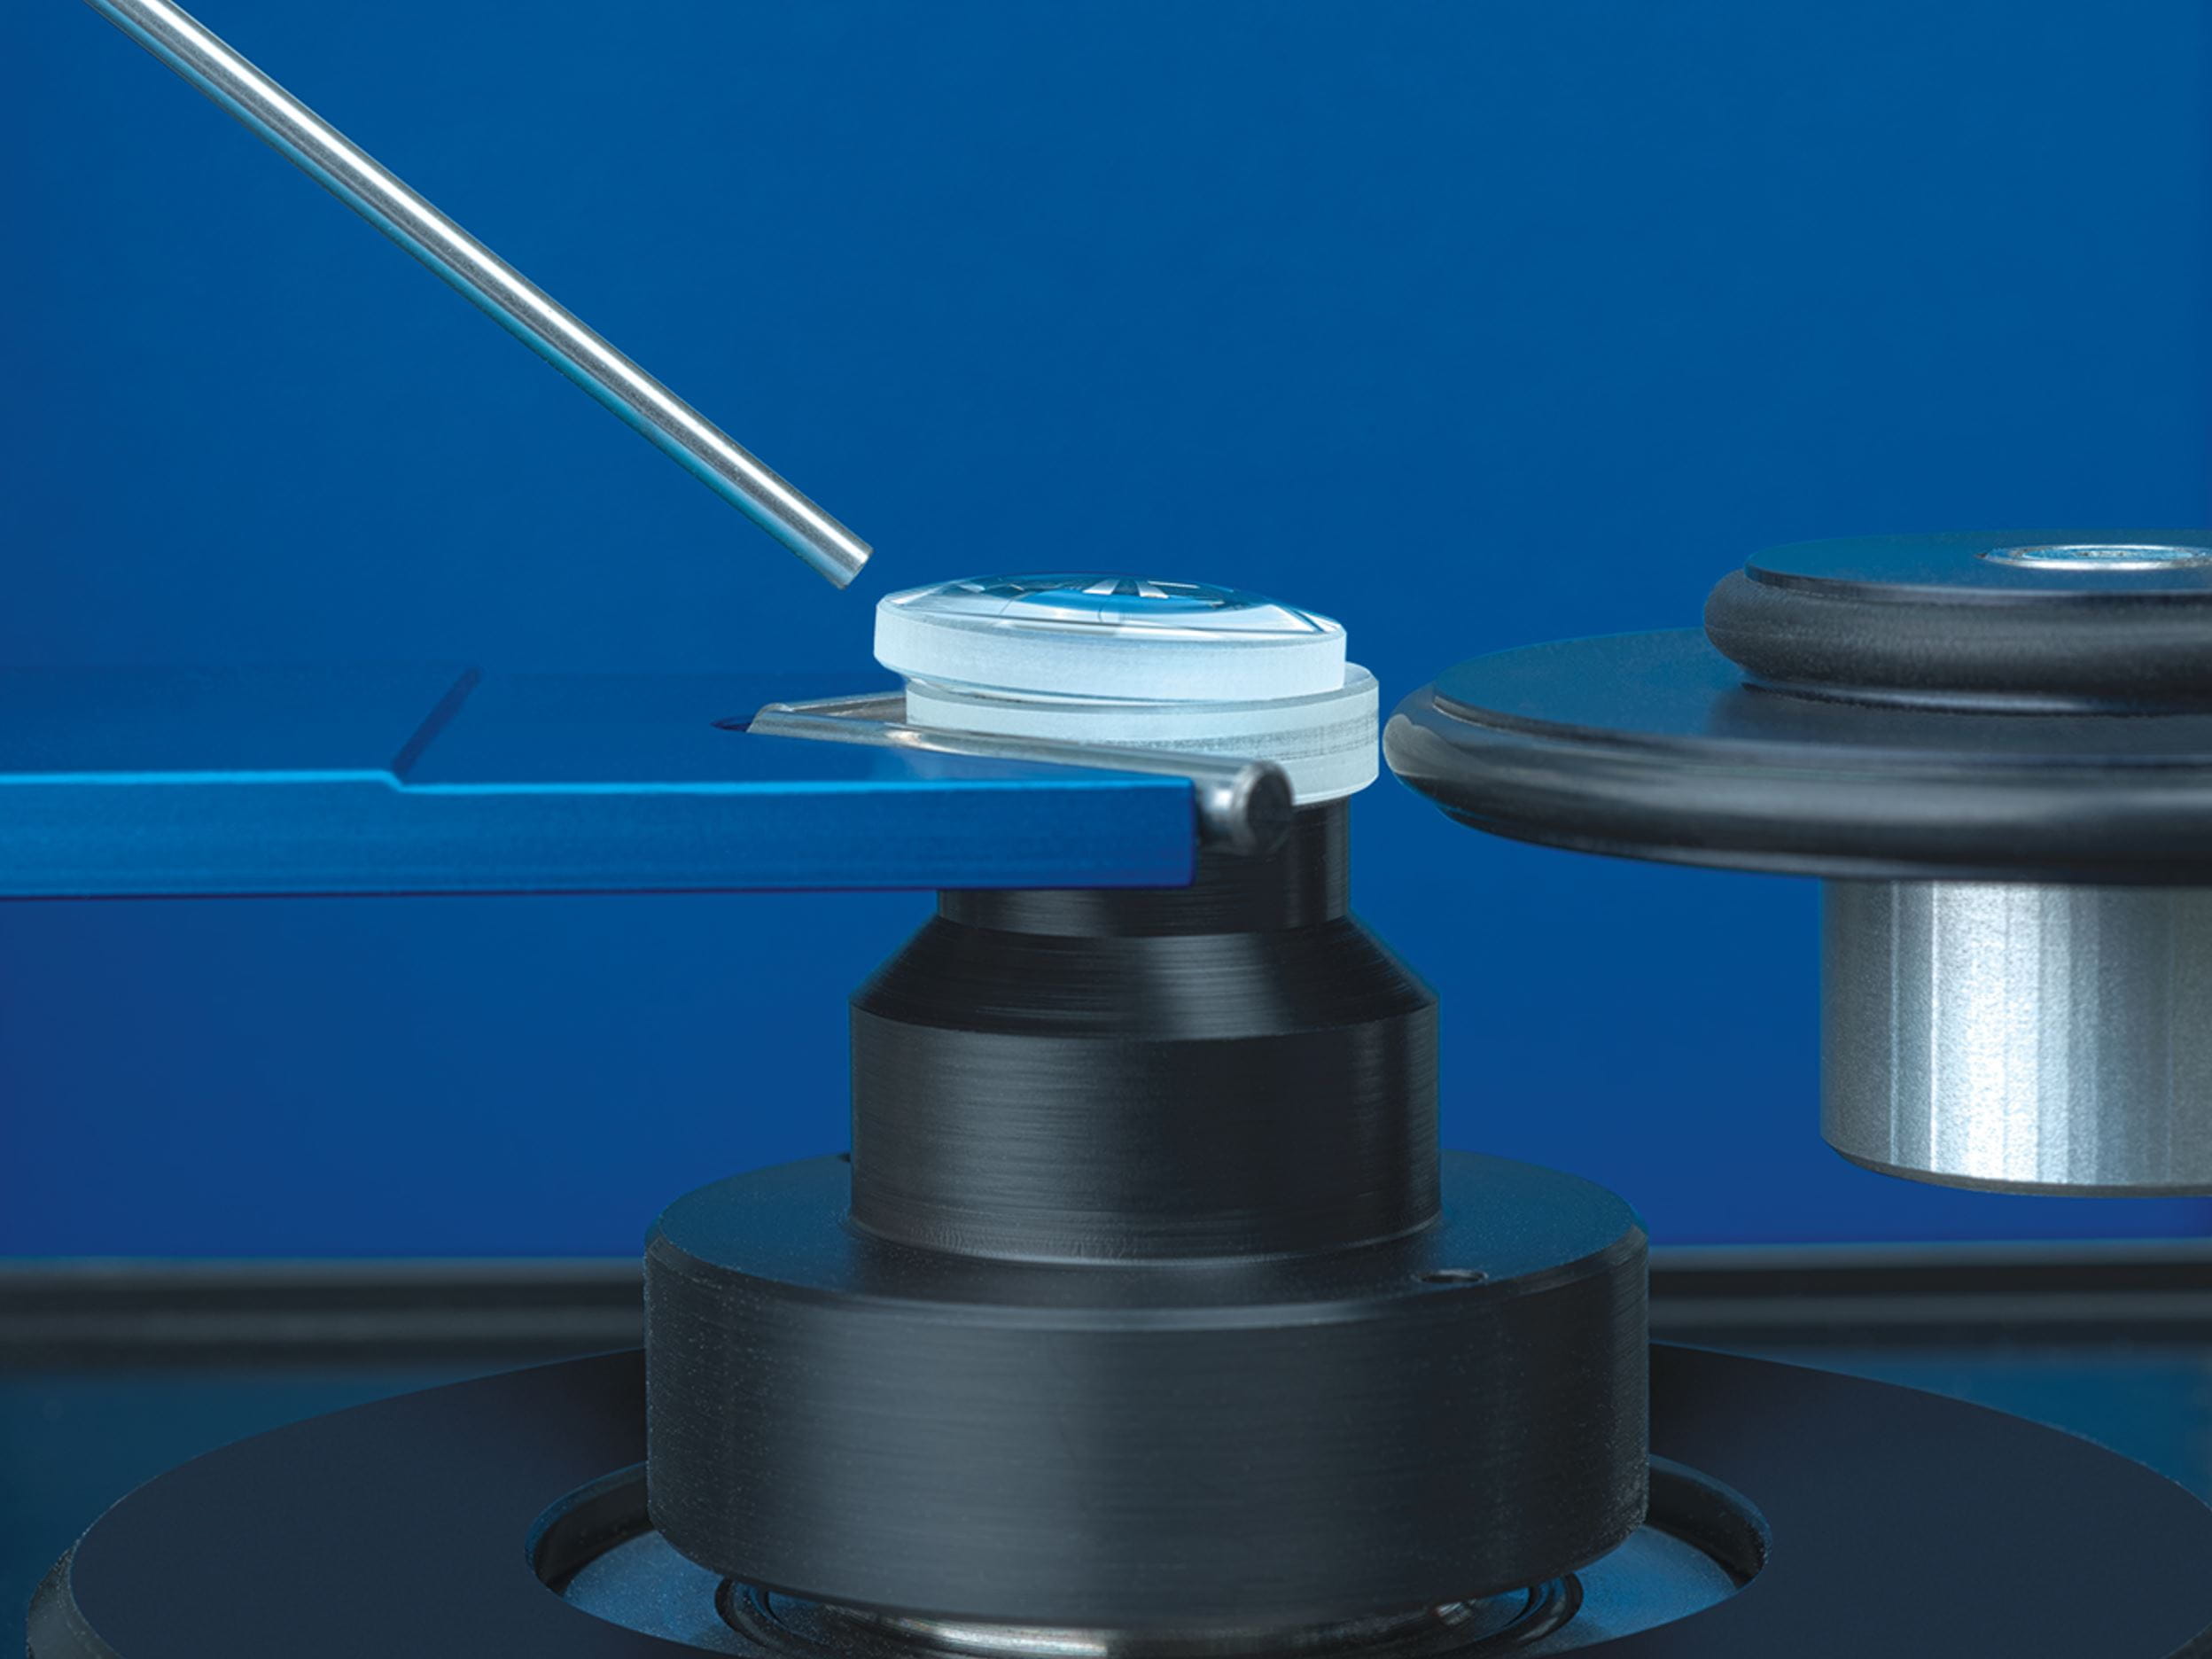
Alignment of cemented elements
Coffee Break
No time for long explanation videos?
Get the essentials on a wide range of technology topics during a coffee break.
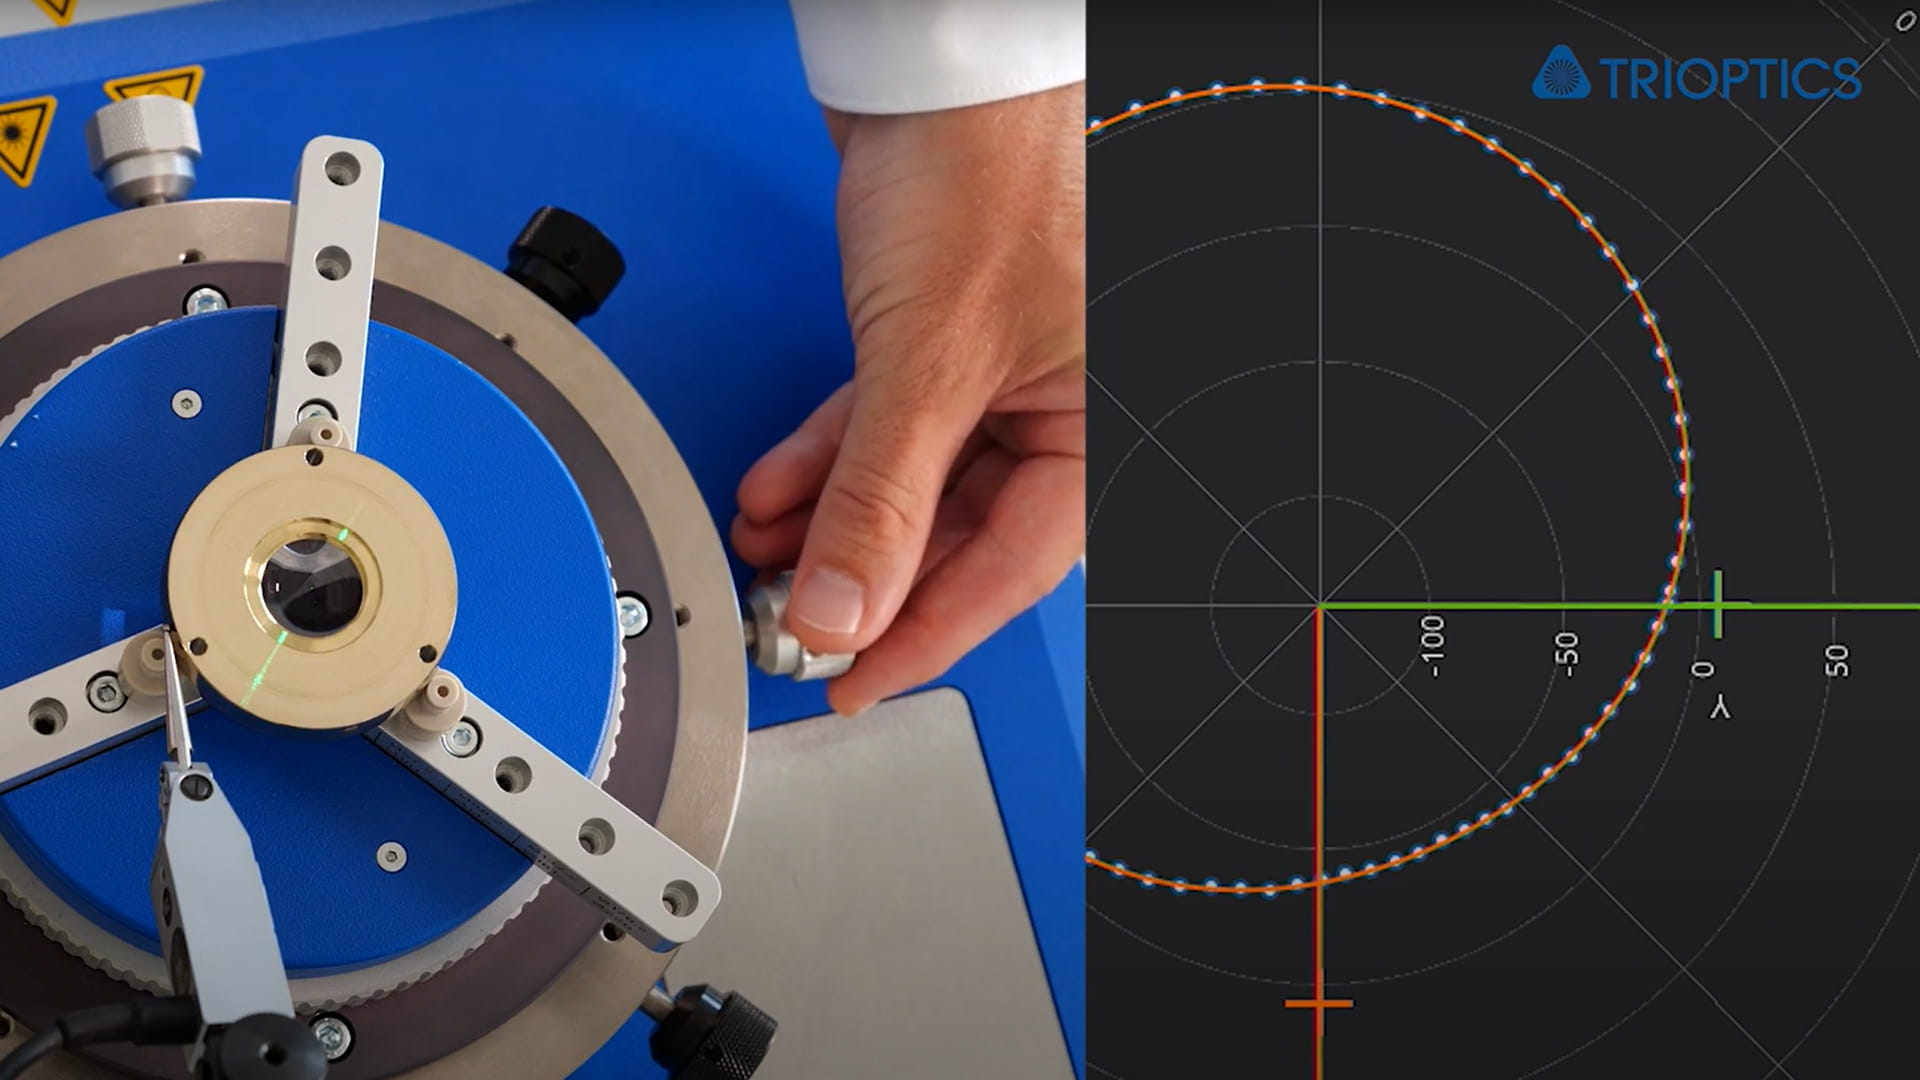
Manual lens barrel alignment
Cell alignment using an alignment table
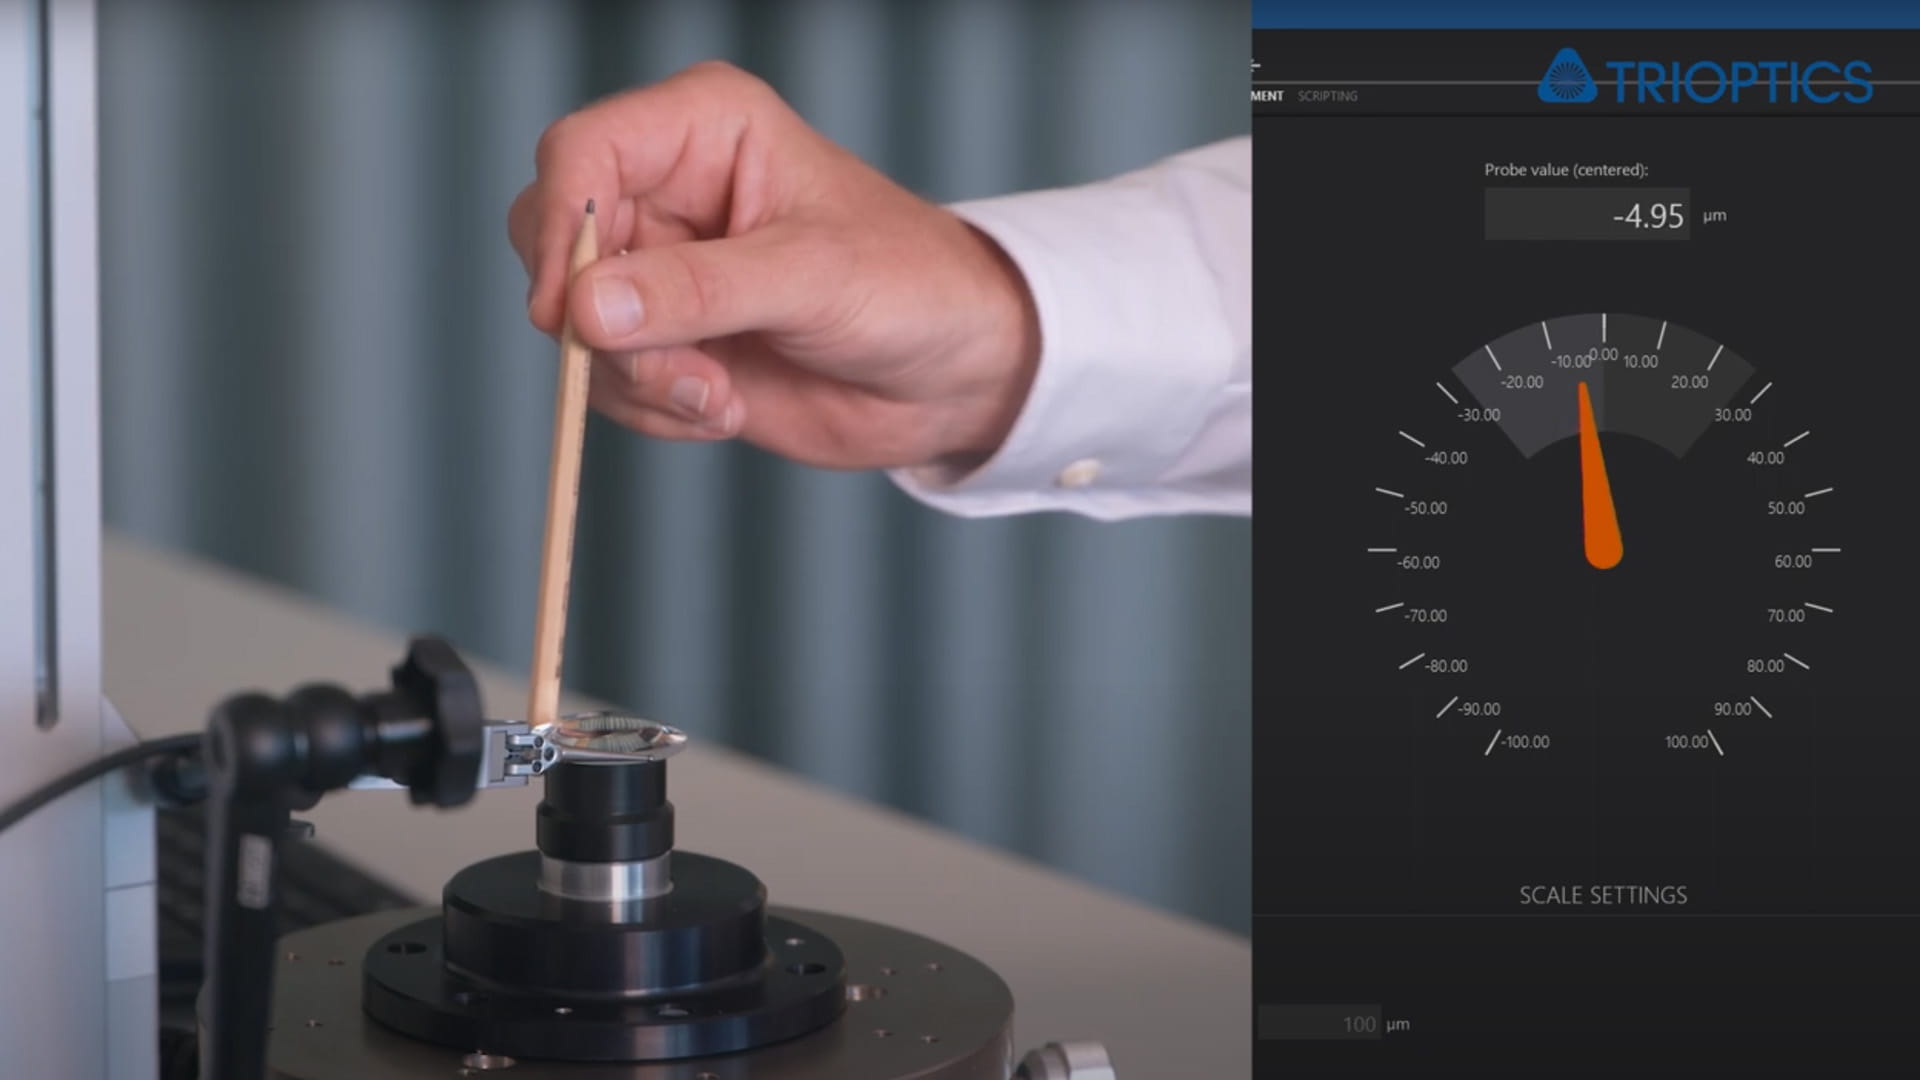
Scaled and centered
Manual lens alignment made easy
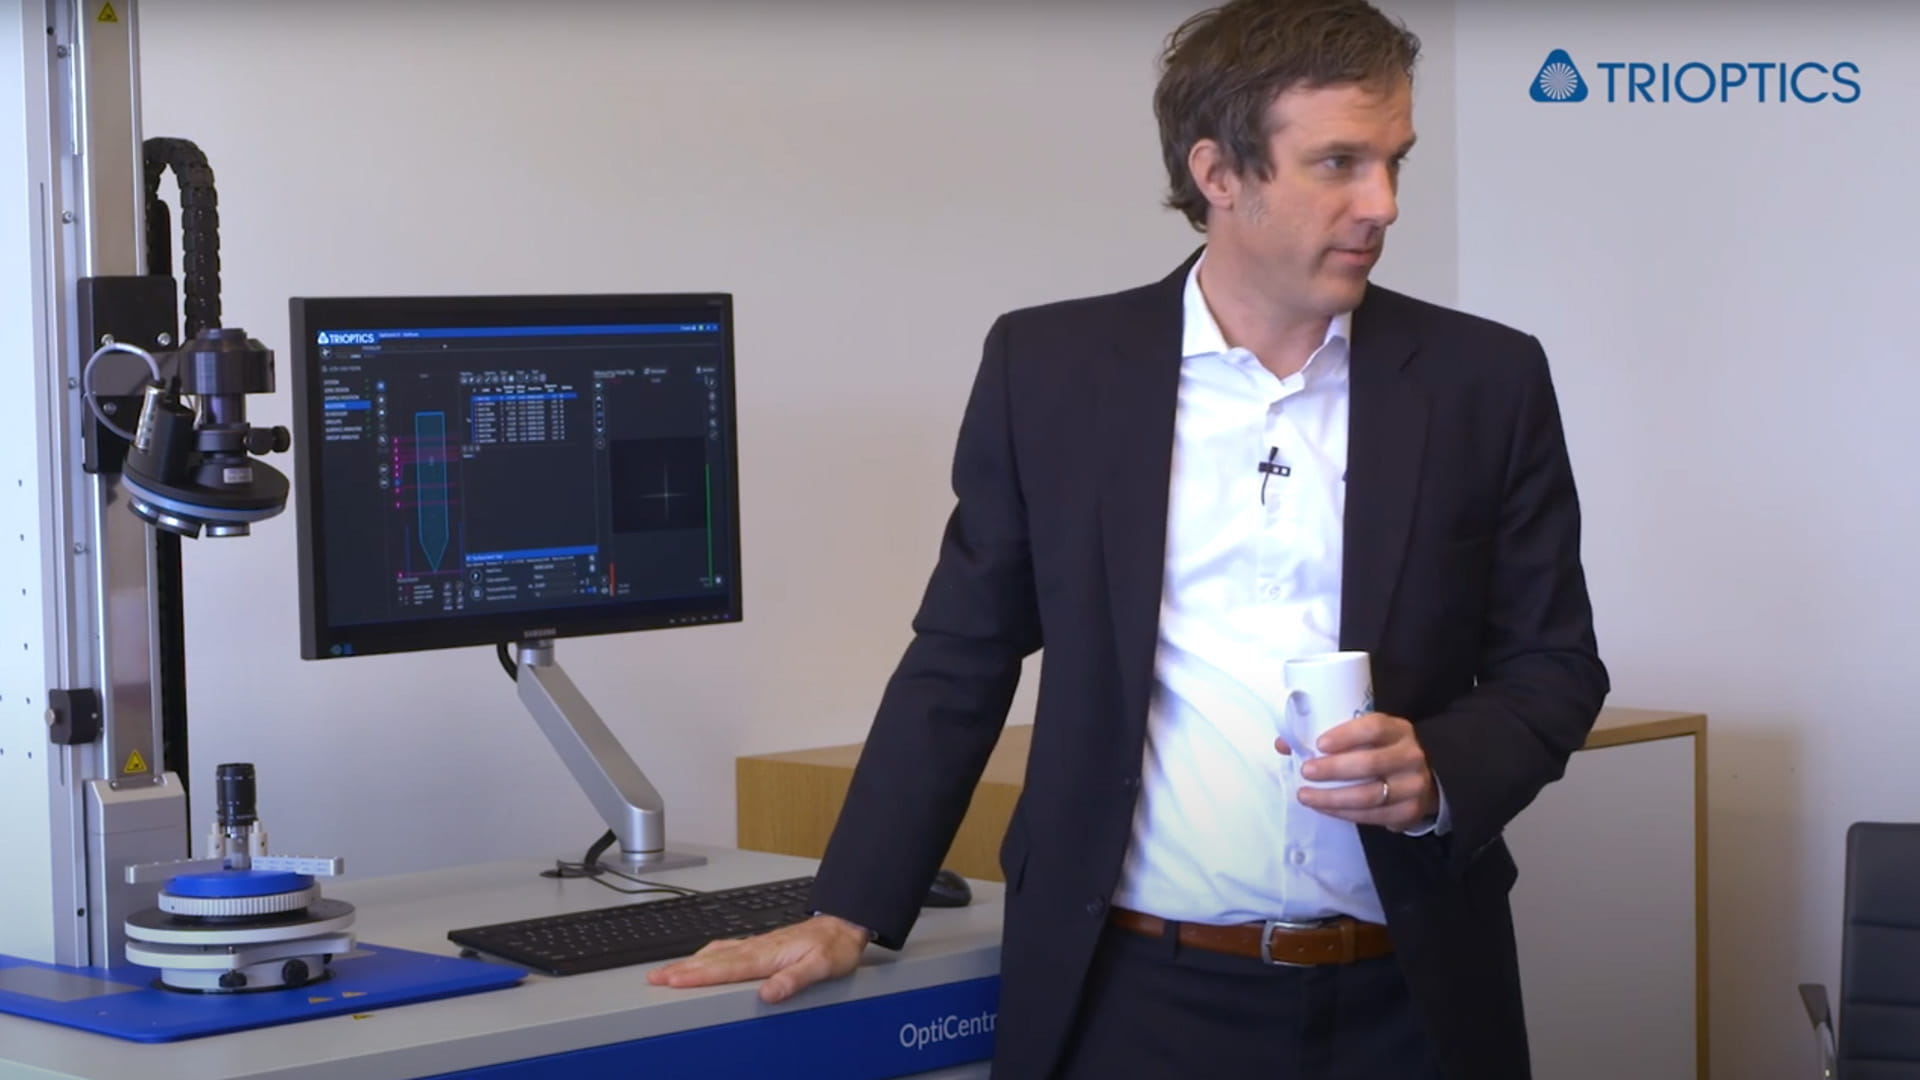
Change to benefit
Efficient centration measurement by changing head lenses
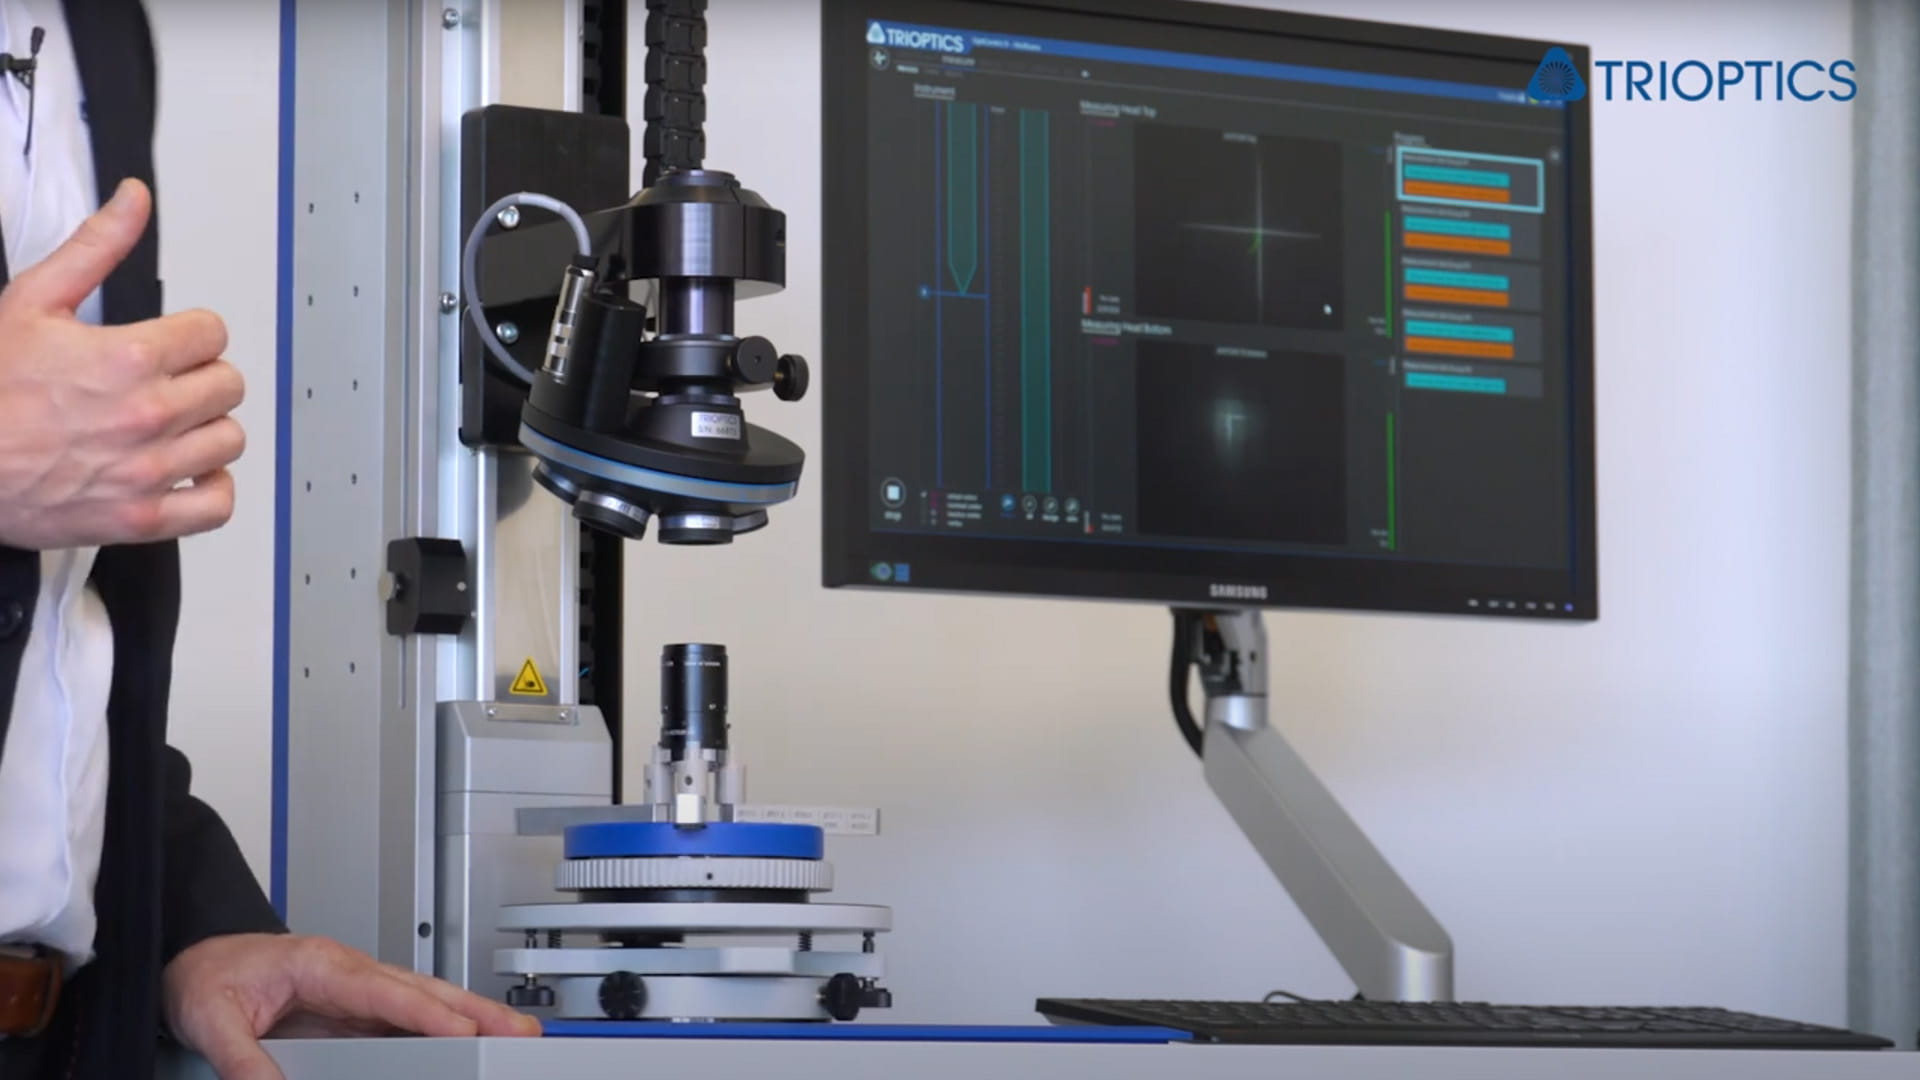
Measure complex lenses simply faster
OptiCentric® 101 with dual measurement head
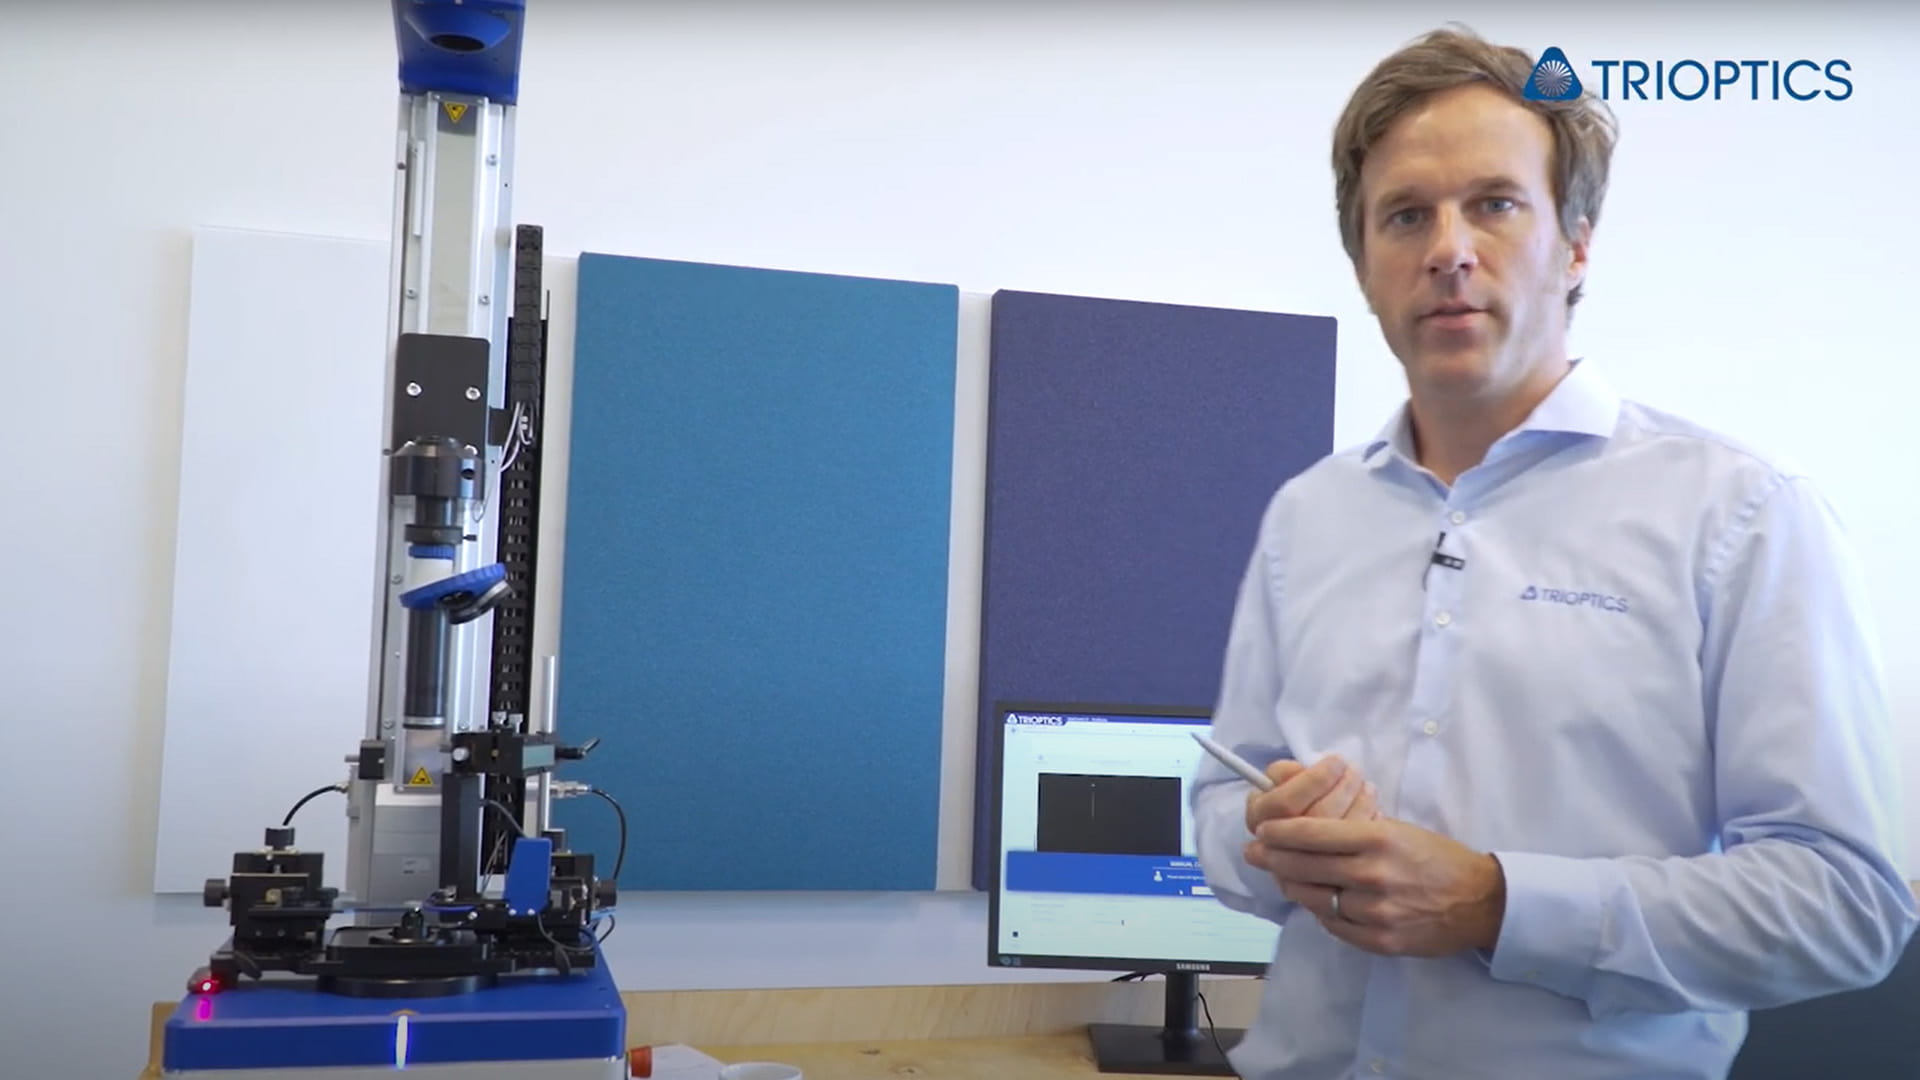
More than hot air
OptiCentric® with LensAlign 2D Air
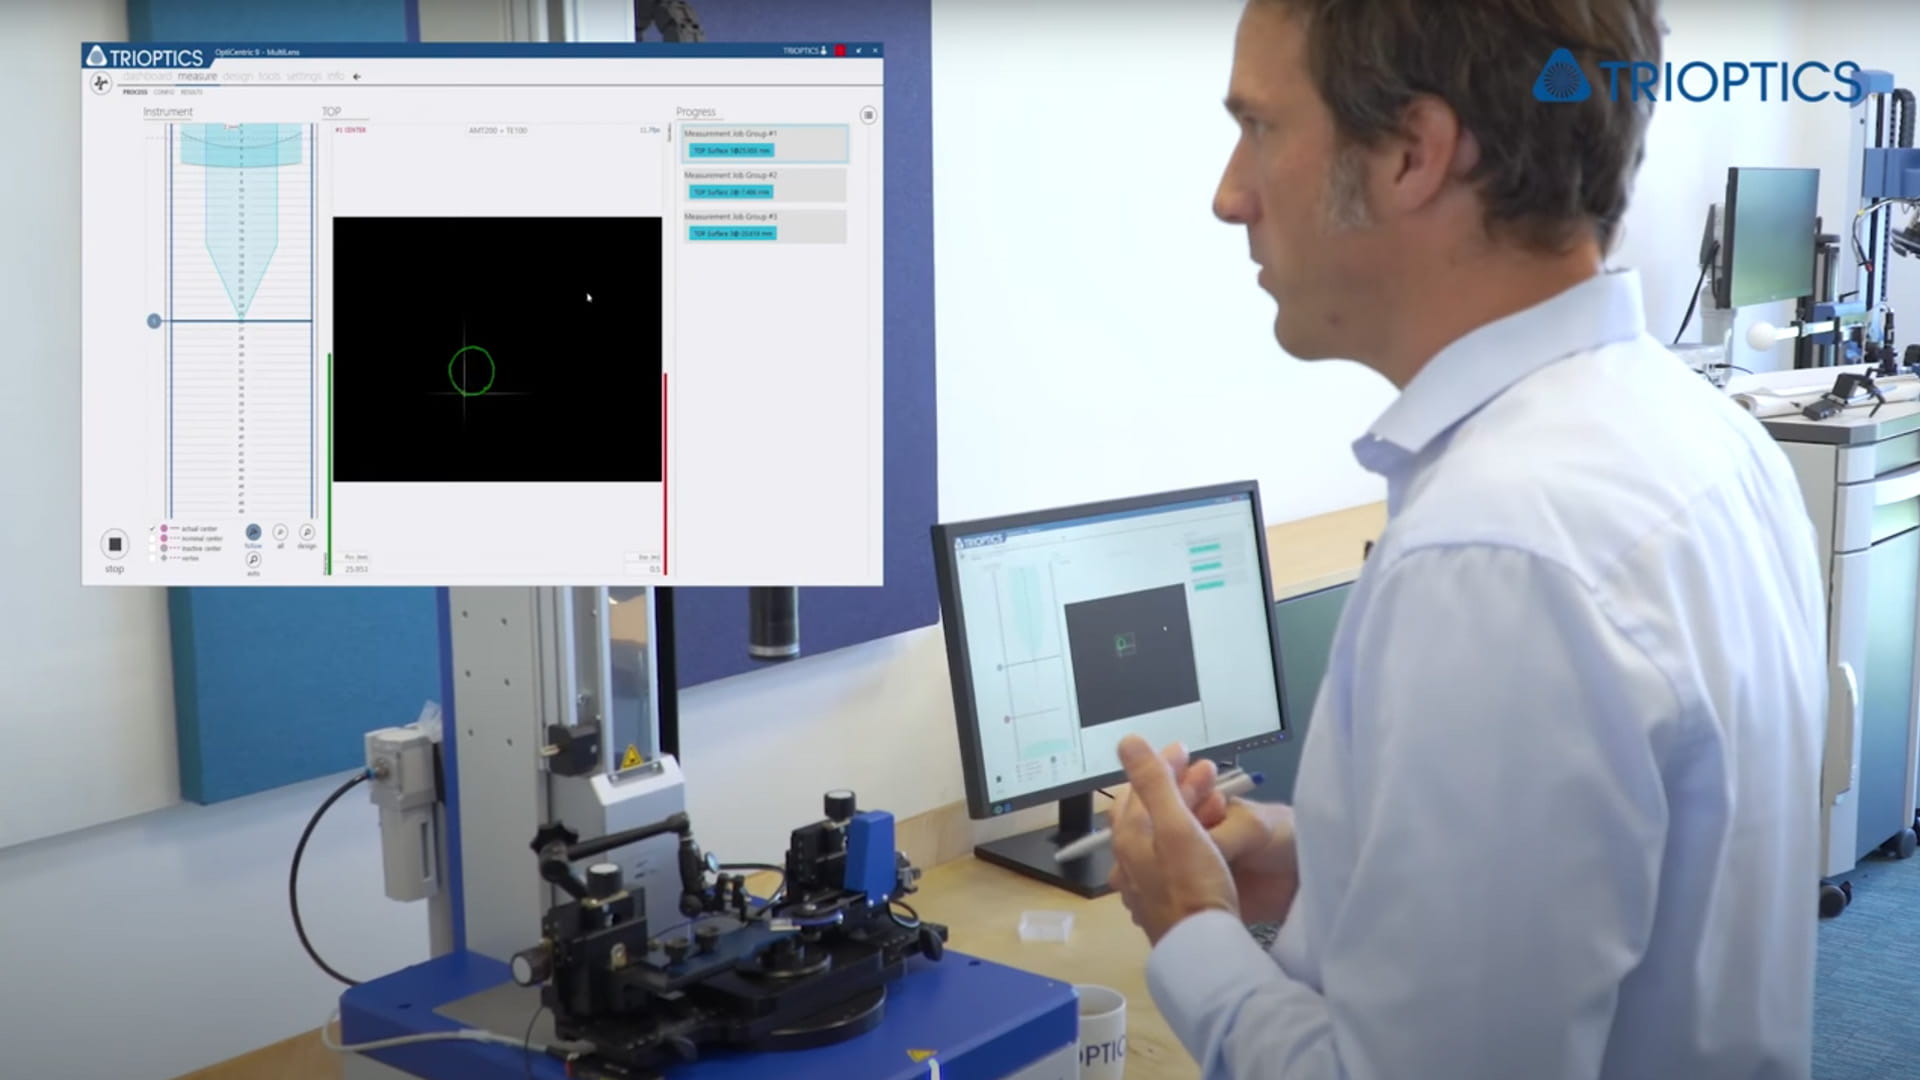
Rotation device with a system
Centration testing of cemented lens systems to the diameter
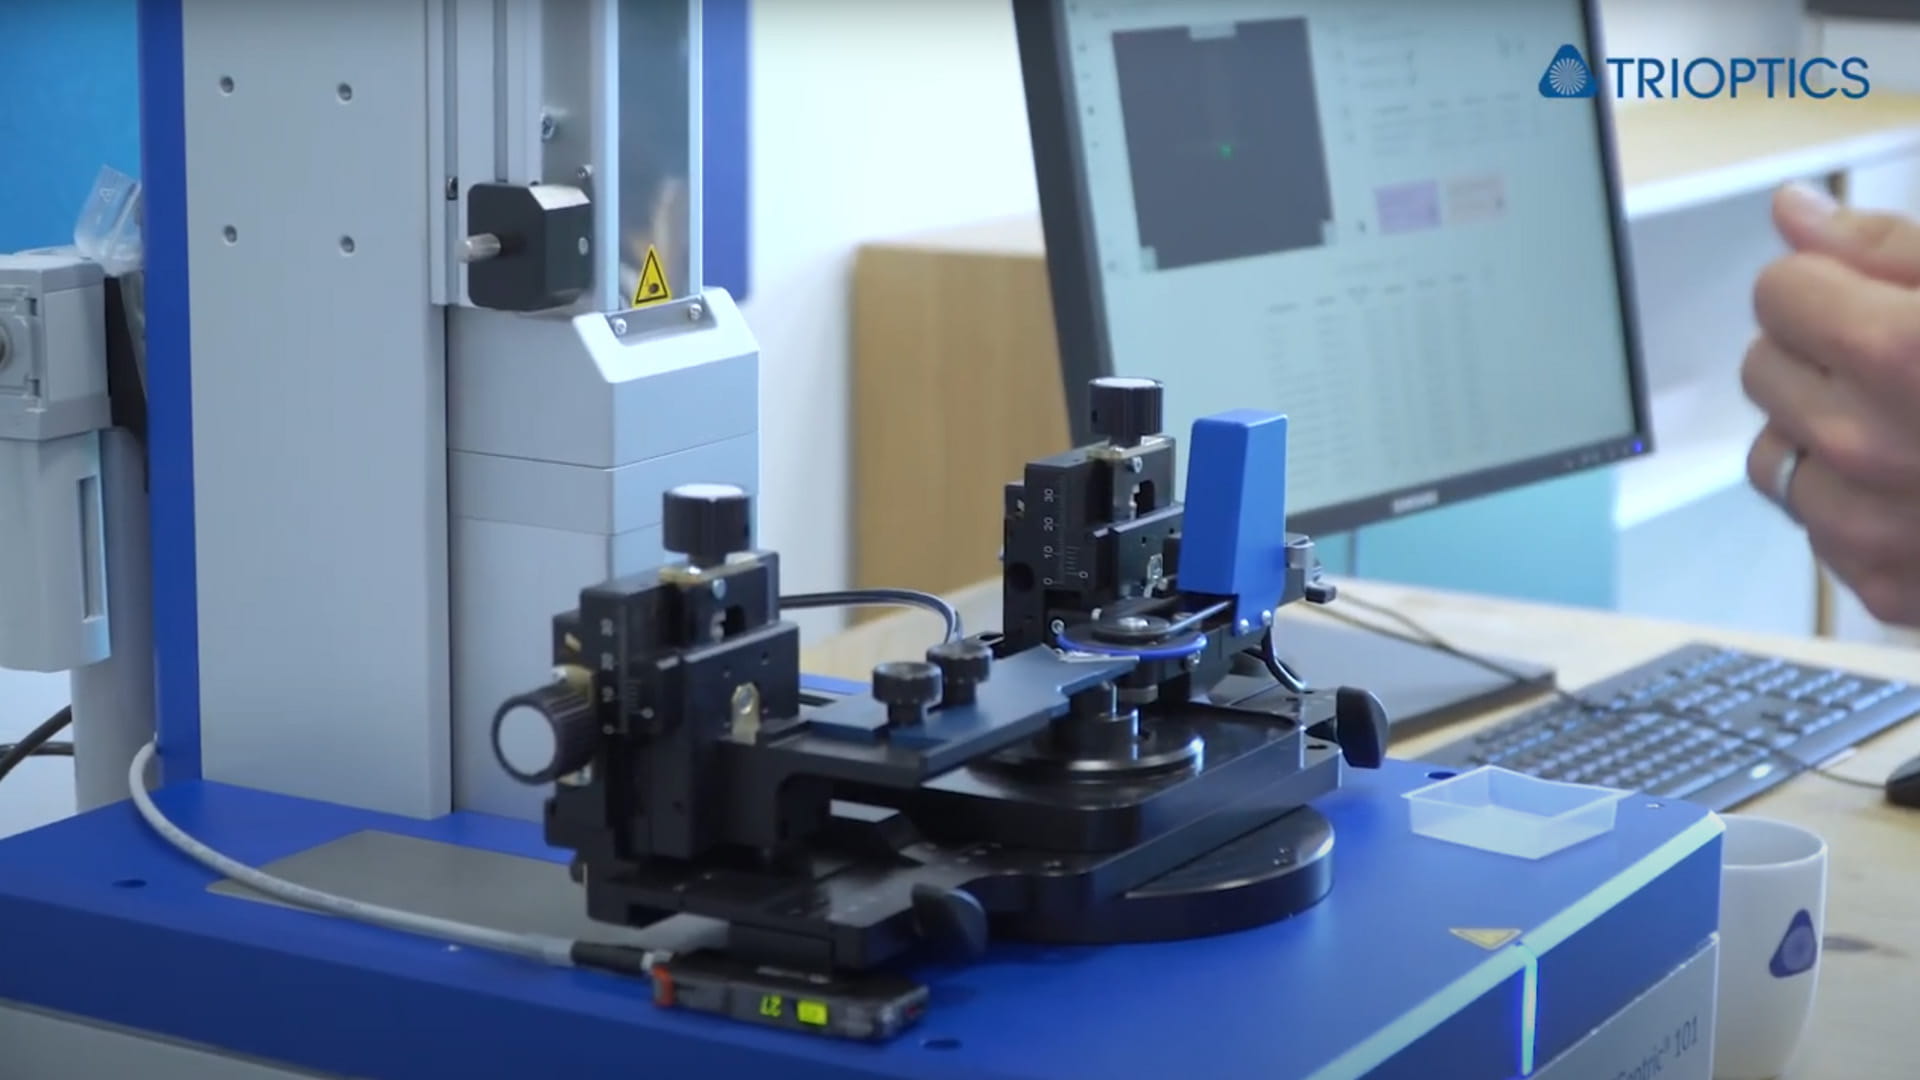
The rotation to in increase efficiency
New lens rotation device for OptiCentric®
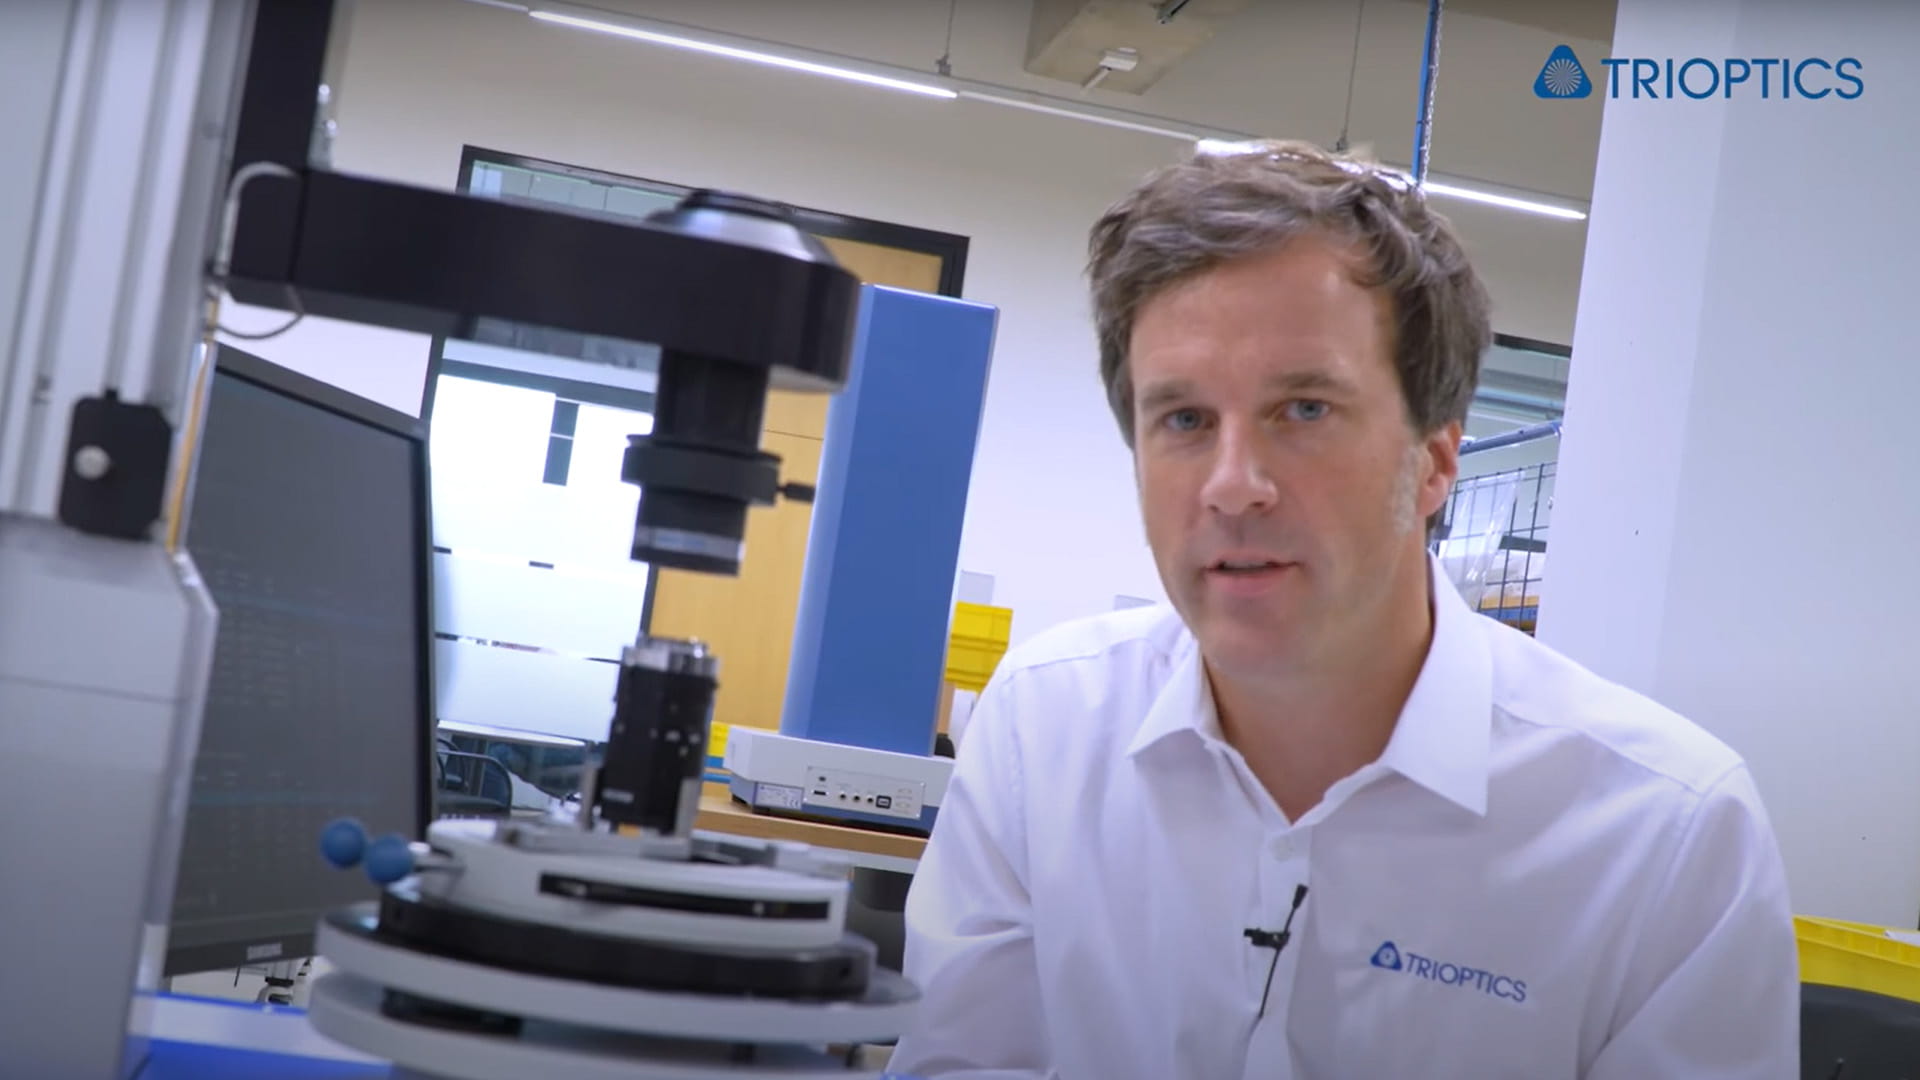
Fast, faster, linear
OptiCentric® in linear measurement mode
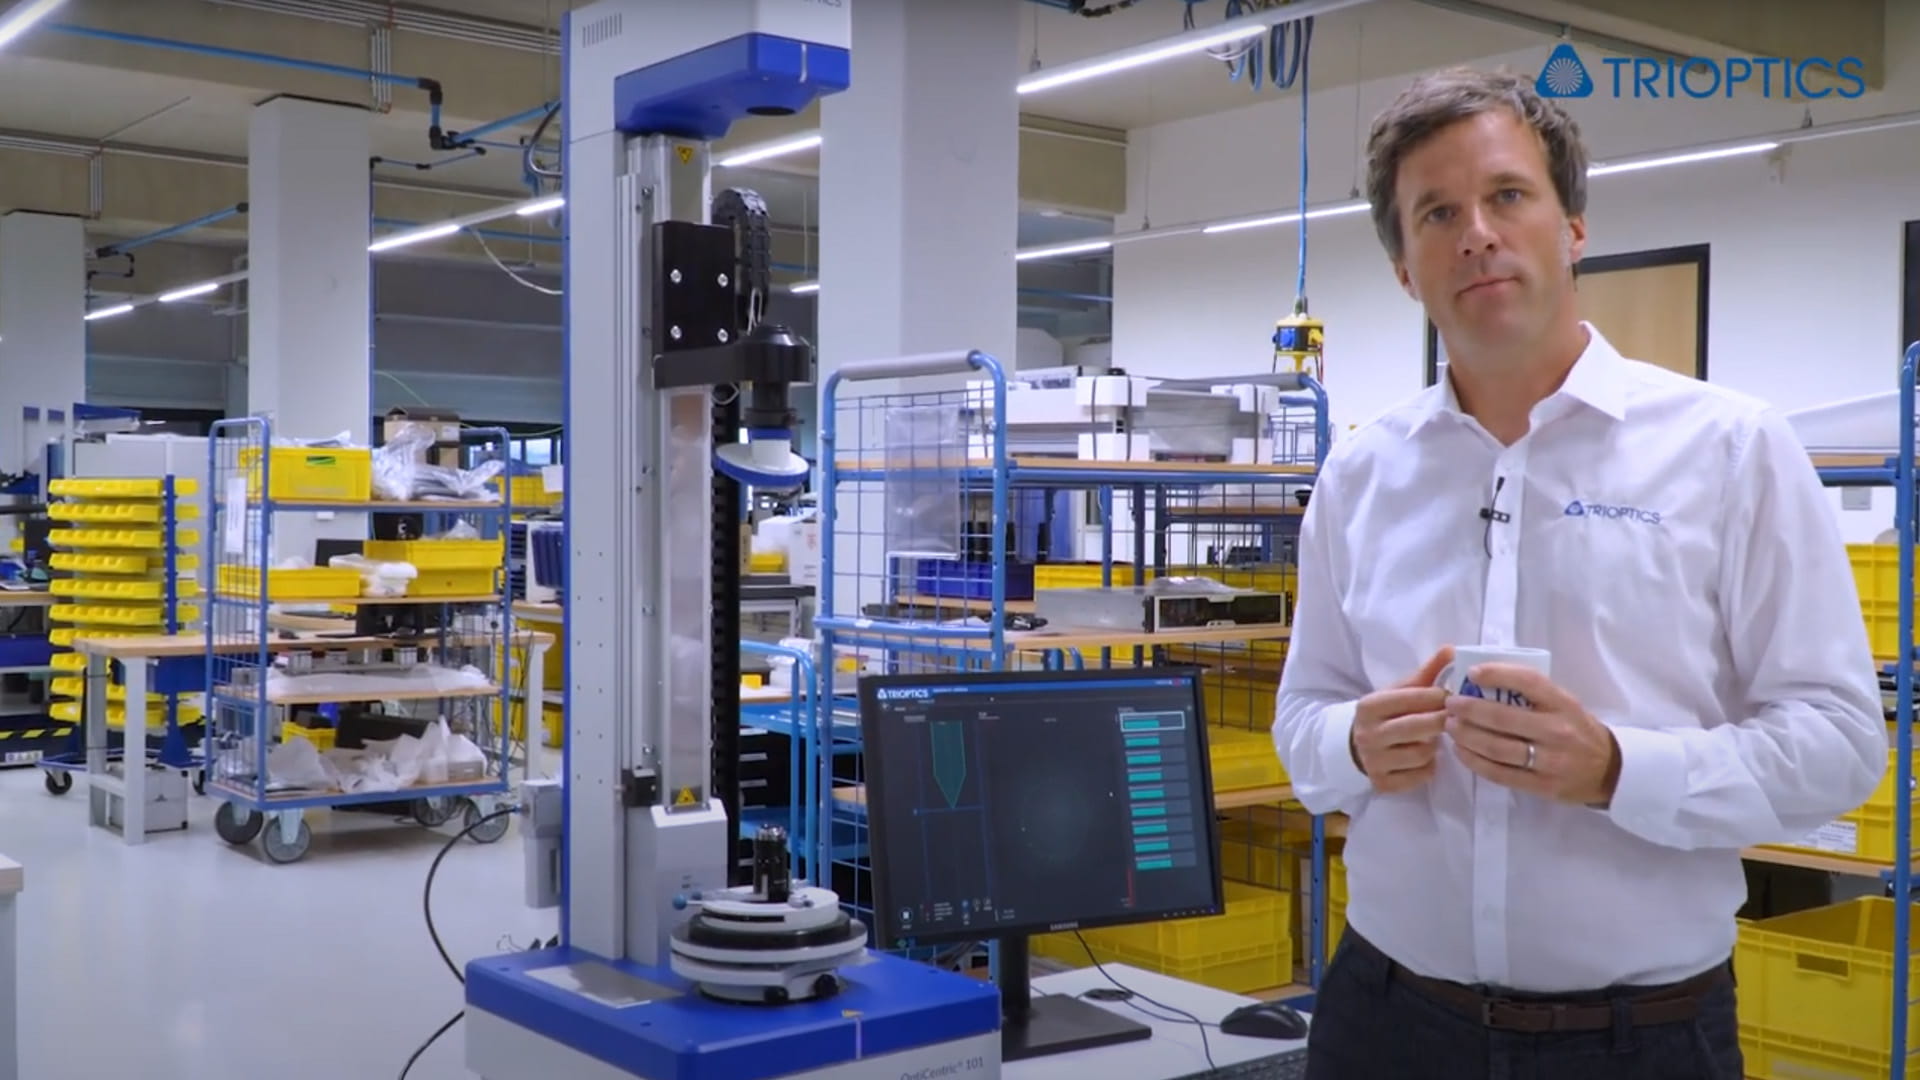
Static is the new benchmark
OptiCentric® 101 with static autocollimator
Are you enthusiastic about the increase in quality that can be achieved through alignment bonding, but do not use a UV adhesive or have identified adhesive shrinkage as a critical factor in achieving your quality requirements? Then take a look at our alignment turning machines!
Knowledge base
- Centration measurement, lens alignment, cementing and bonding of lenses
- Principle of the centering error measurement in reflection and transmission mode
- Centration measurement
- The alignment
Centration measurement, lens alignment, cementing and bonding of lenses
The precise centration and alignment of a lens is crucial for the image quality of the optical system. According to ISO 10110 a centration error is given when the optical axis of a lens do not coincide with a reference axis, respectively these are different in position and direction. Centration errors occur when cementing, aligning and fixing lenses, so the precise requirements in optical systems can be best met if all manufacturing steps are uniformly designed and incorporated into one measurement and manufacturing system.
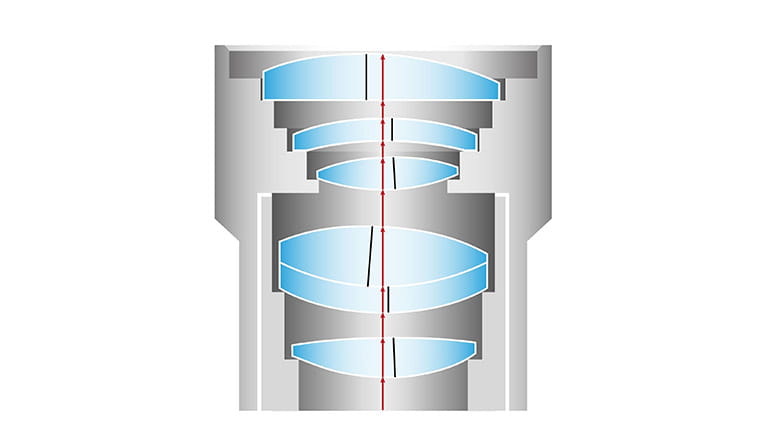
Centration errors of lens assemblies
Centration errors have a decisive influence on the optical imaging quality of an imaging system. A centration error is present if the axis of symmetry of an optical element does not coincide with a given reference axis. The reference axis of a lens, for example, can be given by the symmetry axis of the mount cell. The centration error is given as an angle between the optical axis of this element and the reference axis. A centration error may also be given as the distance between a center of curvature to another reference point on the reference axis.
The drawing provides an overview of the optomechanical parameters OptiCentric® instruments are capable to measure:
- Translational displacement of a lens
- Tilt of a lens
- Surface tilt error of a spherical surface
- Cementing error
- Tilt of the aspherical axis
- Air gaps and center thicknesseses
OptiCentric® is able to precisely define all of these errors in accordance to ISO 10110-6..
Principle of the centering error measurement in reflection and transmission mode
In order to measure the centration of a lens, it is a requirement that the lens rotates around a precise reference axis. In most cases this axis corresponds to a pivot bearing axis which is decisive for the precise measurement of the centration. In addition, there are two different ways to measure the centration of a lens; a distinction is made between measurement in reflection and in transmission.
Centration measurement in reflection
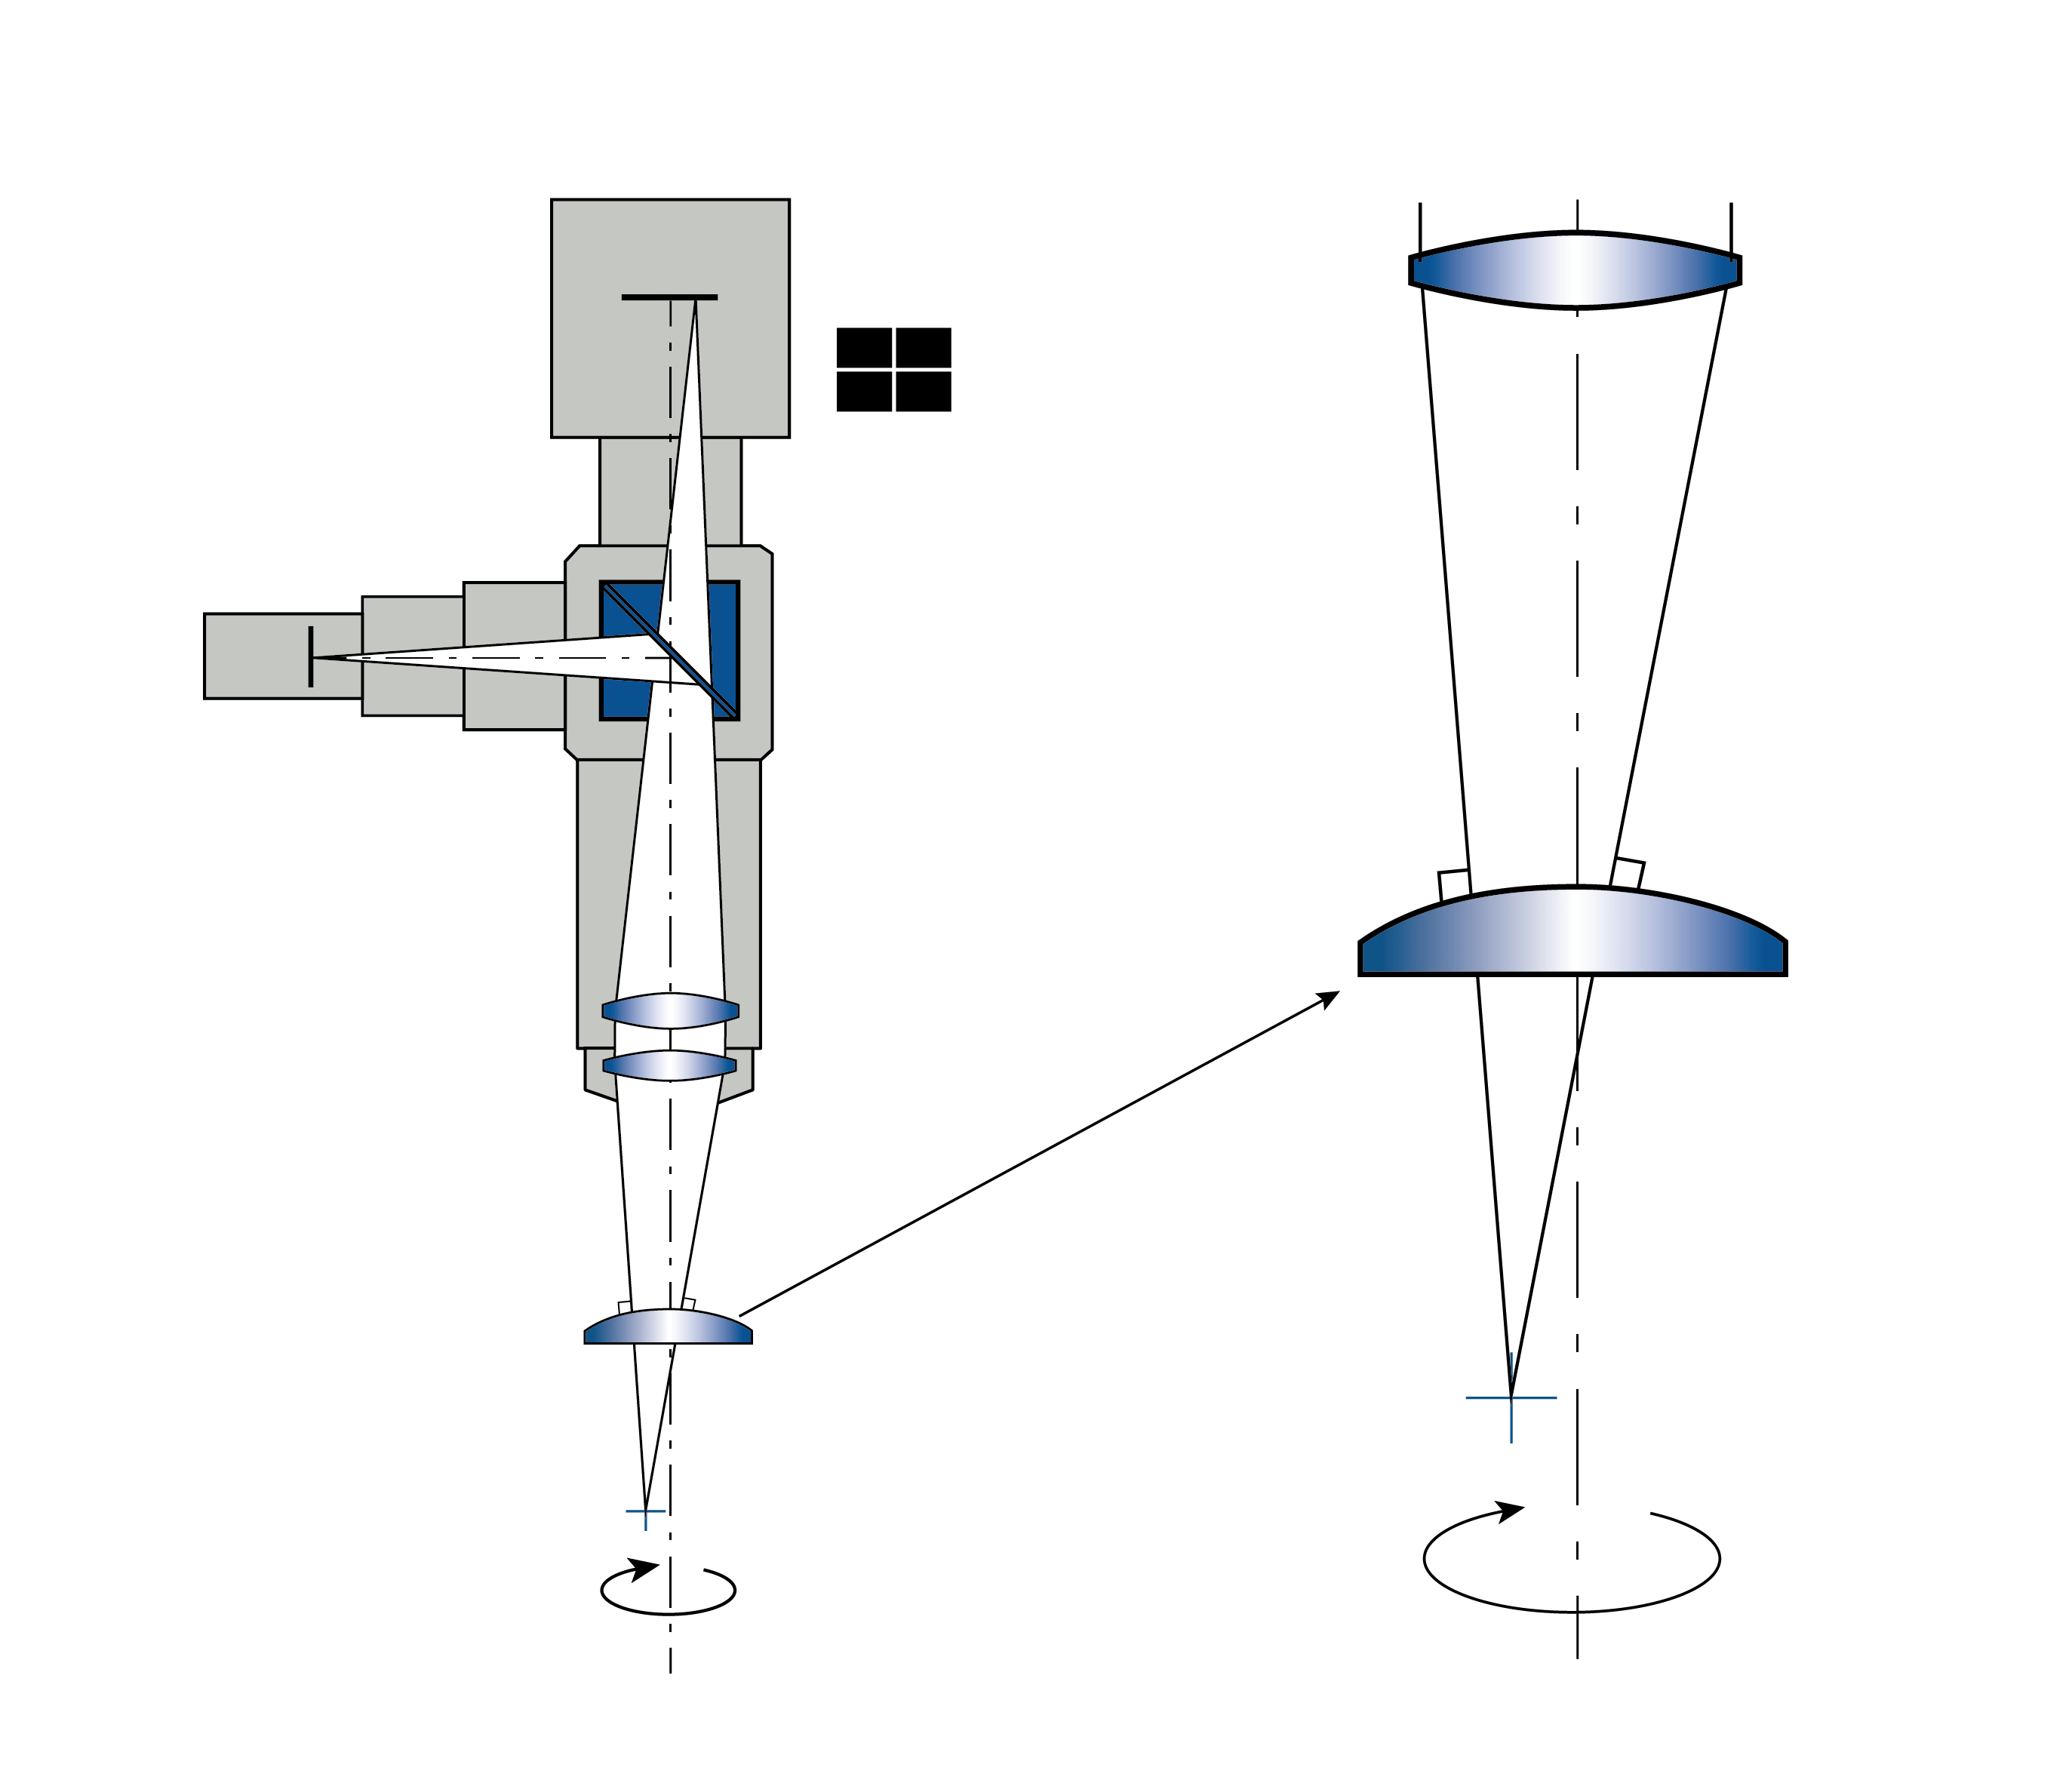
Centration measurement in reflection
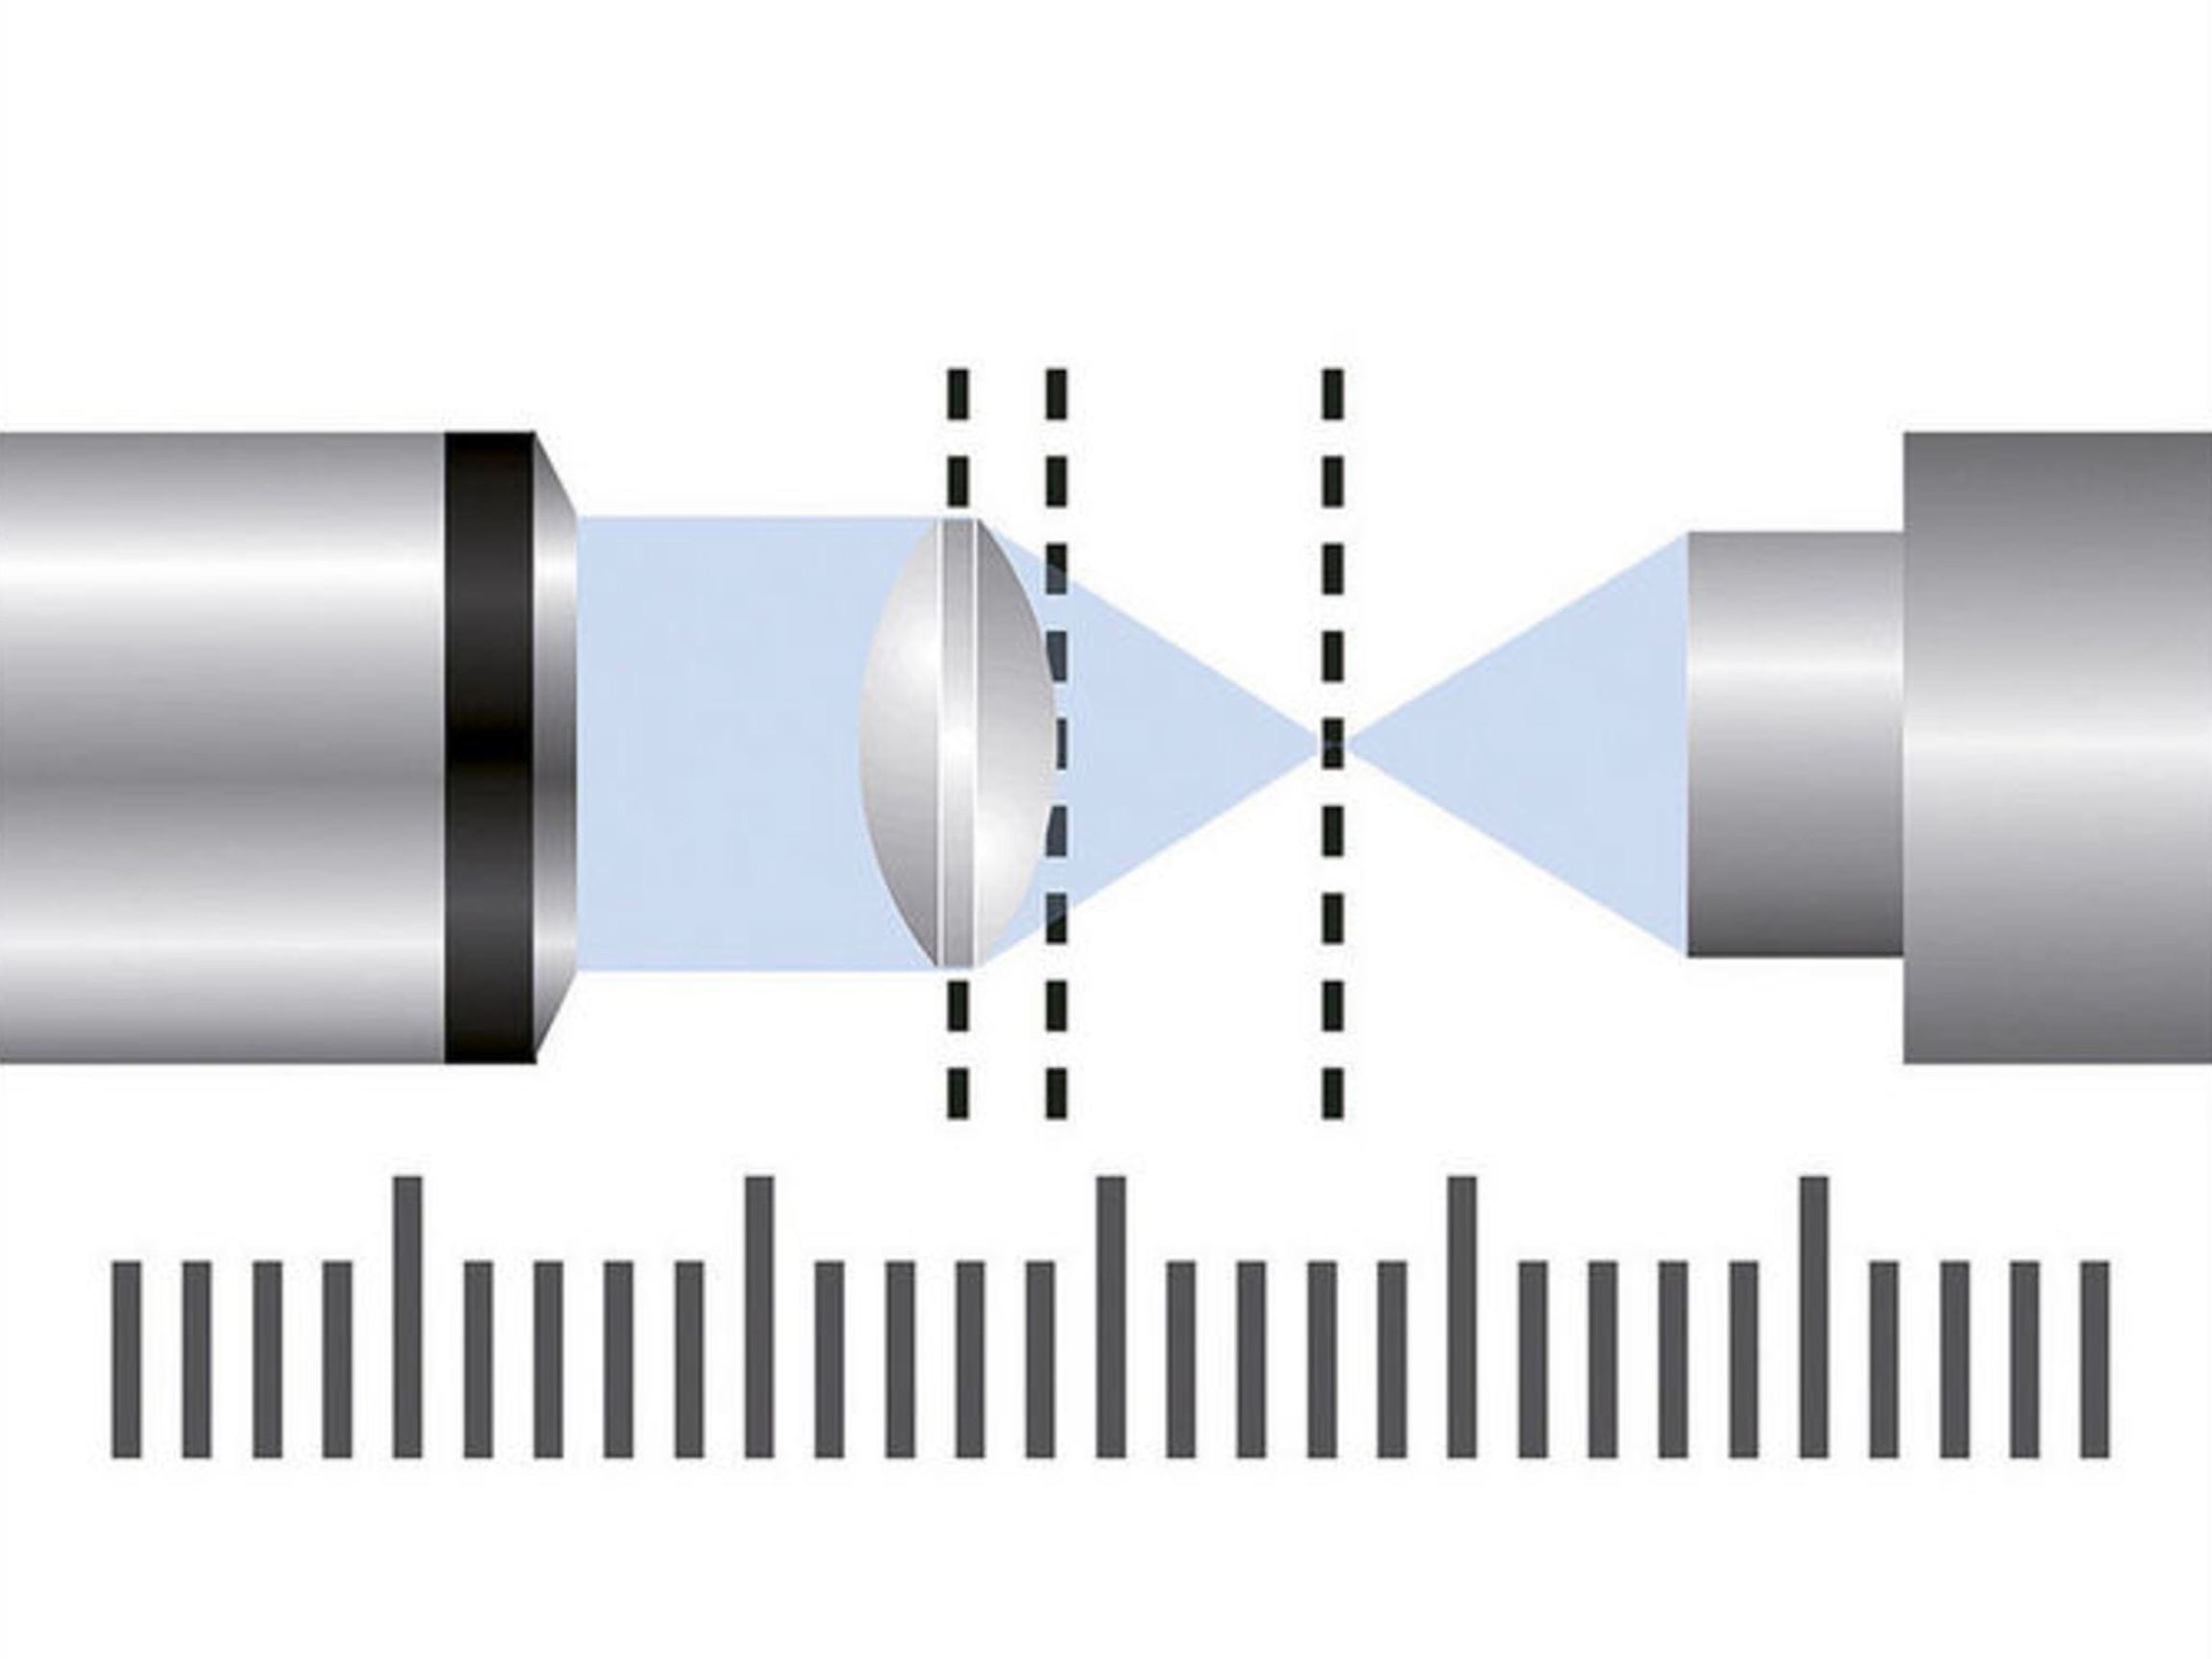
The OptiCentric®system, equipped with an autocollimator head with reticle and corresponding head lens, is used for measurement in reflection.
To perform the measurement the measurement head with the head lens is focused on the center of curvature of the lens surface being tested. The resulting reflected image of the reticle is observed using the camera integrated into the measurement head and analyzed with the software. If there is a centration error, the observed image describes a circle while the sample rotates on the reference axis. The center of the described circle is on the reference axis. The radius of the circle is proportional to the centration error and describes the distance from the center of curvature of the lens surface to the reference axis. If the centration error is described as an angle, this is called a surface tilt error when measuring in reflection. (See also ISO 10110).
Centration measurement in transmission
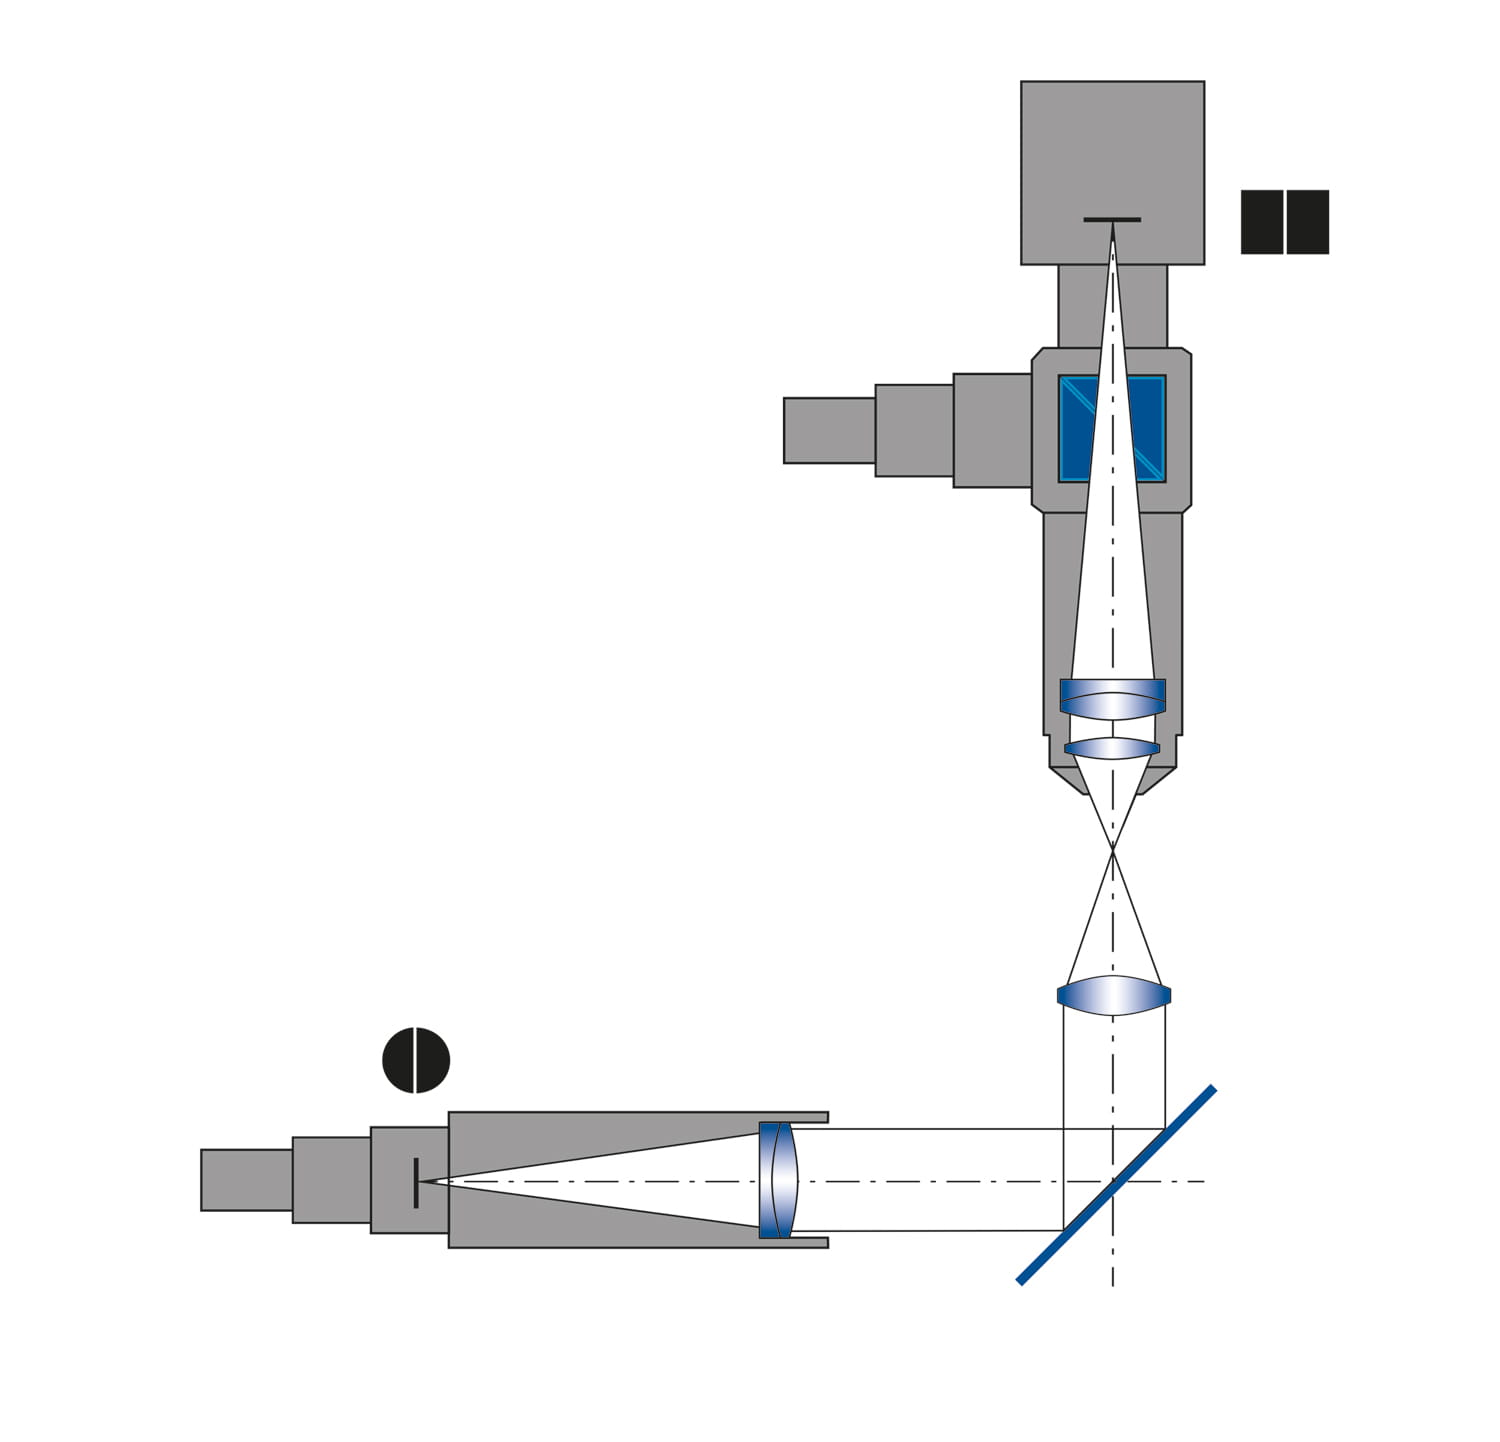
Centration measurement in transmission
When measuring in transmission the OptiCentric® system is also fitted with the autocollimator head and appropriate head lens. In addition, the system must be fitted with a collimator with reticle in the base of the measurement system for measurement in transmission. During measurement in transmission, the parallel light from the collimator forms an image of the reticle in the sample’s focal plane, which the head lens of the autocollimator head focuses on. The image can then be analyzed using the camera.
If there is a centration error the image describes a circle in the same way as with measurement in reflection. The radius of the circle corresponds to the distance between the reference axis and the focal point. As an angle the centration error can be specified as the inclination of the chief ray when measuring in transmission.
Comparison between reflection and transmission mode
Comparison between reflection and transmission mode
The reflection and the transmission values are different and may be compared only to a limited extent. A simple relationship between the two measurements for the centration error of a single lens (without a mount) is given by:
T = (n – 1) × R
T: Angle deviation in transmission mode
n: Refractive Index of glass
R: Surface tilt error of top surface (Result of measurement in reflection mode)
Using the transmission method it is fundamentally not possible to distinguish which of the lens surfaces is afflicted with a centration error. In certain cases a lens measured in transmission may not display any centration errors, even though the lens is installed askew in the mount. Centration error measurement in reflection provides clear geometrically interpretable results for a single optical surface.
Both methods should be considered to achieve efficient optical production.
Centration error of single lenses
Centration error of single lenses
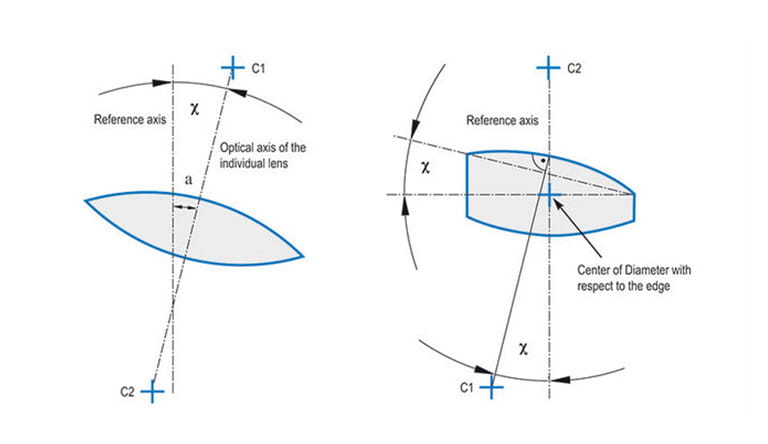
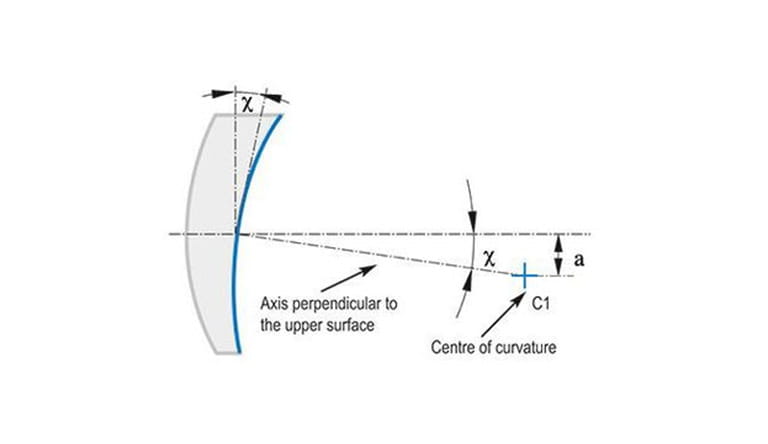
The optical axis of a single lens is the line connecting the centers of curvature of the two spherical surfaces. The centration error is now defined using the angle „χ“ and the distance „a“ to a given reference axis. The centration error of a single lens can also be represented relative to the edge of a lens. In this case, the centration error is called the surface tilt error or wedge error of the lens. The reference axis is taken to be a line through one of the centers of curvature and the center of the diameter of the lens. The surface tilt error of the upper surface is given relative to this reference axis.Centration errors of aspherical lenses
Centration errors of aspherical lenses
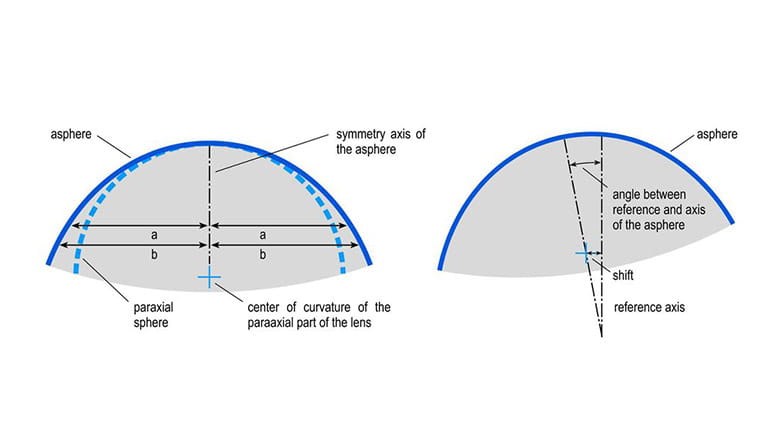
In contrast to spherical surfaces, rotationally symmetrical aspherical surfaces have an axis of symmetry. The goal of centration error measurement is thus the determination of the orientation of this axis of symmetry relative to the reference axis.
To do this, the following two values must be determined for an aspherical surface:
- The shift of the paraxial center of curvature from the reference axis
- The angle of the aspherical axis of symmetry from the reference axis
The shift corresponds to the classical centration error of spherical surfaces, and is measured in the same way using the electronic autocollimator.
For measurement of the angle of aspherical lenses, an additional sensor is needed – for TRIOPTICS, this is the AspheroCheck® sensor. It measures the run out on the outer edge of the aspherical surface. Once the shift and angle of the aspherical surface have been determined, this data can be used to calculate the following parameters:
- Shift and tilt of the asphere relative to the primary reference axis of the measurement system (corresponding to the axis of rotation)
- Shift and tilt of the asphere relative to the “optical axis” of a single lens. The “optical axis” is the line through the centers of curvature of the spherical part of the lens
- Shift and tilt of the asphere relative to a reference axis according to DIN ISO 10110-6, if an additional distance sensor is used
- If a lens consists of two aspherical surfaces: Angle and shift of both aspherical axes
Centration errors of cylinder lenses and anamorphic lenses
Centration errors of cylinder lenses and anamorphic lenses
The challenges associated with the measuring of cylinder lenses lie in the various forms in which lenses are manufactured. They vary in their surface and base area as well as their mount type.
Characteristic forms of cylinder lenses
Just as spherical lenses, cylinder lenses are roughly divided into categories according to their two optical surfaces. The following types of lenses can be distinguished:
- Cylindrical – plano
- Cylindrical – spherical
- Cylindrical – cylindrical
Mostly, cylindrical lenses are used that are processed plano on one side, also because cylindrical plano lenses can be metrologically characterized much easier. However, also other forms of cylinder lenses as well as lenses can be measured with the OptiCentric® systems.
Since cylinder lenses do not possess a rotational symmetry around an axis, the outer edge of the lens is often not rotationally symmetric. Thus, they can be further divided into:
- Lenses with a square area
- Lenses with a round area
Upon every measurement, the specific lens type plays a crucial role. Depending on the design of the cylinder lens and the measuring task, various sensors and evaluation programs must be implemented to check the accuracy with which the lenses were manufactured. Essentially, all kinds of cylinder lenses can be measured with the OptiCentric® systems.
For a description of the centration error of cylindrical lenses a reference axis must be chosen. This can, for example, be the reference edge at the lens or a chamfer on a mechanical mount, into which the lens was inserted. Therefore, the mount is another distinctive feature by which a cylinder lens can be classified
- Unmounted lens
- Mounted lens
Metrological challenges associated with the measuring of cylinder lenses
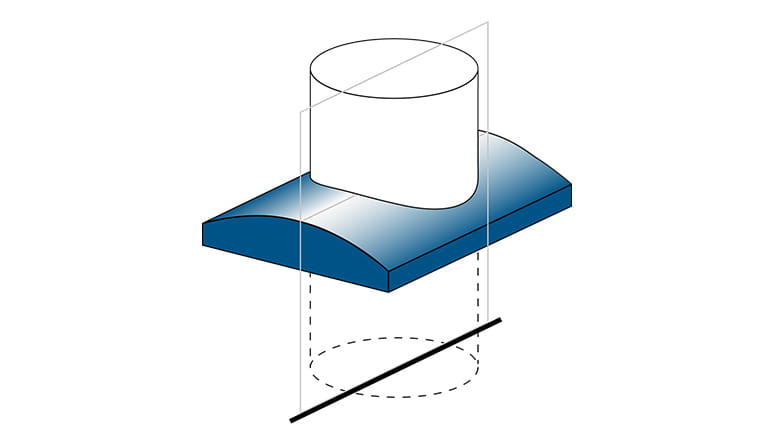
Due to the asymmetry of cylindrical surfaces, quality tests of cylinder lenses are considerably more complicated than those of spherical lenses. The center of curvature of a spherical surface is clearly defined by its position that can be easily determined.However, a cylindrical lens area shows a radius of curvature only in one direction. In the case of cylinder surfaces, the center of curvature characteristic for spherical surfaces therefore represents a line – here called cylinder axis. This is one reason why the measurement of cylinder surfaces is more complicated than the measurement of spherical lenses. For the evaluation of this cylinder axis, not only its position, but also its alignment must be measured.
In the direction of the uncurved lens surface, a cylinder surfaces reacts just like a plane surface. Therefore, not only errors known from spherical lenses occur during the complete characterization of all attributes of cylinder lenses, but also typical errors known from plano optics. These lens attributes increase the metrological complexity.
For a better demonstration of the characteristic features of cylinder lenses, the position of the cylinder axis is generally referred to as apex line. This line corresponds to the cylinder axis projected along the optical axis on the lens surface.
Centration errors of optical surfaces within an assembled lenses
Centration errors of optical surfaces within an assembled lenses
In order to measure single optical surfaces, the exact tilt error and/or exact position of the center of curvature to a given reference axis has to be determined. Influences from optical surfaces and elements located before the surface under test are taken into account using optical calculation including the centration error of these surfaces. That means that the centration error of all further surfaces must be iterated from that of the first.
Typically, up to 20 surfaces can be measured from one side using this method. If a second measuring head is used, such as in the OptiCentric® Dual, which calculates the centration error from the bottom side, more than 20 optical surfaces can be measured.
For this application a special software module MultiLens has been developed. The MultiLens measurement provides the exact XYZ coordinates of all centers of curvature in the space. The measured data support further analysis of the lens system and additionally provide the following data:
- Calculation of the optical axis of any single lens of the system.
- Assessment of the optical axis of single sub systems or the entire optical system
- Calculation of the distances and angles between optical axis and „best fit“ line.
- Calculation of the position single lenses and lens group with respect to a mechanical axis.
Centration errors of infrared lenses
Centration errors of infrared lenses
For testing single lenses and completed assemblies that are only transparent in the infrared range, TRIOPTICS provides measurement heads specifically designed for the infrared wavelength ranges. Typical applications include the testing of lenses and assemblies for civil and military applications. Lens materials such as Ge, Si, ZnSe, ZnS or CaF2 are used in particular for use in thermal imaging and residual light systems.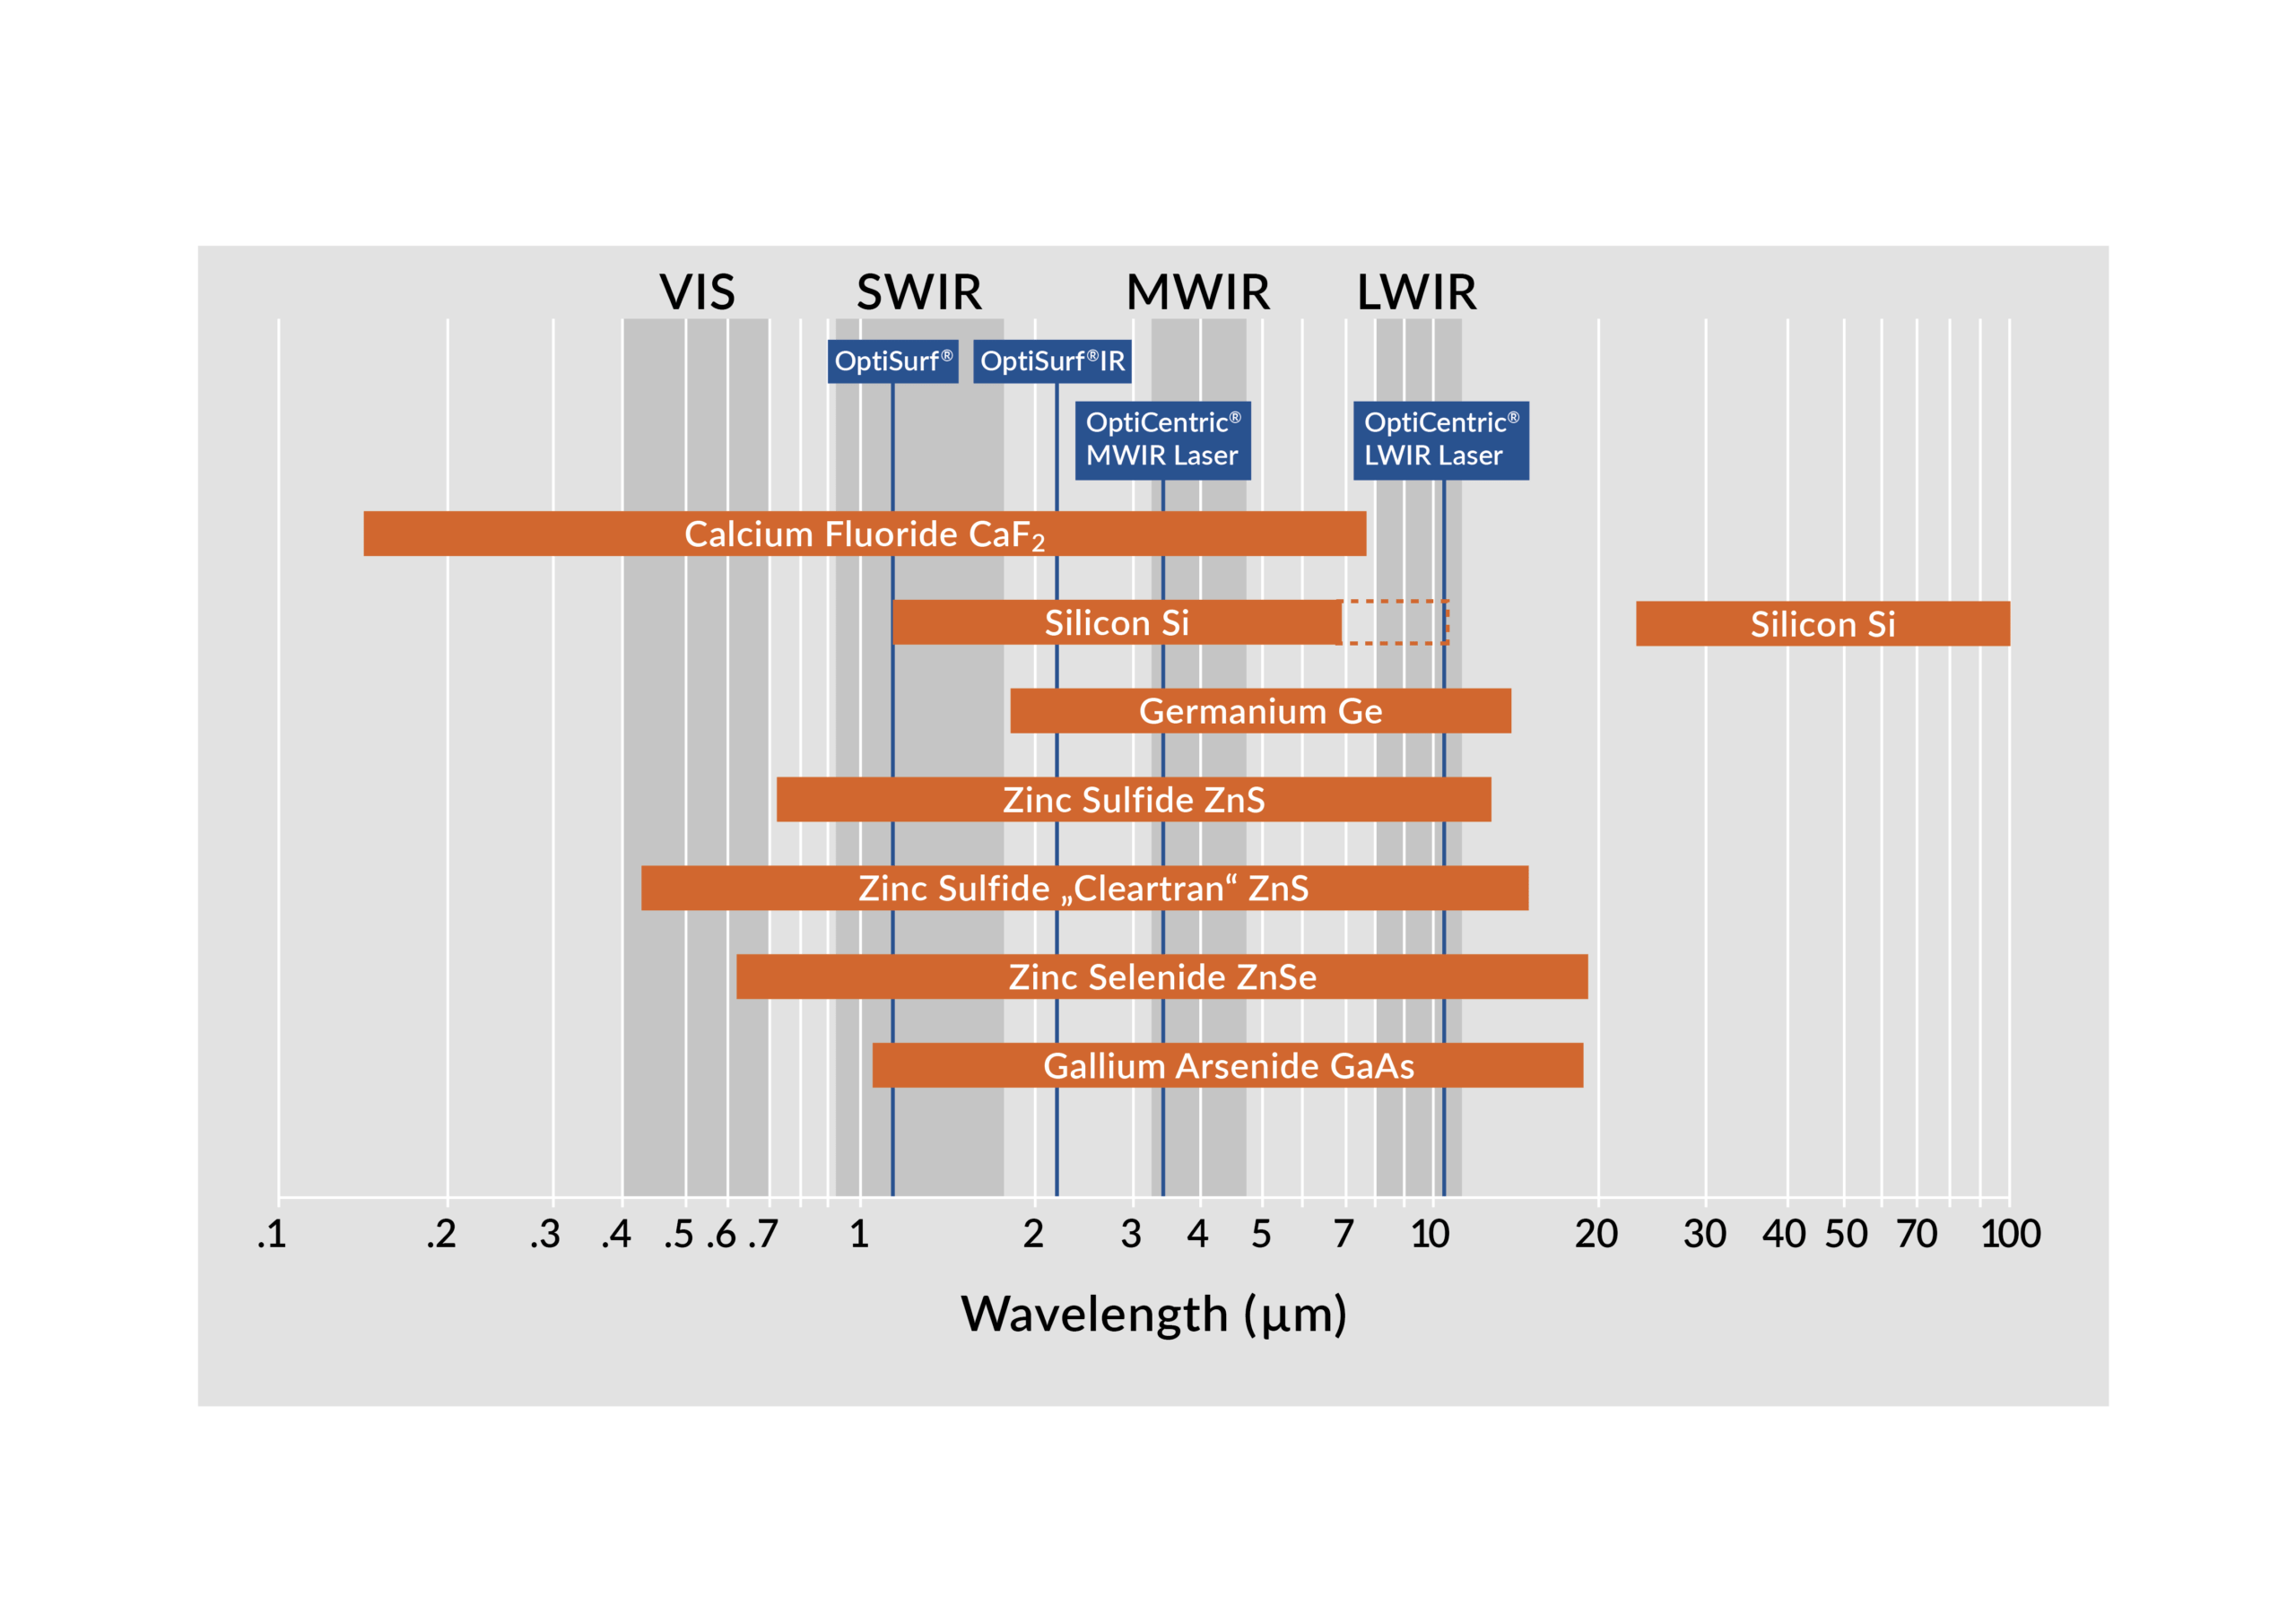
Infrared spectral ranges
The infrared wavelength range is divided in three distinct ranges for imaging applications. These bands exhibit high transmission of light through air and are separated by strongly absorbing bands in the spectrum. The three imaging infrared ranges are: short wave infrared (SWIR) from 0.9 to 1.7 µm, medium wave infrared (MWIR) from 3 to 5 µm and finally long wave infrared (LWIR) from 8 to 12 µm wavelength. Since the centering error measurement in reflection provides geometric information about the lens system to be examined, the wavelength of the light source used for the measurement is independent of the actual design wavelength of the optics. Instead, the appropriate autocollimator can be selected based on the transmission bands of the materials used and the surface coatings.For an overview about compatible materials and the wavelength regions covered by the available measurement heads please refer to adjactent drawing. Silicon is a special case as the trans-parent region depends on the doping level and dopant type, so a LWIR head might be a suitable depending on application.
Differences to VIS from the operator side
In contrast to VIS systems, the light emitted from the focused autocollimator head cannot be seen by the naked eye which is however no problem in practice for aligning the sample. Apart from that, the operation of the infrared systems is not different to the VIS systems, so a user can be quickly trained for a new wavelength range.Differences to VIS from a technical perspective
From a technical side, apart from using suitable optics and illumination sources in the measurement heads, the most important difference between visual and infrared range is that in the infrared range every object, including the sample, emits light in this wavelength region, so the instrument needs to compensate for the thermal background before taking a measurement. This is done automatically by the software and requires no operator intervention. Also, the contrast between background and illuminated areas is lower than in the VIS, so specialized image processing algorithms are used to reach the required high resolution.
OptiCentric® in the standard reflection mode relies on back-reflection from the lens surface, so the light intensity of the reflected reticule image strongly depends on the type of coating used. Typically, all infrared imaging lenses are AR-coated, however there is a wide variation in efficiency which the instruments compensates by adjusting illumination power and shutter times where available.
In general, the typical accuracy of the centration error measurement is approximately 1 µm, slightly higher than for the instruments in the VIS, which is due to the longer wavelength and larger pixel size of the cameras used in the autocollimators.
Centration measurement, alignment and bonding for mounting lens in cells
SmartAlign for efficient lens alignment, cementing and bonding of lenses
The SmartAlign algorithm is part of the OptiCentric® software and ensures that the lenses can be aligned to any arbitrary reference axis. Depending on the manufacturing process, the reference axis is defined for example as the optical axis of the bottom lens of an doublet, as the axis of rotation or the axis of an arbor. Because of this flexibility, it is possible to adapt the OptiCentric® Cementing and Bonding Stations to a wide variety of manufacturing processes of our customers.Bonding 5D
Bonding 5D
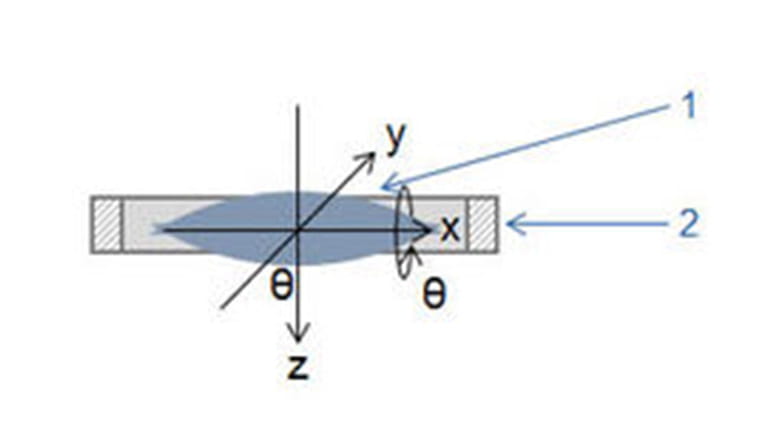
OptiCentric® Bonding 5D permits alignment in five degrees of freedom.
- 2 lateral translations
- 2 tilt angles (θx, θy)
- 1 axial translation (z)
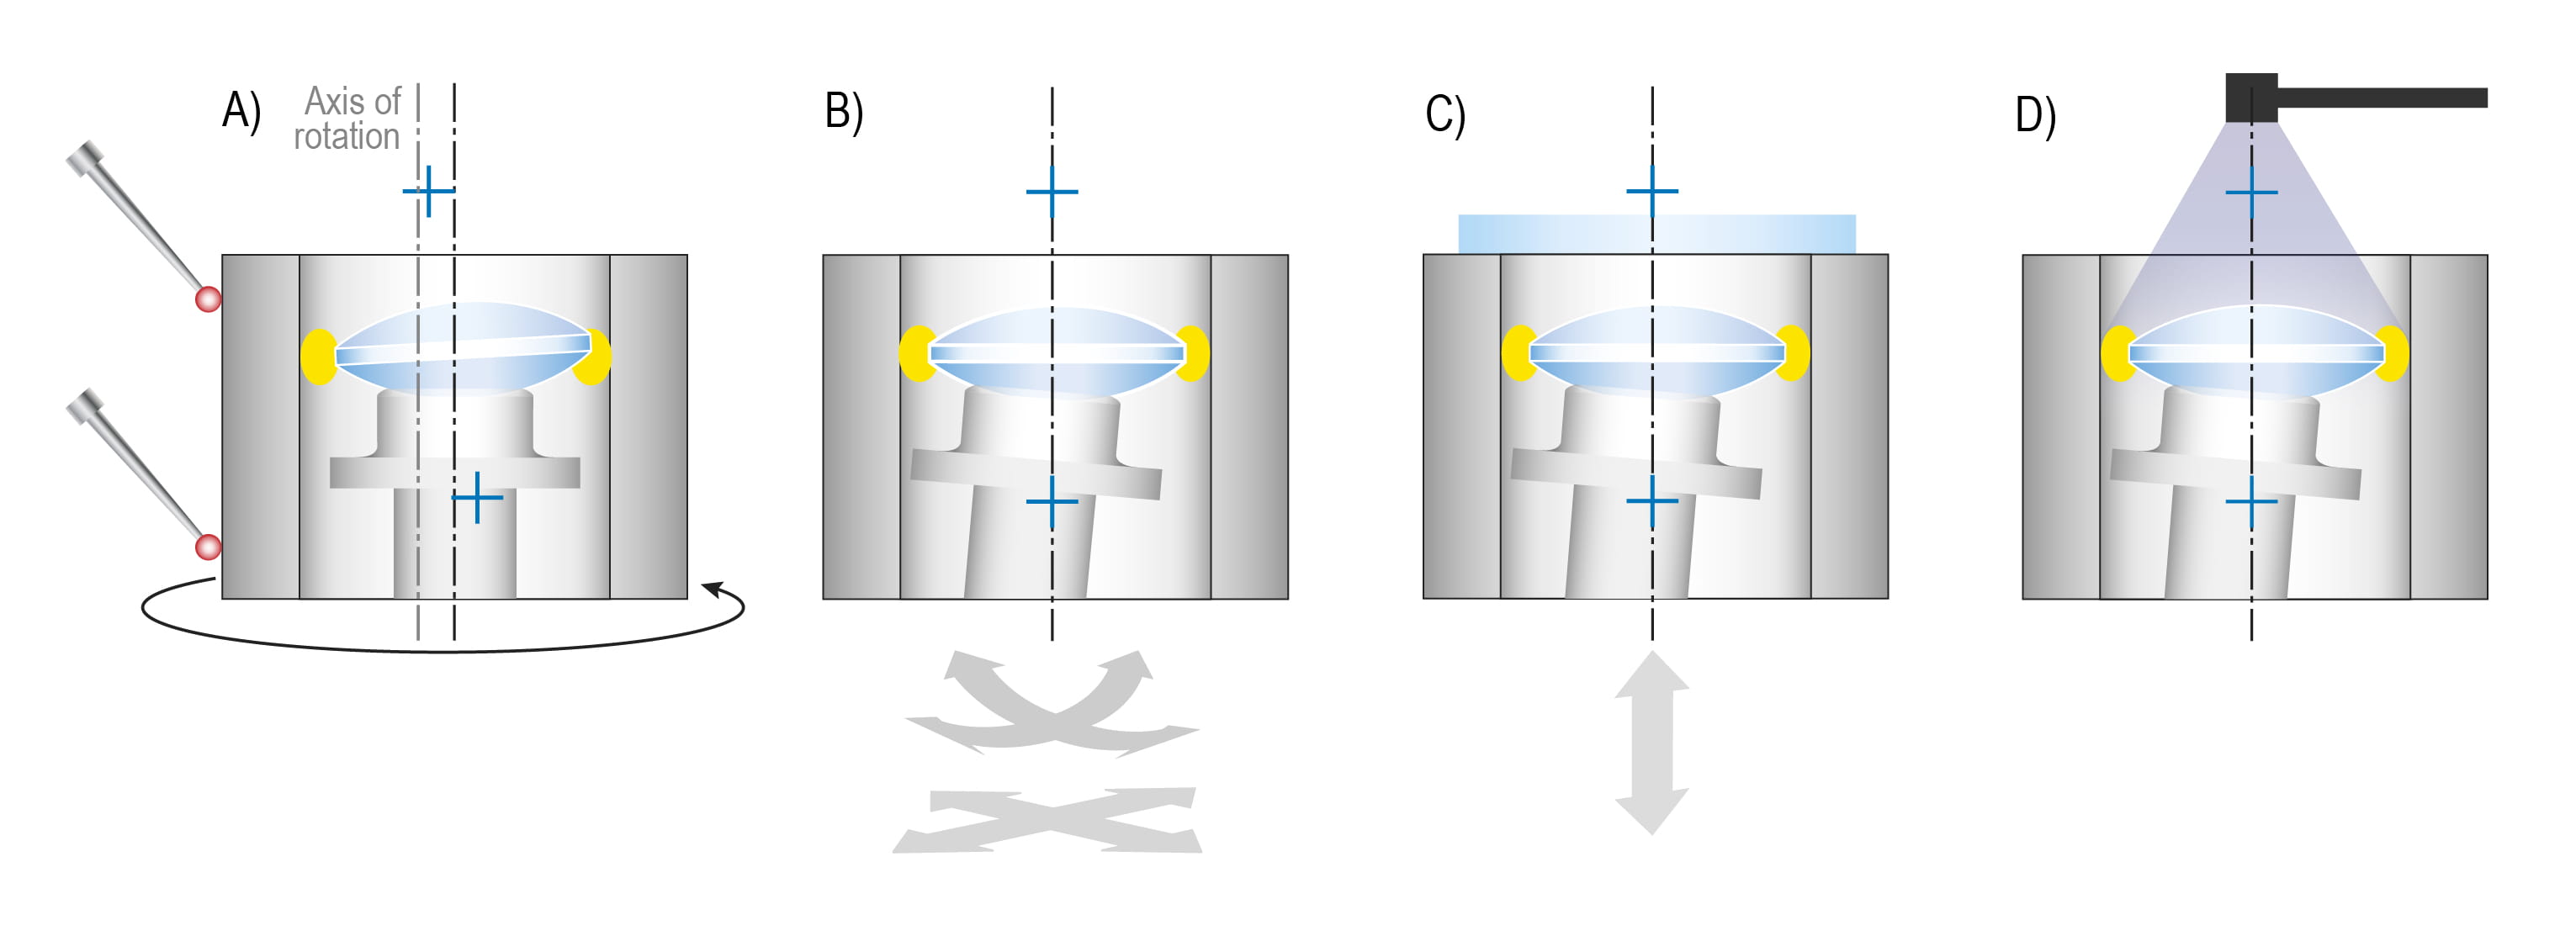
Method steps with OptiCentric® Bonding 5D:
- The adhesive is applied and the positions of the axes of the lens and mount are measured
- The lens is aligned in four degrees of freedom: x, y, θx, θy
- The axial distance between the apex of the lens and a reference surface is measured and the lens is axially aligned
- The adhesive is cured
The lens is positioned free-floating in the cell and aligned following adhesive application. The lens is automatically positioned within the cell automatically so that the optical axis of the lenses and the symmetrical axis of the cell correspond with respect to tilt and shift. In addition, OptiCentric® Bonding 5D determines the axial distance in the z-direction between a reference surface (flange) and the lens vertex and then shifts the lens also axial to the target position. By means of SmartAlign technology, the lenses can be aligned to a freely chosen optical or mechanical reference axis. Depending on the production process, the reference axis is defined as the optical axis of a lens or as the rotation axis of a cell. SmartAlign technology thus saves a great deal of time in the alignment process and offers maximum flexibility in the manufacturing process. Pre-alignment of the lens is not required.
The adhesive is then cured, normally with UV light. The special adhesive properties must be taken into consideration here, of course, as they influence final positioning.
With OptiCentric® Bonding 5D, the entire process of lens alignment and bonding can be automated. Highly accurate results of < 1 µm in x, y, z axes and < 2 arcsec in θx, θy can be achieved, regardless of the operator, with existing know-how – including adhesive shrinkage. The method is suitable for all cell materials and is independent of cell geometry. OptiCentric® Bonding 5D can be quickly converted to different sample types with great flexibility. This technology is also particularly suitable for clean room applications.
The new process necessitates a new way of thinking, both in the manufacturing process and in the designing of samples. If a recess is no longer required in the cell, it can still be useful for receiving the sample. However, it must be ensured that the lens does not lie on the recess, but instead “floats” a few micrometers above it.Our Newsletter – Your advantage in knowledge
Be one of the dirst to experience our product novelties and innovative application possibilities.
