Radius measurement
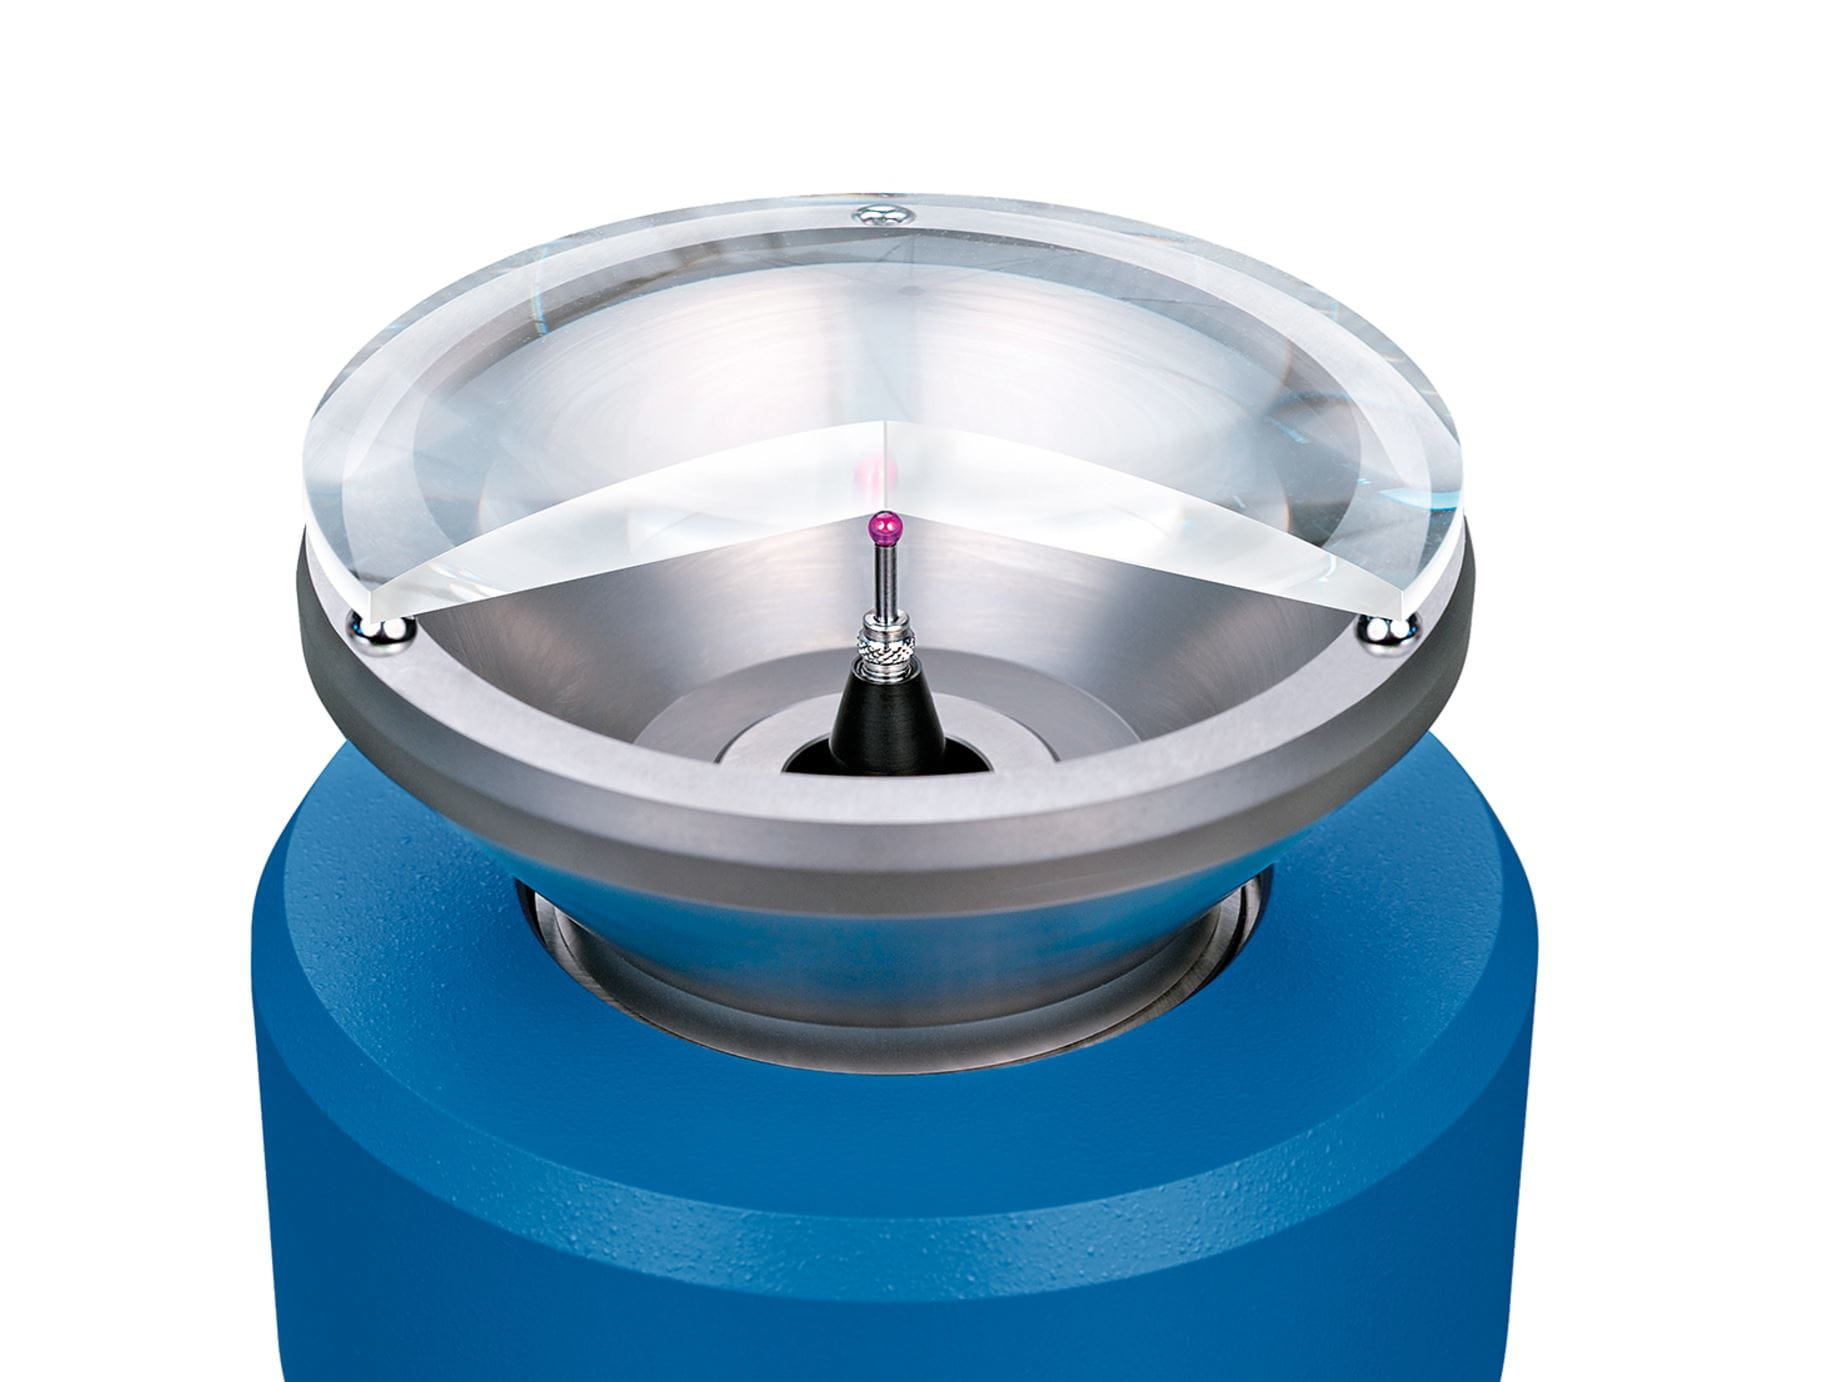
The degree of surface curvature of optical elements is expressed by their radius. It can be measured either tactilely, using a so-called spherometer, or without contact. TRIOPTICS offers solutions for both variants.
Applications

Tactile measurement
Easy to use, accurate and repeatable measurements, fast. Tactile measurement of a radius using a spherometer is perfect for checking the radius of spherical lenses during and after production.

Non-contact measurement
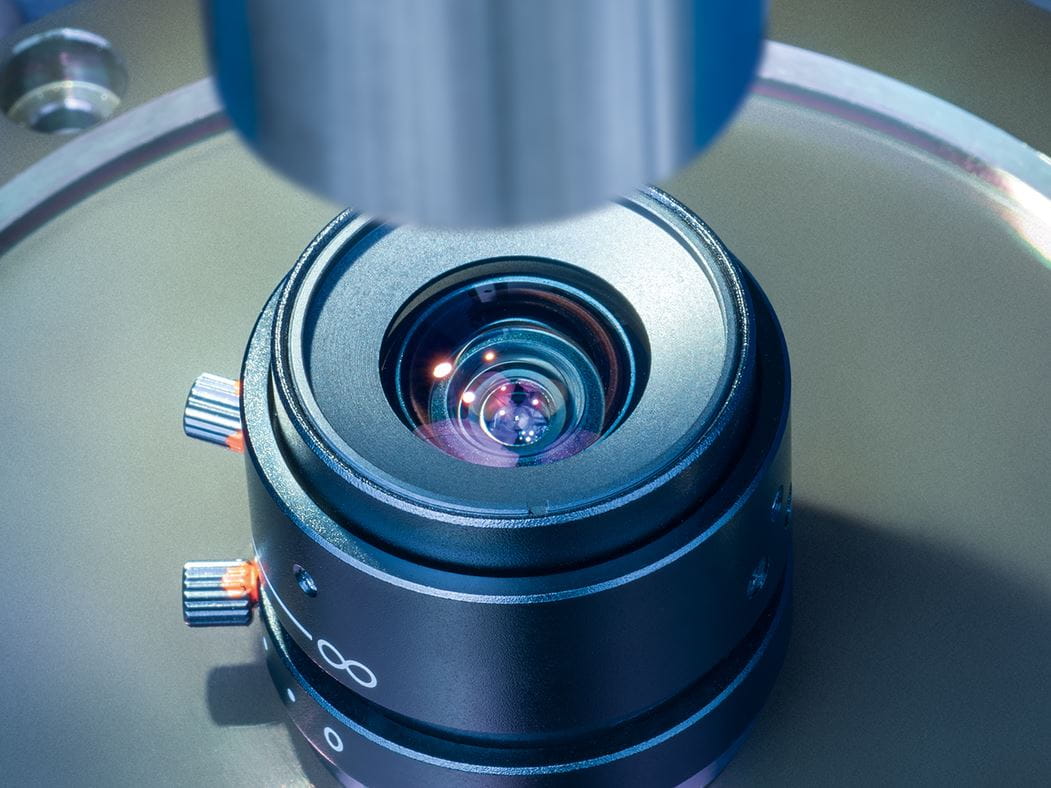
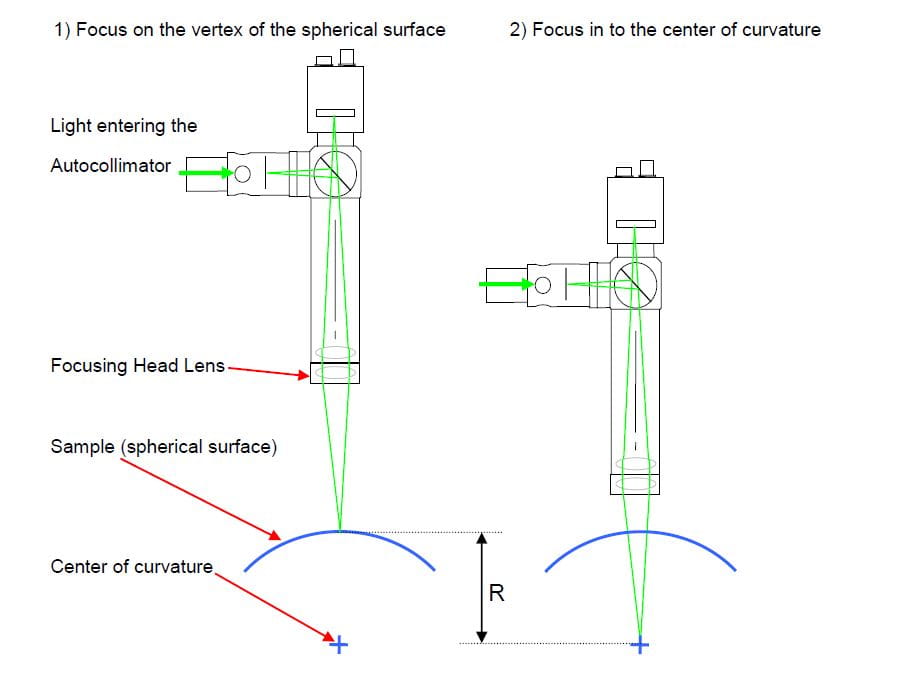
Non-contact measurement of the radius of curvature and other optomechanical lens parameters such as MTF, EFL, BFL and FFL
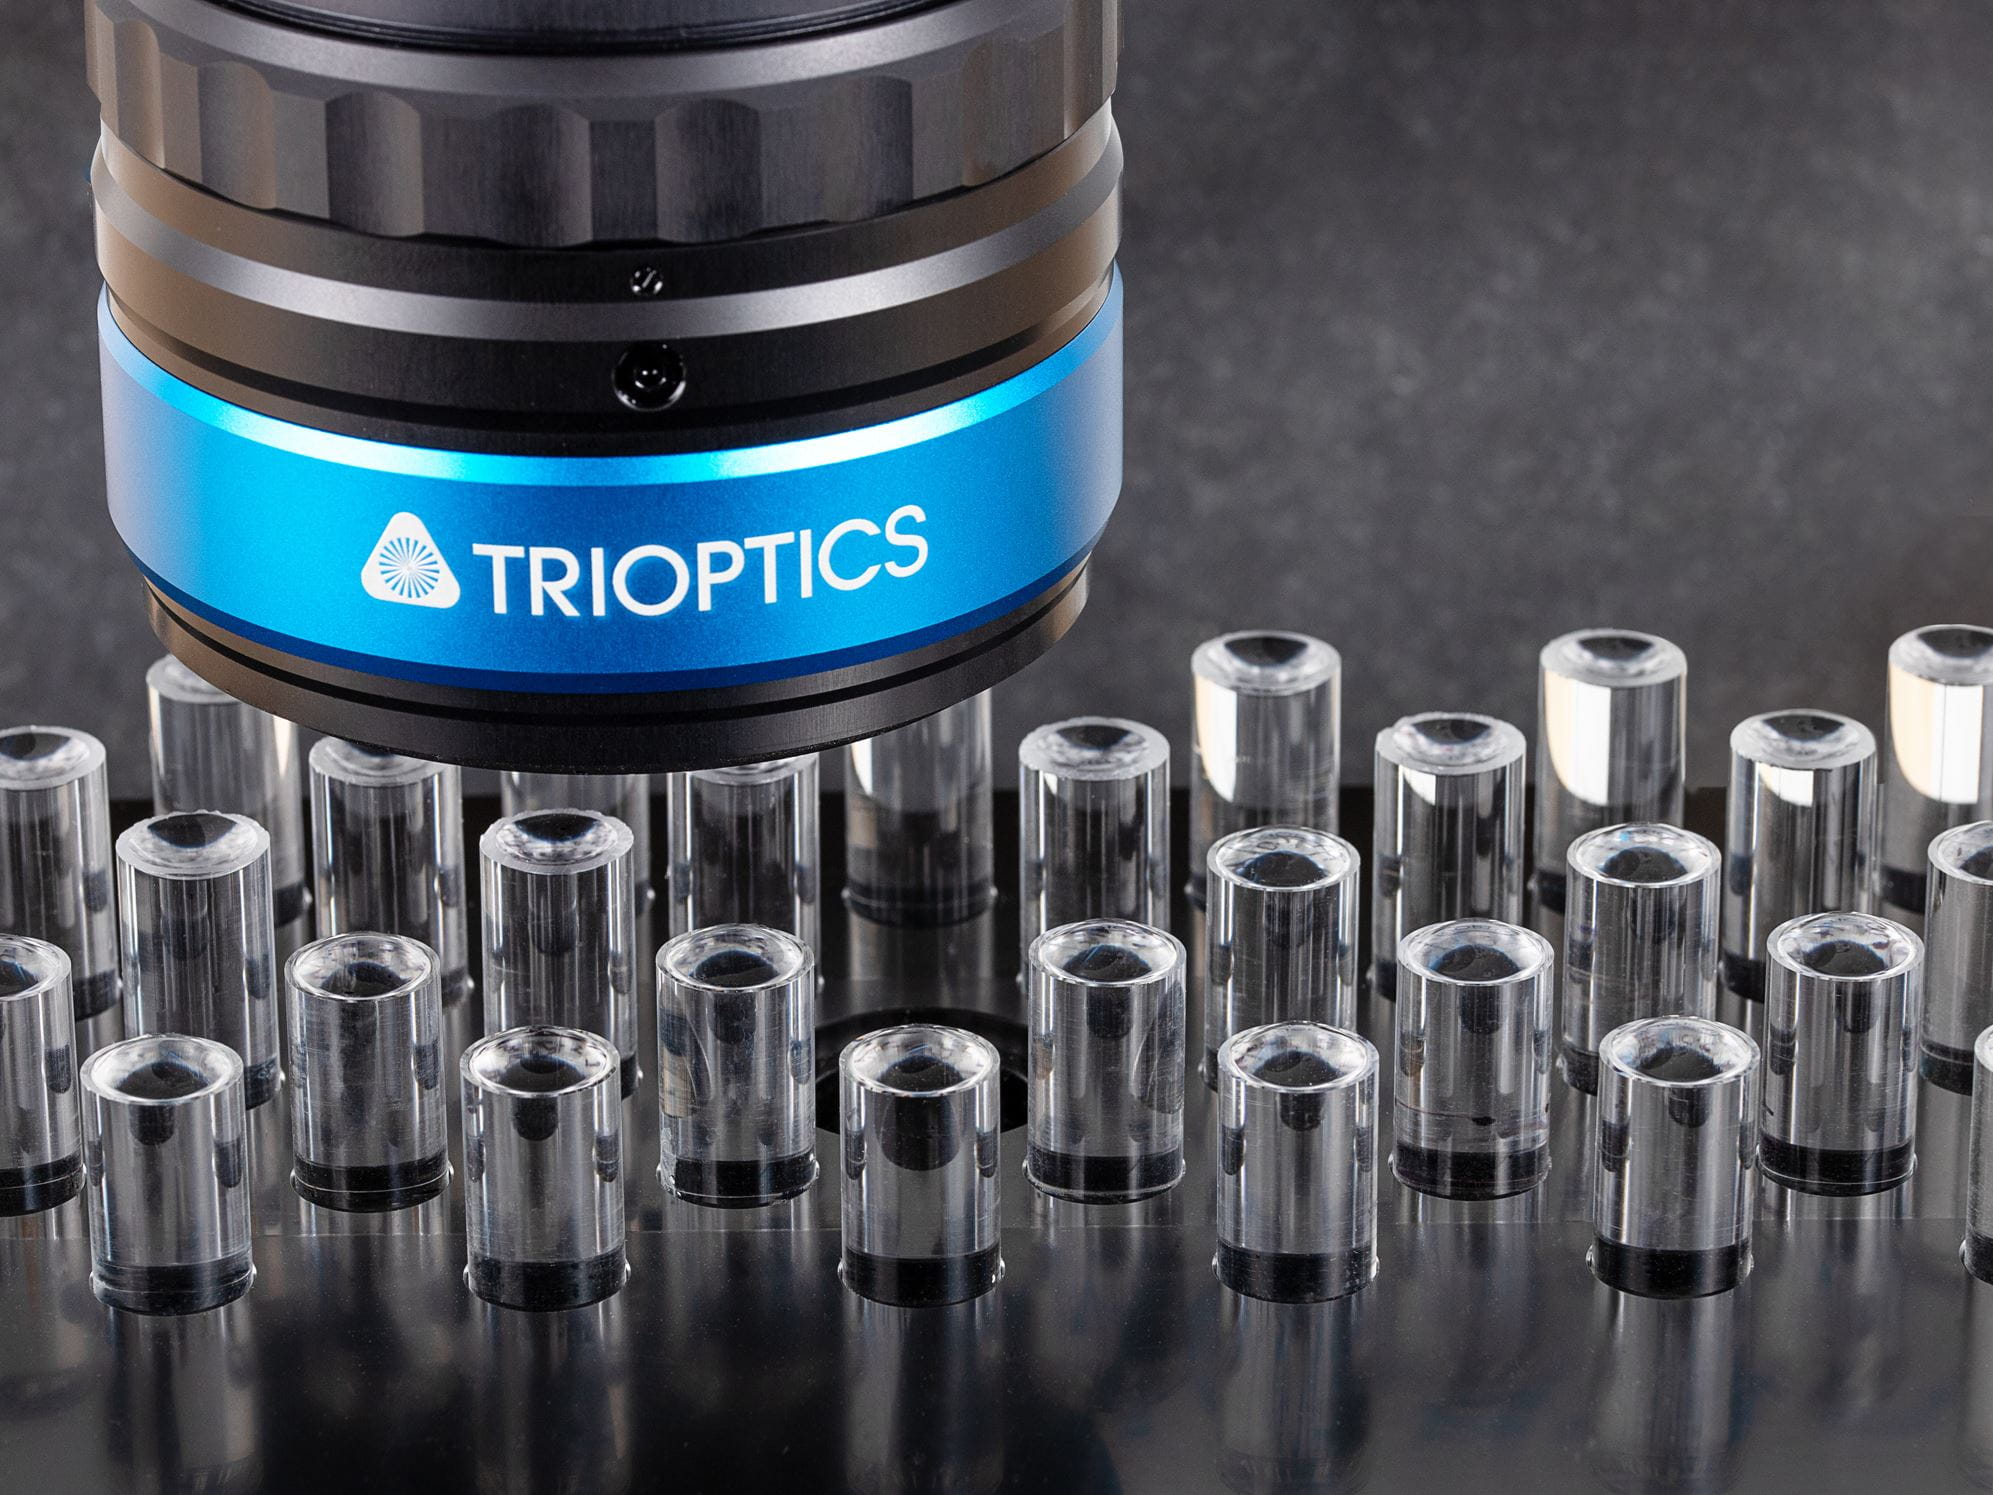
OptiSpheric® is the industry standard for non-contact inspection of basic axial optical and mechanical parameters and is used worldwide to fully measure and qualify single lenses – as well as intraocular lenses – and optical systems. The world’s largest laboratories and major optics manufacturers rely on TRIOPTICS optical inspection systems.

Interferometry
Non-contact measurement of the radius of curvature using interferometry. µPhase® interferometers enable the following measurements and applications:
- Measurement of flat, spherical, cylindrical, toric and aspherical surfaces in reflection
- Measurement of the absolute radius of spherical, toric and aspherical lenses
- Testing of adaptive mirrors
- Measurement of wavefront deformation of transparent samples
- Measurement of contact lenses and forming tools
- Quick offline or online measurement of the tool offset of ultra-precision diamond lathes after tool changes
- Testing of numerous high-precision, non-optical components
- Automotive applications
- Medical applications
Knowledge base
Measurement principle
A prerequisite for precise measurements using the SpheroCompact® and Spherotronic is knowledge of the exact size of the rings used. Thus, during the calibration process at TRIOPTICS, their radius is determined with highest accuracy and certified in an individual calibration sheet.
Before starting the measurements, a precision optical flat is placed on the selected spherometer ring. This determines the reference position (zero point) for the subsequent sample measurement. In the second step, the sample is placed on the ring.
The spherometer measures the sagittal height of the curved lens surface. The radius of curvature is quickly determined from the relationship between the sagittal height and radius.
Compared to other measurement methods, such as interferometry, tactile radius measurements offer considerable advantages:
- The spherometer is a cost-efficient alternative that offers comparable accuracy.
- The short setup time ensures fast working processes.
- The measurement method is easy to learn and use – very little operator training is required.
- Unpolished surfaces can be measured.

Our Newsletter – Your advantage in knowledge
Be one of the first to experience our product novelties and innovative application possibilities.

