TriAngle
Electronic autocollimator for precise optical angle measurement
The TriAngle electronic autocollimators are non-contact optical test tools for the high-precision measurement of angular displacements of specular reflective surfaces and the accurate angular alignment of optical or mechanical parts.
TriAngle autocollimators have a versatile modular design which allows them to be fitted with a wide selection of objective tubes, different sensors, reticles and light sources. With objective tubes of different focal lengths and apertures, the optimum measurement solution regarding angle resolution and measurement range is easily found. The modular design, the large variety of products and the extensive accessories allow the use of the TriAngle autocollimators for various angle measurement applications in optics manufacturing as well as in mechanical engineering.
Highest accuracy
Wide application range
Powerful software
Products
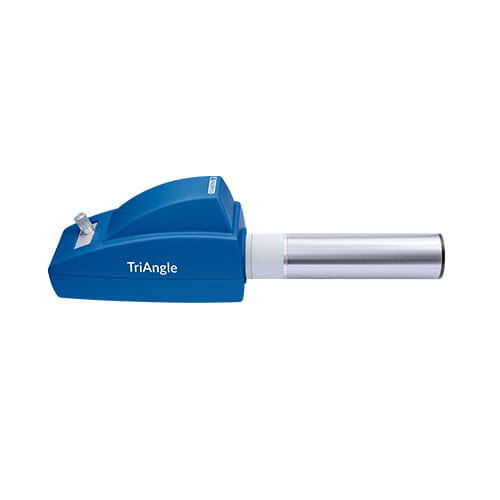
TriAngle
Universal electronic autocollimator
The TriAngle electronic autocollimator is the standard and most universal instrument of the TriAngle series.
- Variable measuring range and accuracy performance between 2.5 and 0.2 arcsec depending on the focal length
- Different objective tubes available with focal lengths from 100 mm to 1.000 mm
- Ideally suited for standard angle measurement and alignment purposes
- Wedge and prism measurements
- High resolution sensors for best image quality and optimal signal to noise ratio
- Consistently guaranteed traceability of the measuring results to international standards of the angle measuring variable
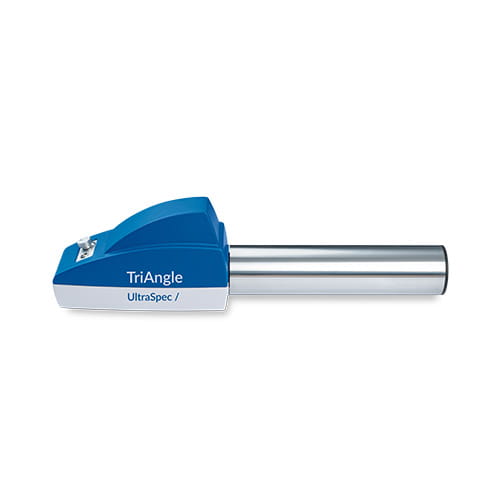
TriAngle UltraSpec
High precision electronic autocollimator
TriAngle UltraSpec offers high-precision angle measurement systems for highest demands on angle resolution and accuracy especially in the laboratory.
- Available with 300 mm and 500 mm objective focal length
- Variable measuring range and accuracy performance of up to 0.05 arcsec
- Mechanically and thermally optimized design
- Consistently guaranteed traceability of the measuring results to international standards of the angle measuring variable
- Superbly corrected objective lens of minimum distortion and a high resolution
- Digital camera with extremely low sensor noise
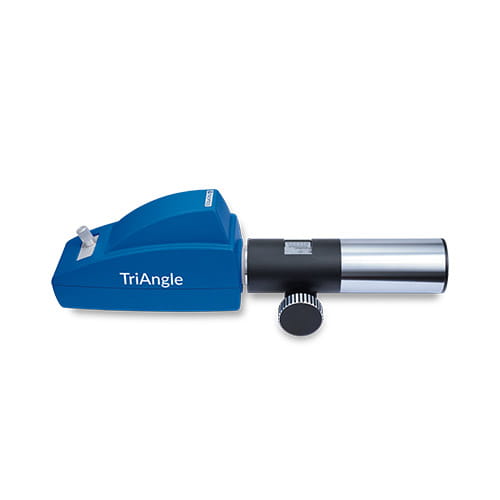
TriAngle Focus
Focusing electronic autocollimator
The TriAngle Focus series is particularly suitable for the measurement of slightly spherical mirror surfaces due to the focusing objective tubes.
- Ideally suited for the contact-free optical radius measurements
- Different objective tubes available with focal lengths from 100 mm to 1,000 mm
- Variable measuring range and accuracy performance between 2.5 and 0.2 arcsec depending on the focal length
- Functionality includes measurements on wedges, prisms and especially on curved surfaces
- High resolution sensors for best image quality and optimal signal to noise ratio
- Consistently guaranteed traceability of the measuring results to international standards of the angle measuring variable
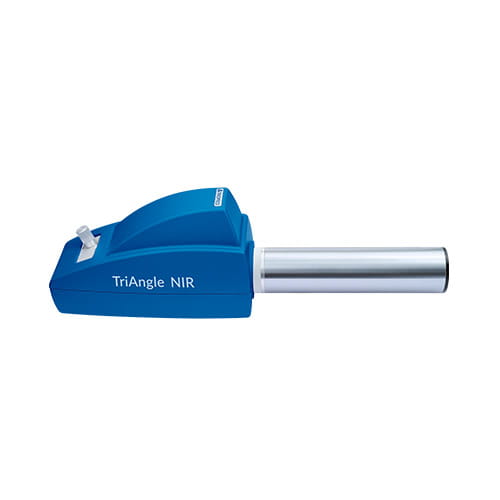
TriAngle NIR
Electronic autocollimator for near infrared application
The TriAngle NIR electronic autocollimators are commonly used for applications which require measurement at the design wavelength in the NIR.
- Especially suitable for measurements on material which only reflect light in the NIR range, such as night vision devices
- Compatibility with objective tubes of different focal lengths
- Variable measuring range and accuracy performance between 2.5 and 0.2 arcsec depending on the focal length
- NIR LED illumination for measurement at the design wavelength in the NIR
- Standard wavelength: 1,064 nm (other wavelengths available on request)
- Wedge and prism measurements
- High resolution sensors for best image quality and signal to noise ratio
- Consistently guaranteed traceability of the measuring results to international standards of the angle measuring variable

TriAngle LASER
Electronic autocollimator with laser light source
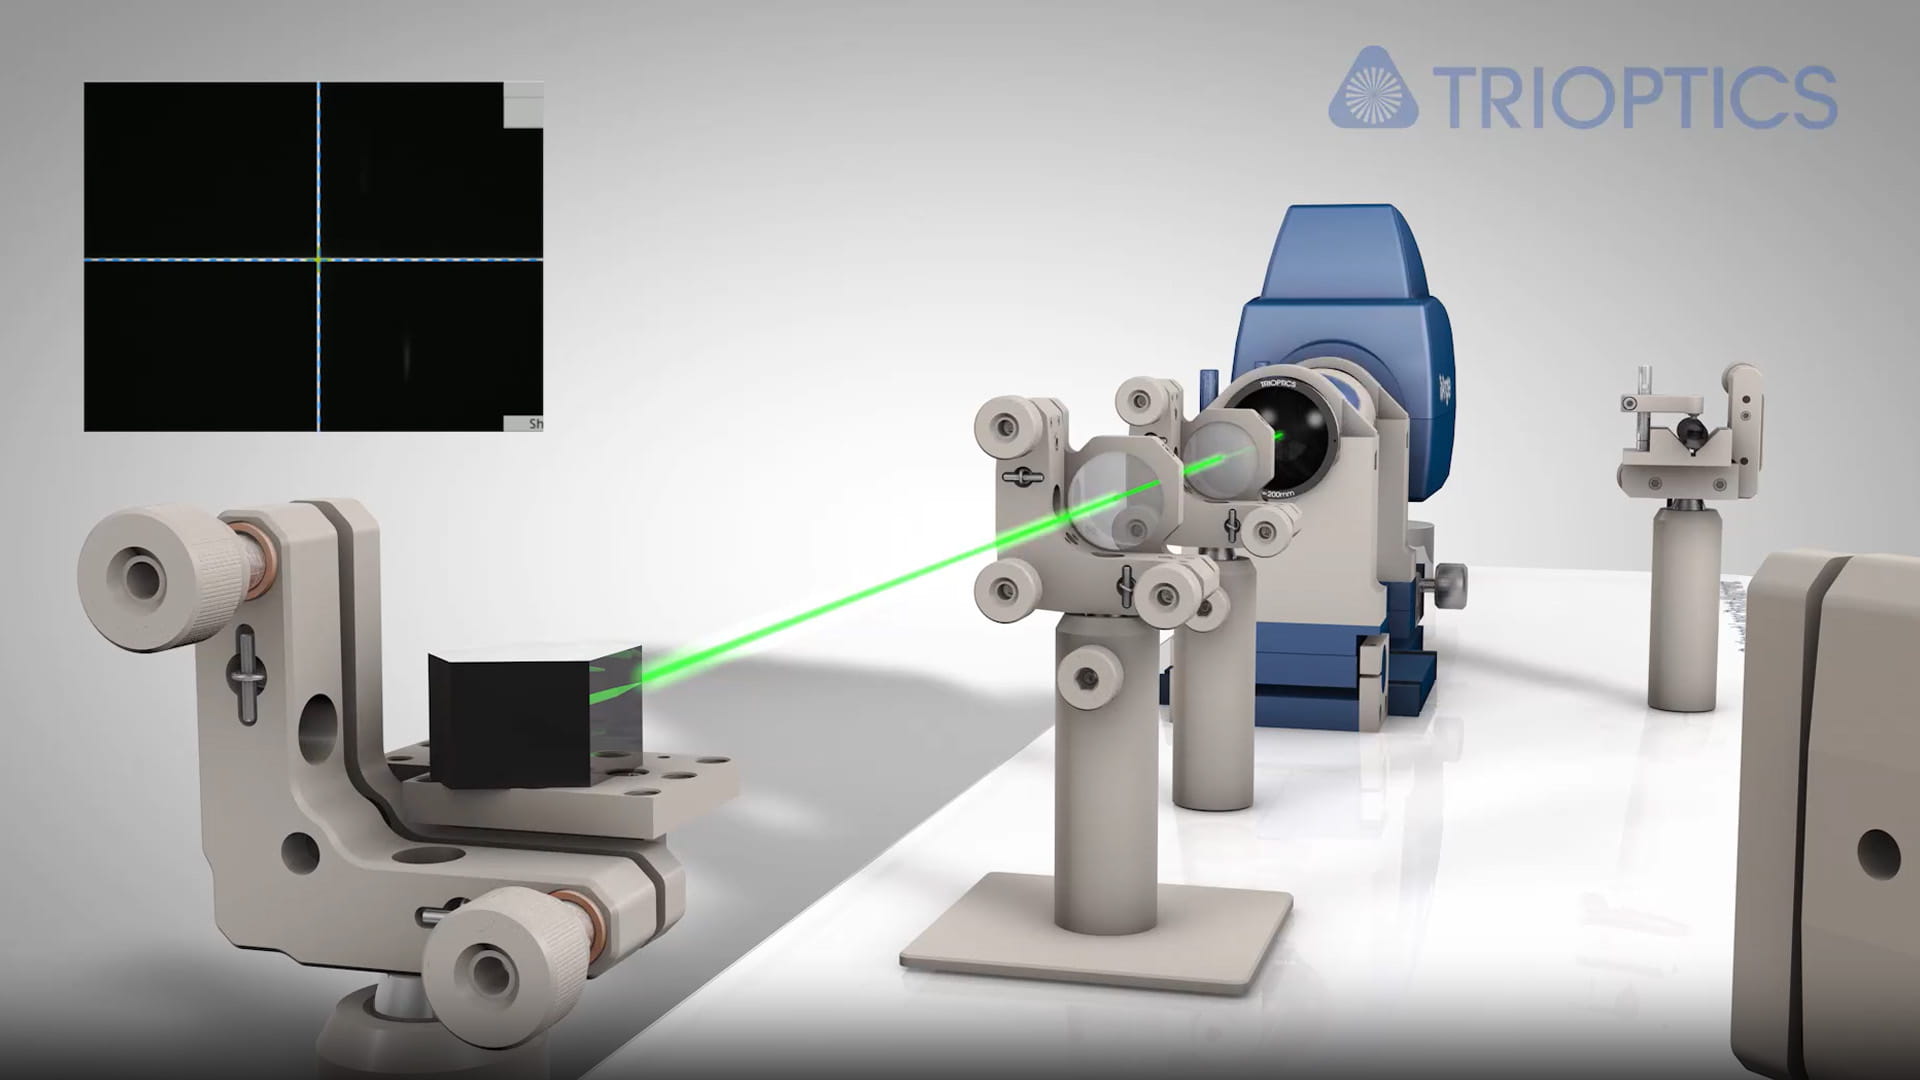
The TriAngle Laser is Ideal for the measurement of small optical components, surfaces of low reflectivity or long distance measurements.
- Laser light source instead of an LED illuminated reticle
- Different objective tubes with focal lengths from 100 mm to 1,000 mm
- Variable measuring range and accuracy performance between 2.5 and 0.2 arcsec depending on the focal length
- Laser illumination with wavelengths of 635 nm
- High resolution sensor for best image quality and optimal signal to noise ratio
- Consistently guaranteed traceability of the measuring results to international standards of the angle measuring variable
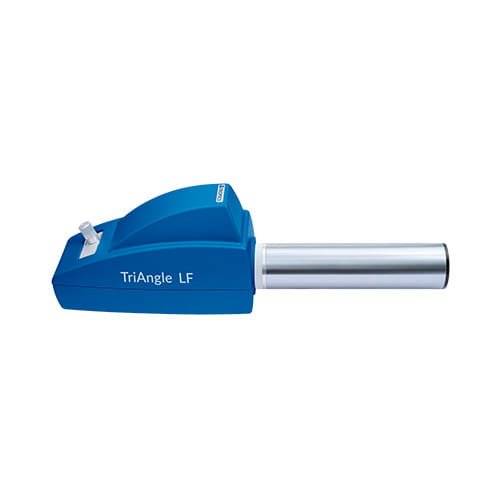
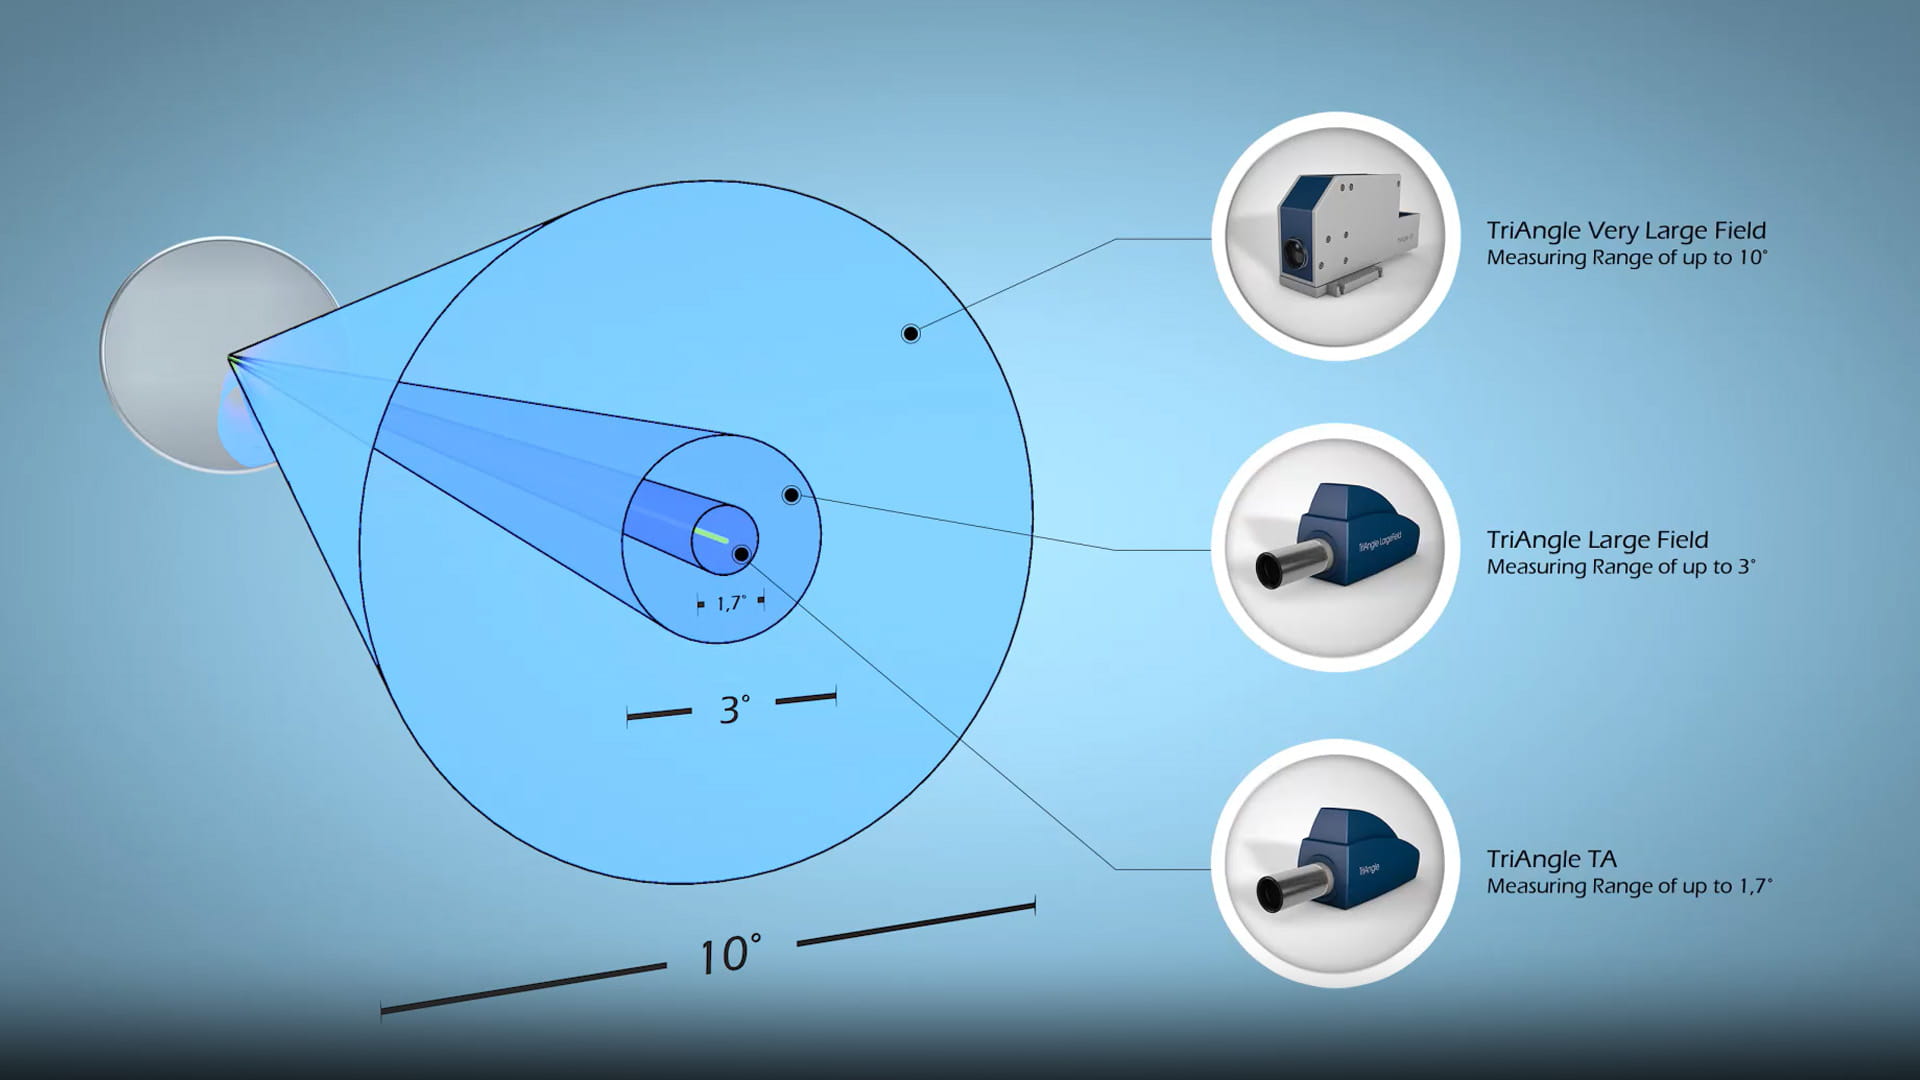
TriAngle Large Field
Electronic autocollimator with large measuring range
The TriAngle LF autocollimator has been designed for applications requiring a large measuring range without compromising the measurement accuracy and resolution.
- Accuracy ± 3“ within 80 % of the measuring range
- Available with a focal range of 100 mm
- Use of specially calibrated large field sensor and optimized imaging optics
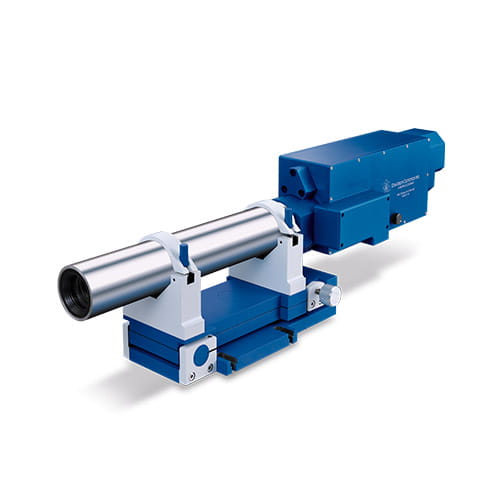
D-275
Automatic Alignment Telescope
The D-275 Automatic Autocollimating Alignment Telescope focuses from 40 cm to infinity, to align and measure the location and angular orientation of any number of targets along its optical axis.
- Only fully automated telescope for alignment and/or measurement of 5 axes of components in optical beam paths and subassemblies
- Since the mechanical axis of the tube and the optical axis of the instrument are parallel within 1 arc second, the instrument is easily adaptable to mounts, jigs, stages, and setups using a dial indicator.
- A reflective surface may be established normal to the optical axis by utilizing the autocollimating feature. The D-275 Automatic Alignment Telescope provides the flexibility to align most complex optical assemblies and beam paths.
- Calibration certified & traceable to NIST standards
- Remotely controllable using TCP/IP
TriAngle Product Finder
Videos
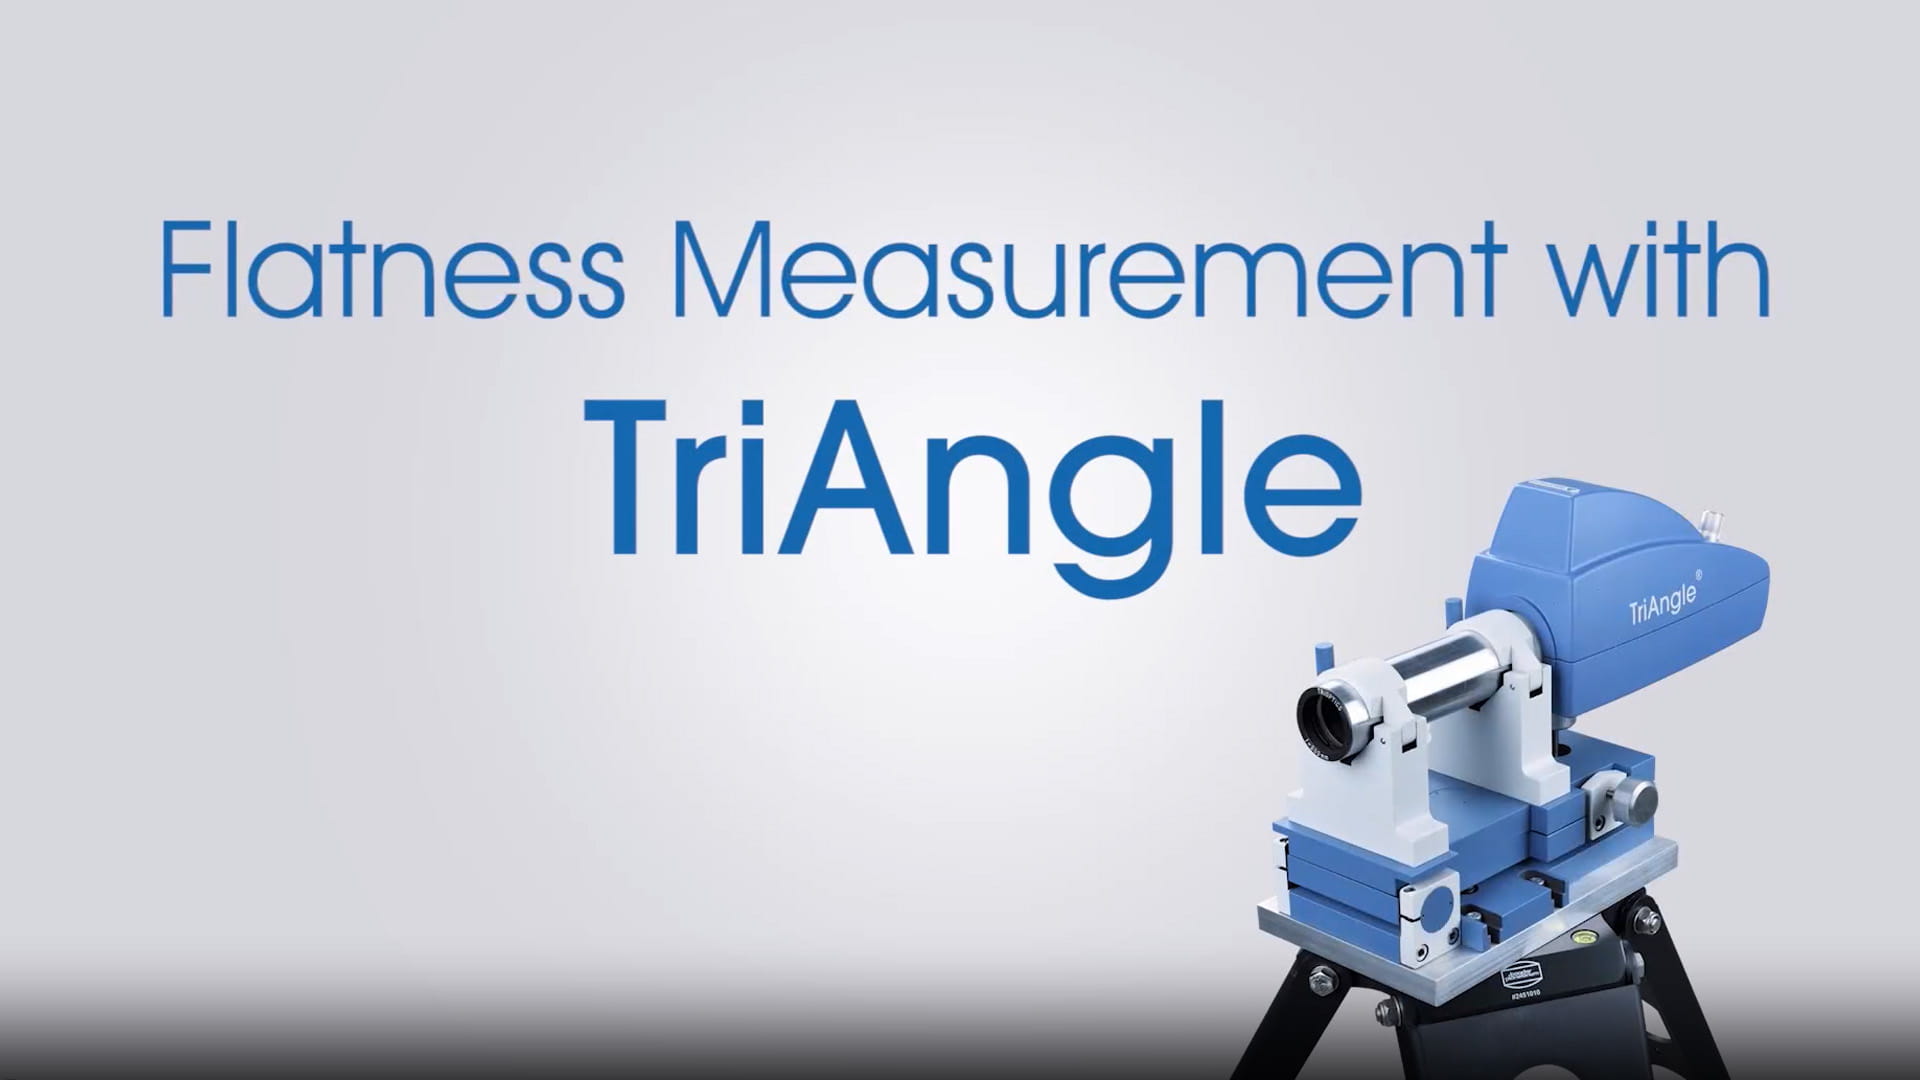
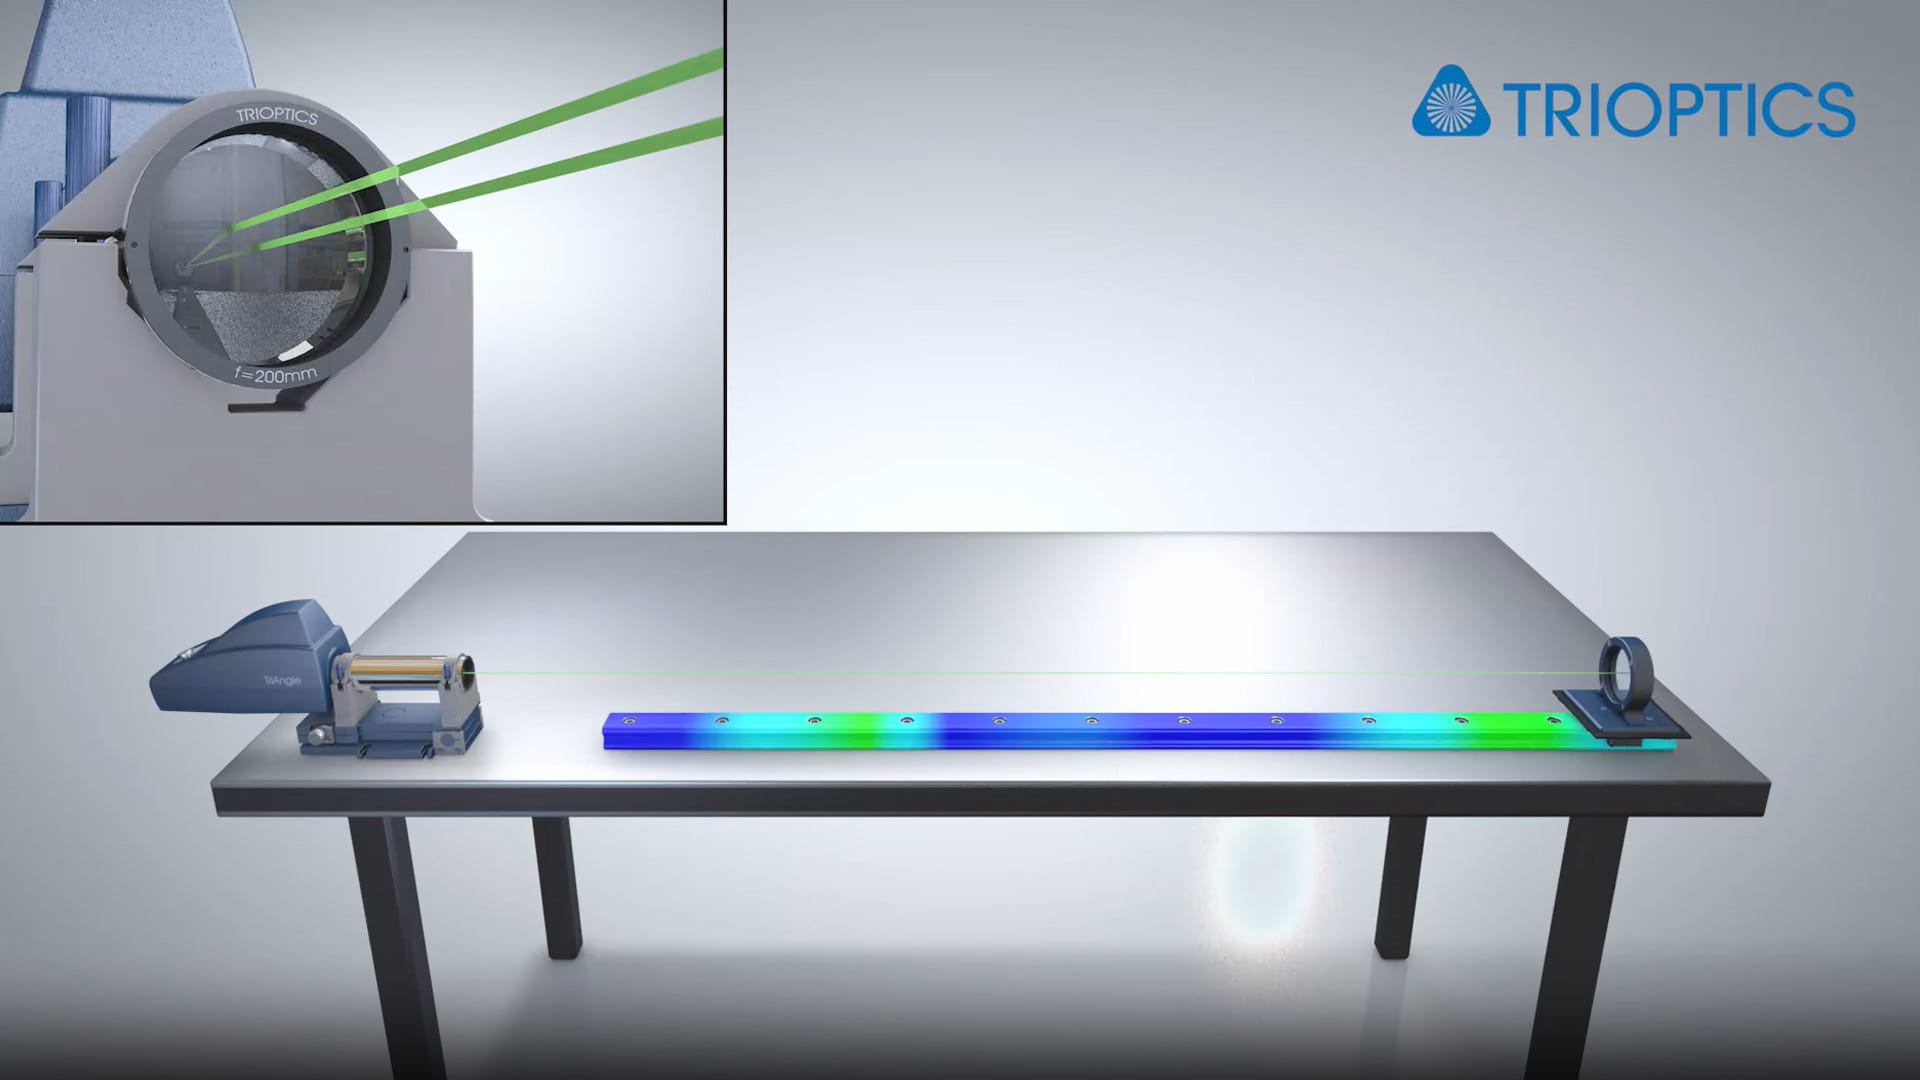
Software
OptiAngle®
The complete software package for angle measurement
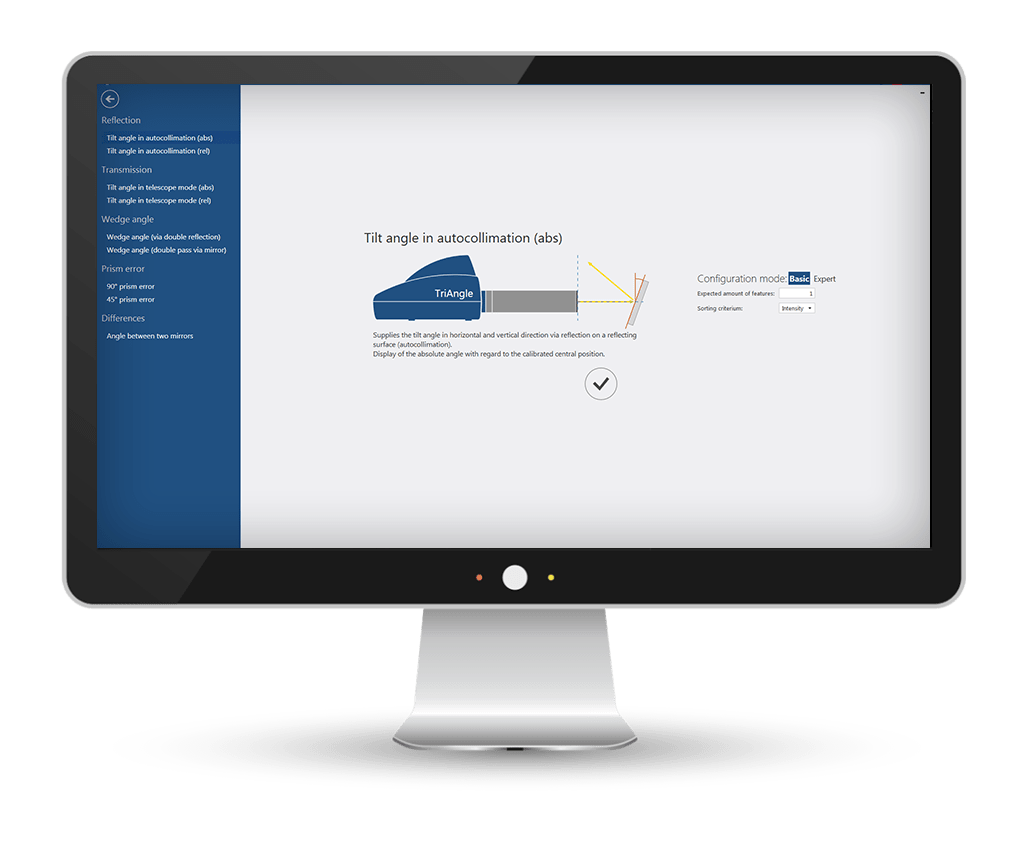
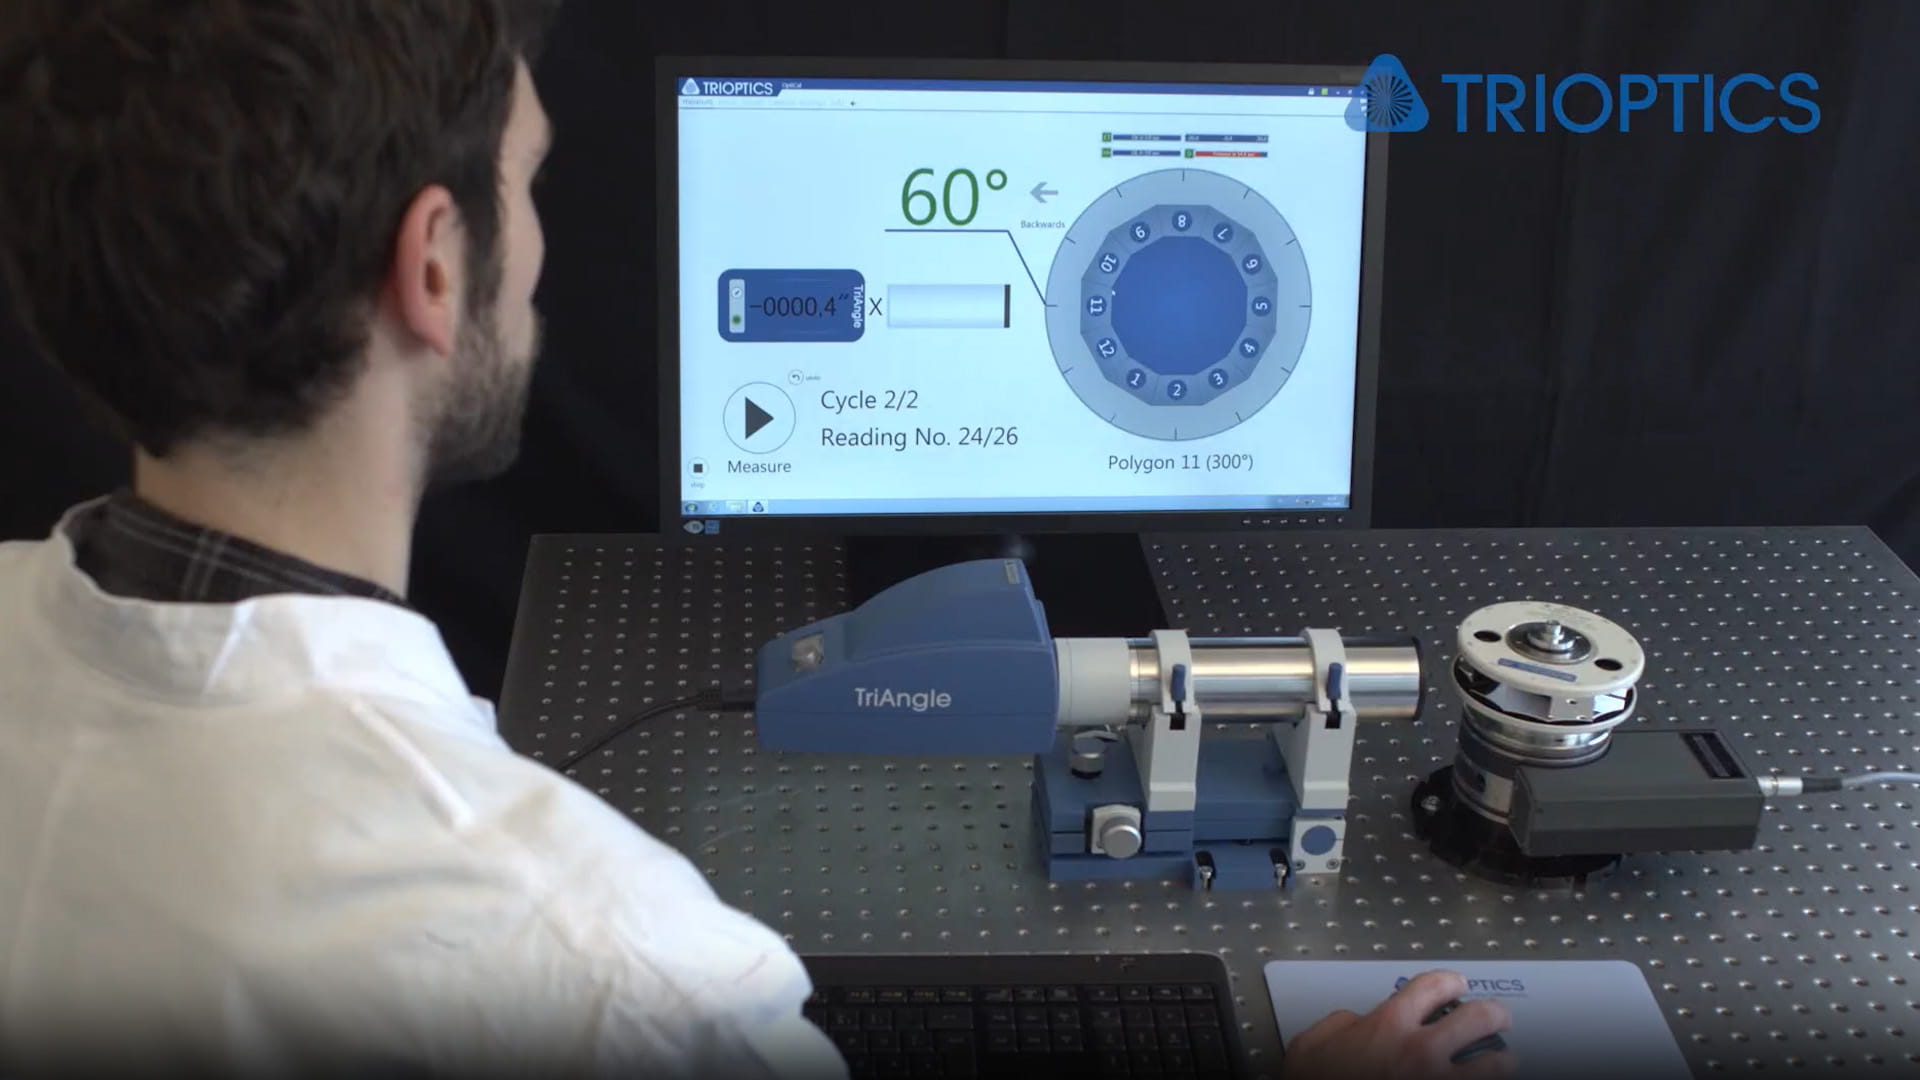
The software OptiAngle® is a powerful tool covering all aspects of accurate angle measurement with the TriAngle electronic autocollimators in terms of measurement, control and analysis of the angular data. The well organized and modern menuguided user interface assists even the inexperienced operator to perform accurate measurements and to obtain repeatable results. A large set of pre-defined standard measurement applications is integrated into OptiAngle® which cover all established measurement techniques in optical and mechanical industry. In addition, customized measurement routines can be easily developed and embedded either by TRIOPTICS or the experienced end user. All OptiAngle® measurement functions can be further used in other common applications like Lab-View or Visual Basic (Excel).The TriAngle software provides many features to simplify the daily use of TriAngle autocollimators whether in the laboratory or in the production environment.
- Real-time camera display
- Numerical and graphical display of measurement data
- Optional full screen camera window (visual alignment mode)
- Indicators inside the camera window
- Simultaneous measurement with multiple (up to 12) autocollimators
- Simultaneous measurement of multiple surface reflections (up to 12)
- Comprehensive data reporting functions
- Data export format: ASCII (CSV), XLS, PDF
- Selectable angle units for screen display and measurement certificate
- Software remote control by host computer via RS232, TCP/IP interface
- Programming interface by automation or via DLL
- Scripting mechanism for customized measurement programs
- Scripting interface for user-based solutions
- Demo programming examples for LabView, and VBA (Excel)
- Production mode for batch/lot sample identification and result reporting
- Load option of saved results
Easy integration of customized measurement solutions
The OptiAngle® software allows the integration of customized measurement programs with a dedicated user interface for specialized target applications. Custom specific measurement routines and display functions are quickly implemented to take care of specialized procedures, e.g. in a production environment.
The advantages are:
- User interface adapted to specialized applications
- Increase of throughput
- Avoidance of faulty operations in production processes
- Integration of external hardware and software possible
- Adaptation to familiar data processing and display
OptiAngle® Programming Interface (API)
In addition to the above scripting mechanism, the OptiAngle® functions can be embedded into a larger measurement framework which then can take control over the full functionality of OptiAngle® measurement applications.
OptiAngle® features an open software concept and programming interface which allows for the flexible and easy integration into other software environments. The angle measurement functions of TriAngle autocollimators can thus be integrated into almost any existing measurement application. In contrast to the scripting technology the user himself is enabled to develop the interfacing between the TriAngle autocollimator and his governing application. OptiAngle® functions are executed either by sending commands via serial port (RS232) or TCP/IP, or directly using the C based DLL programming interface (API). Existing sample applications and the comprehensive documentation demonstrate the control of TriAngle autocollimators by LabView, VBA, Excel. TRIOPTICS will be happy to assist the user to integrate the TriAngle functions into his own application.
Upgrades
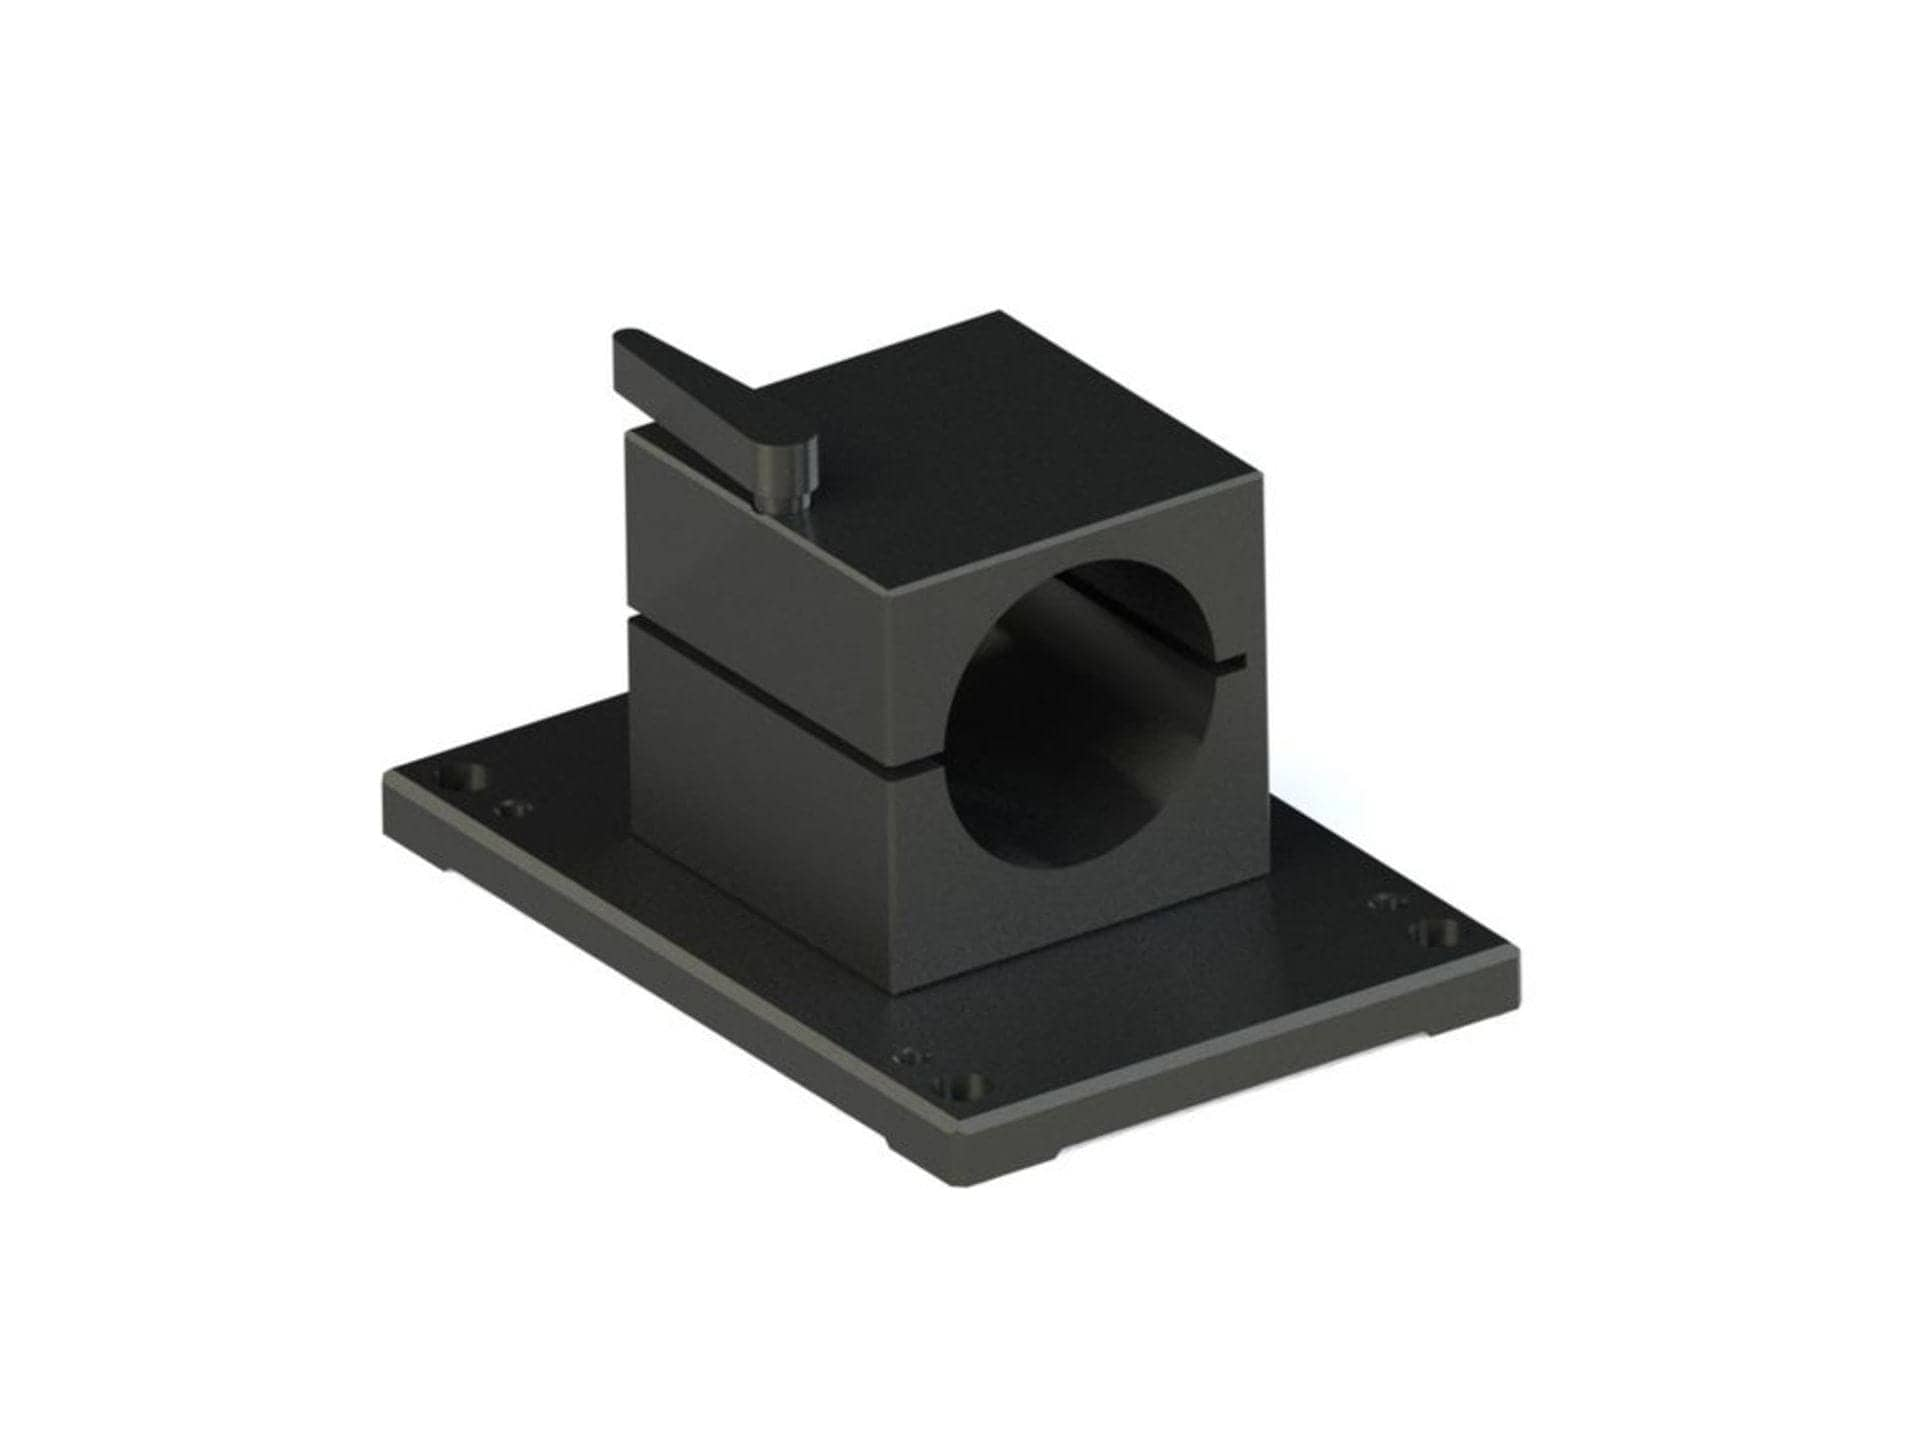
Clamp fixture
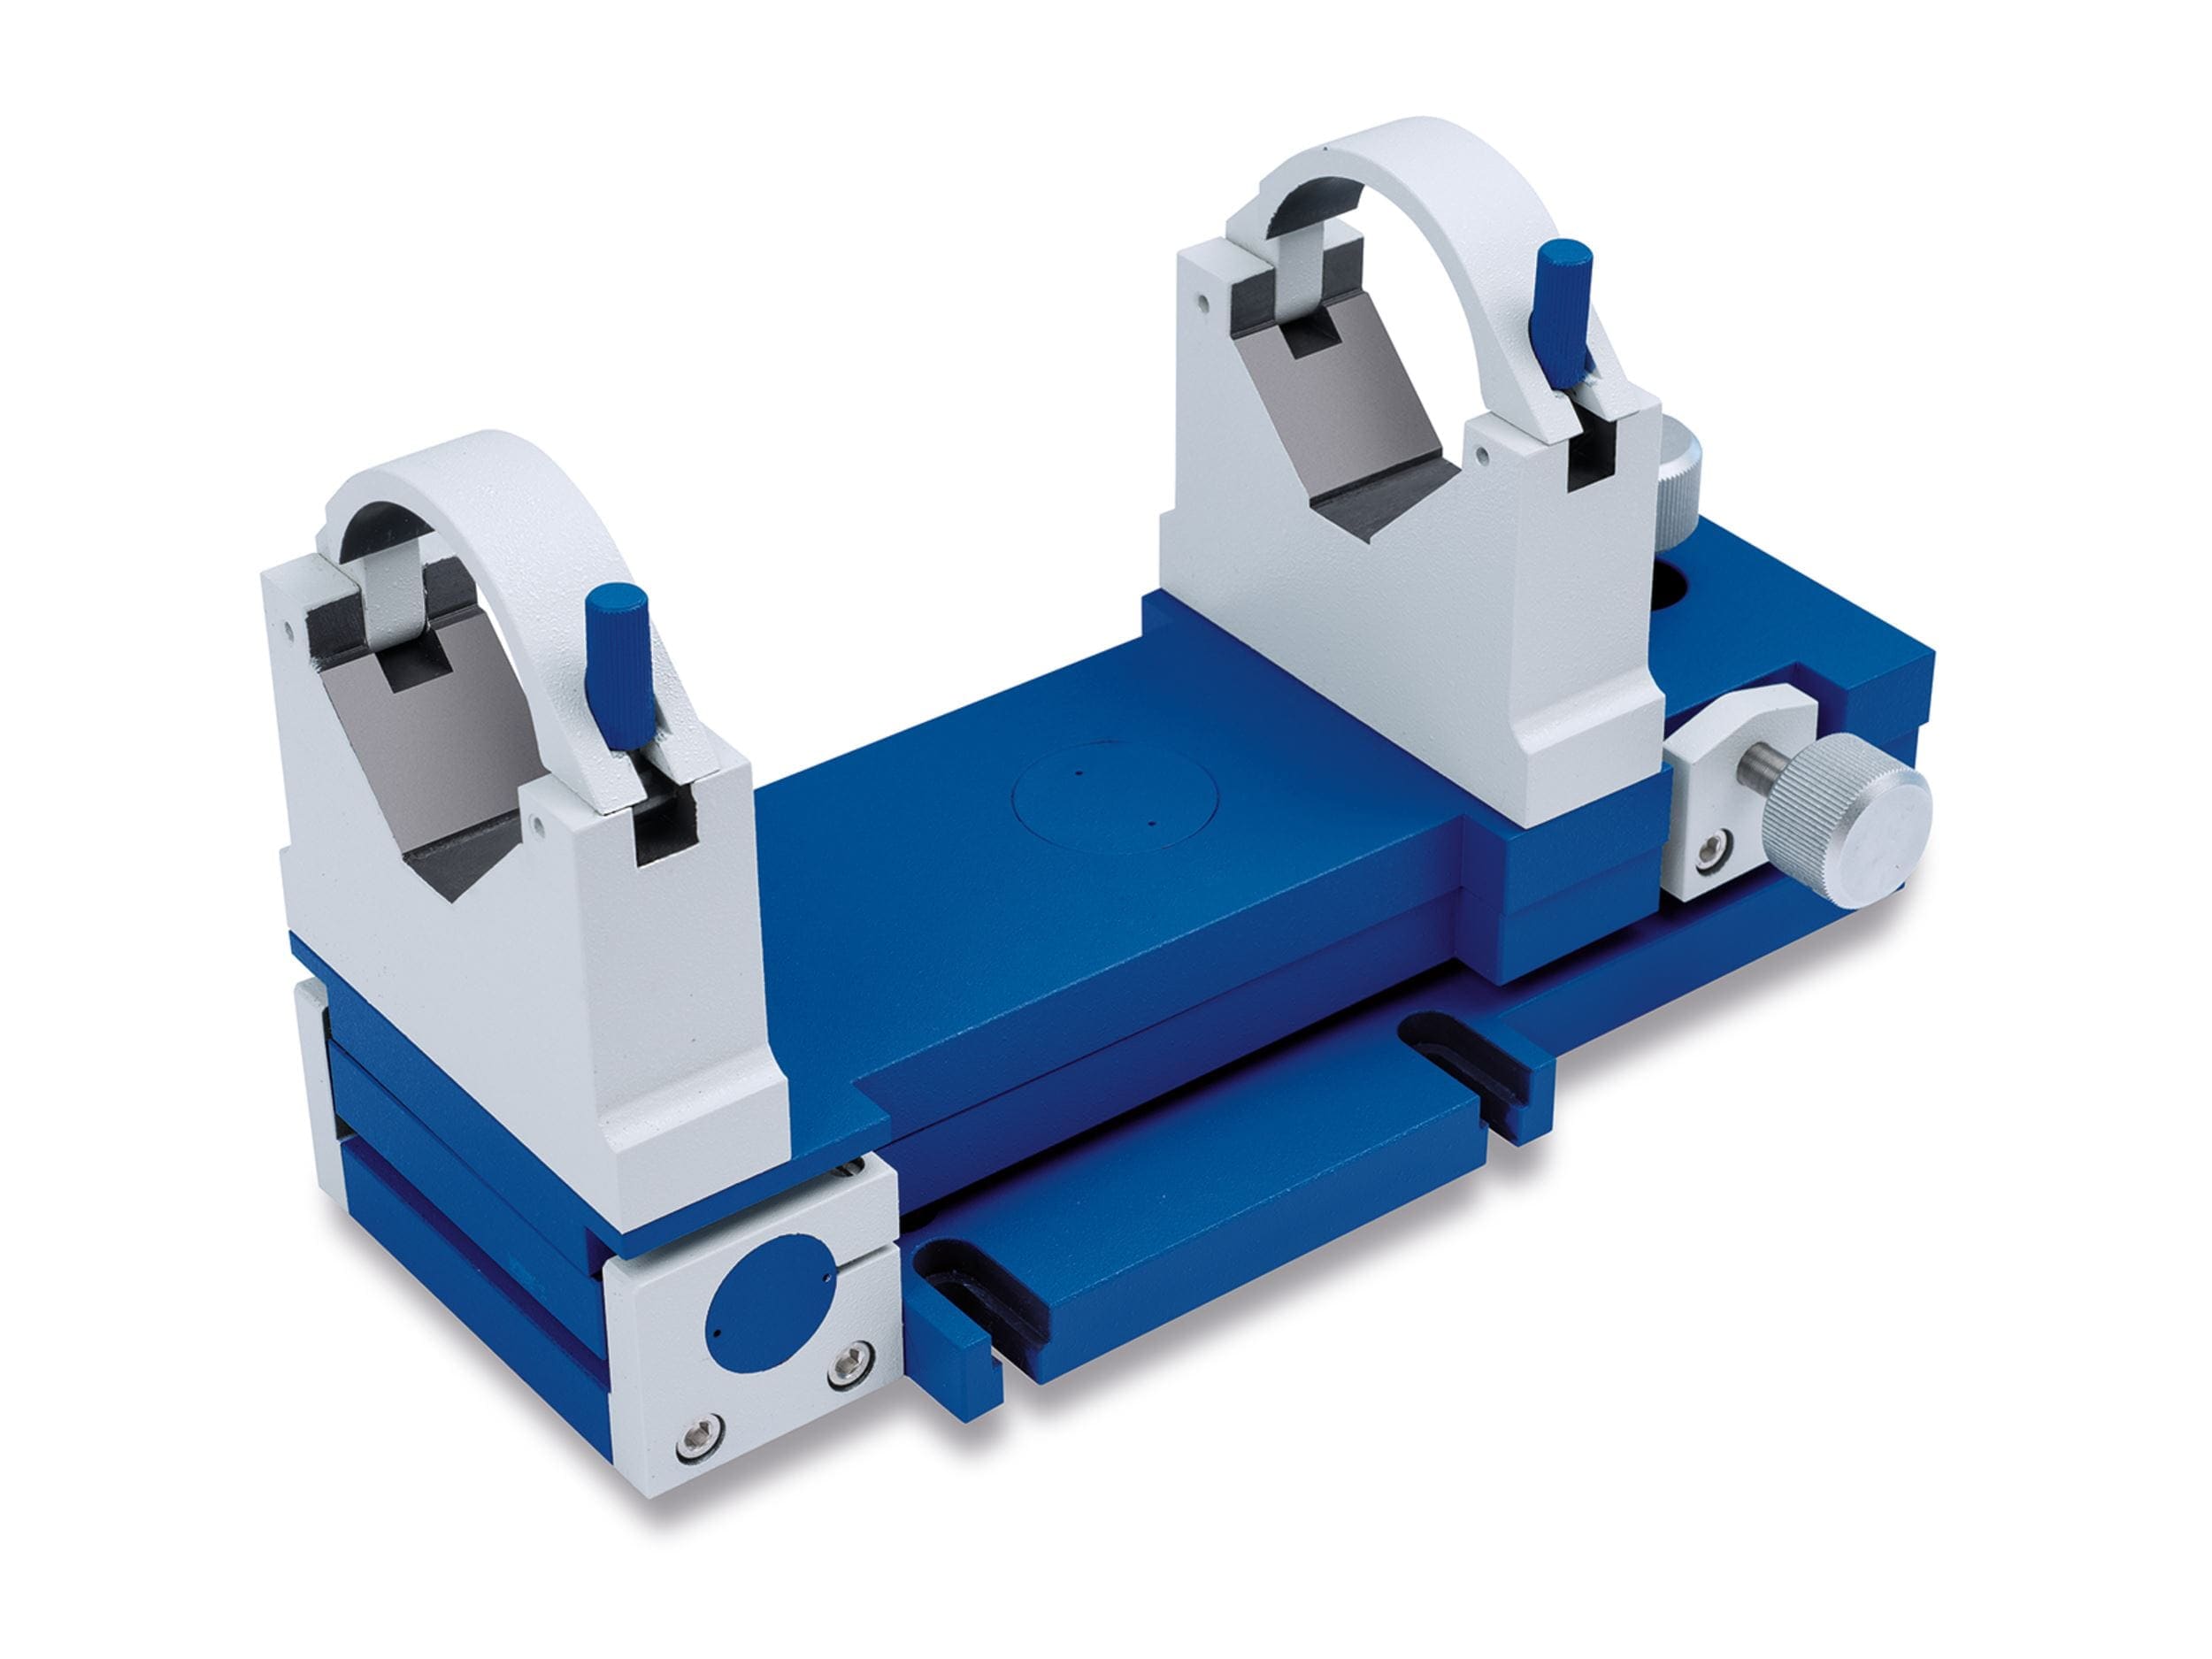
Adjustable holder
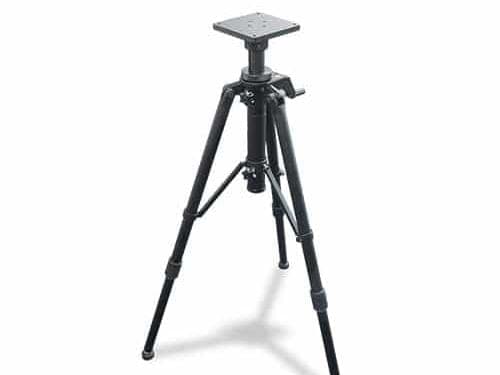
Stand
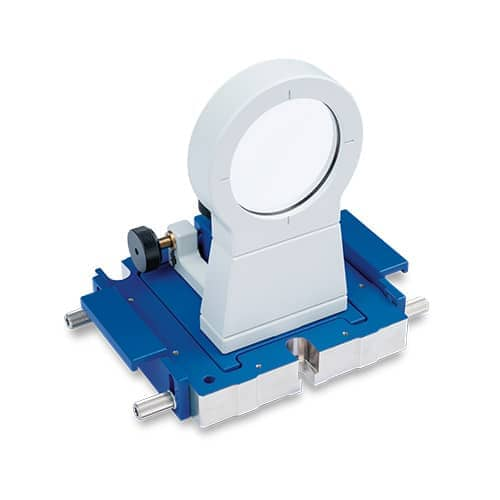
Adjustable mirror
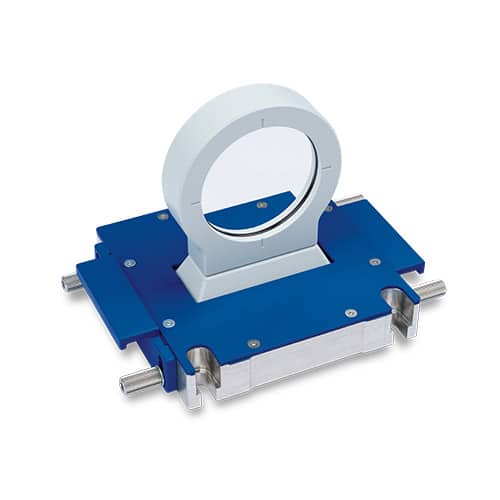
Mirror in mount

Redirecting mirror
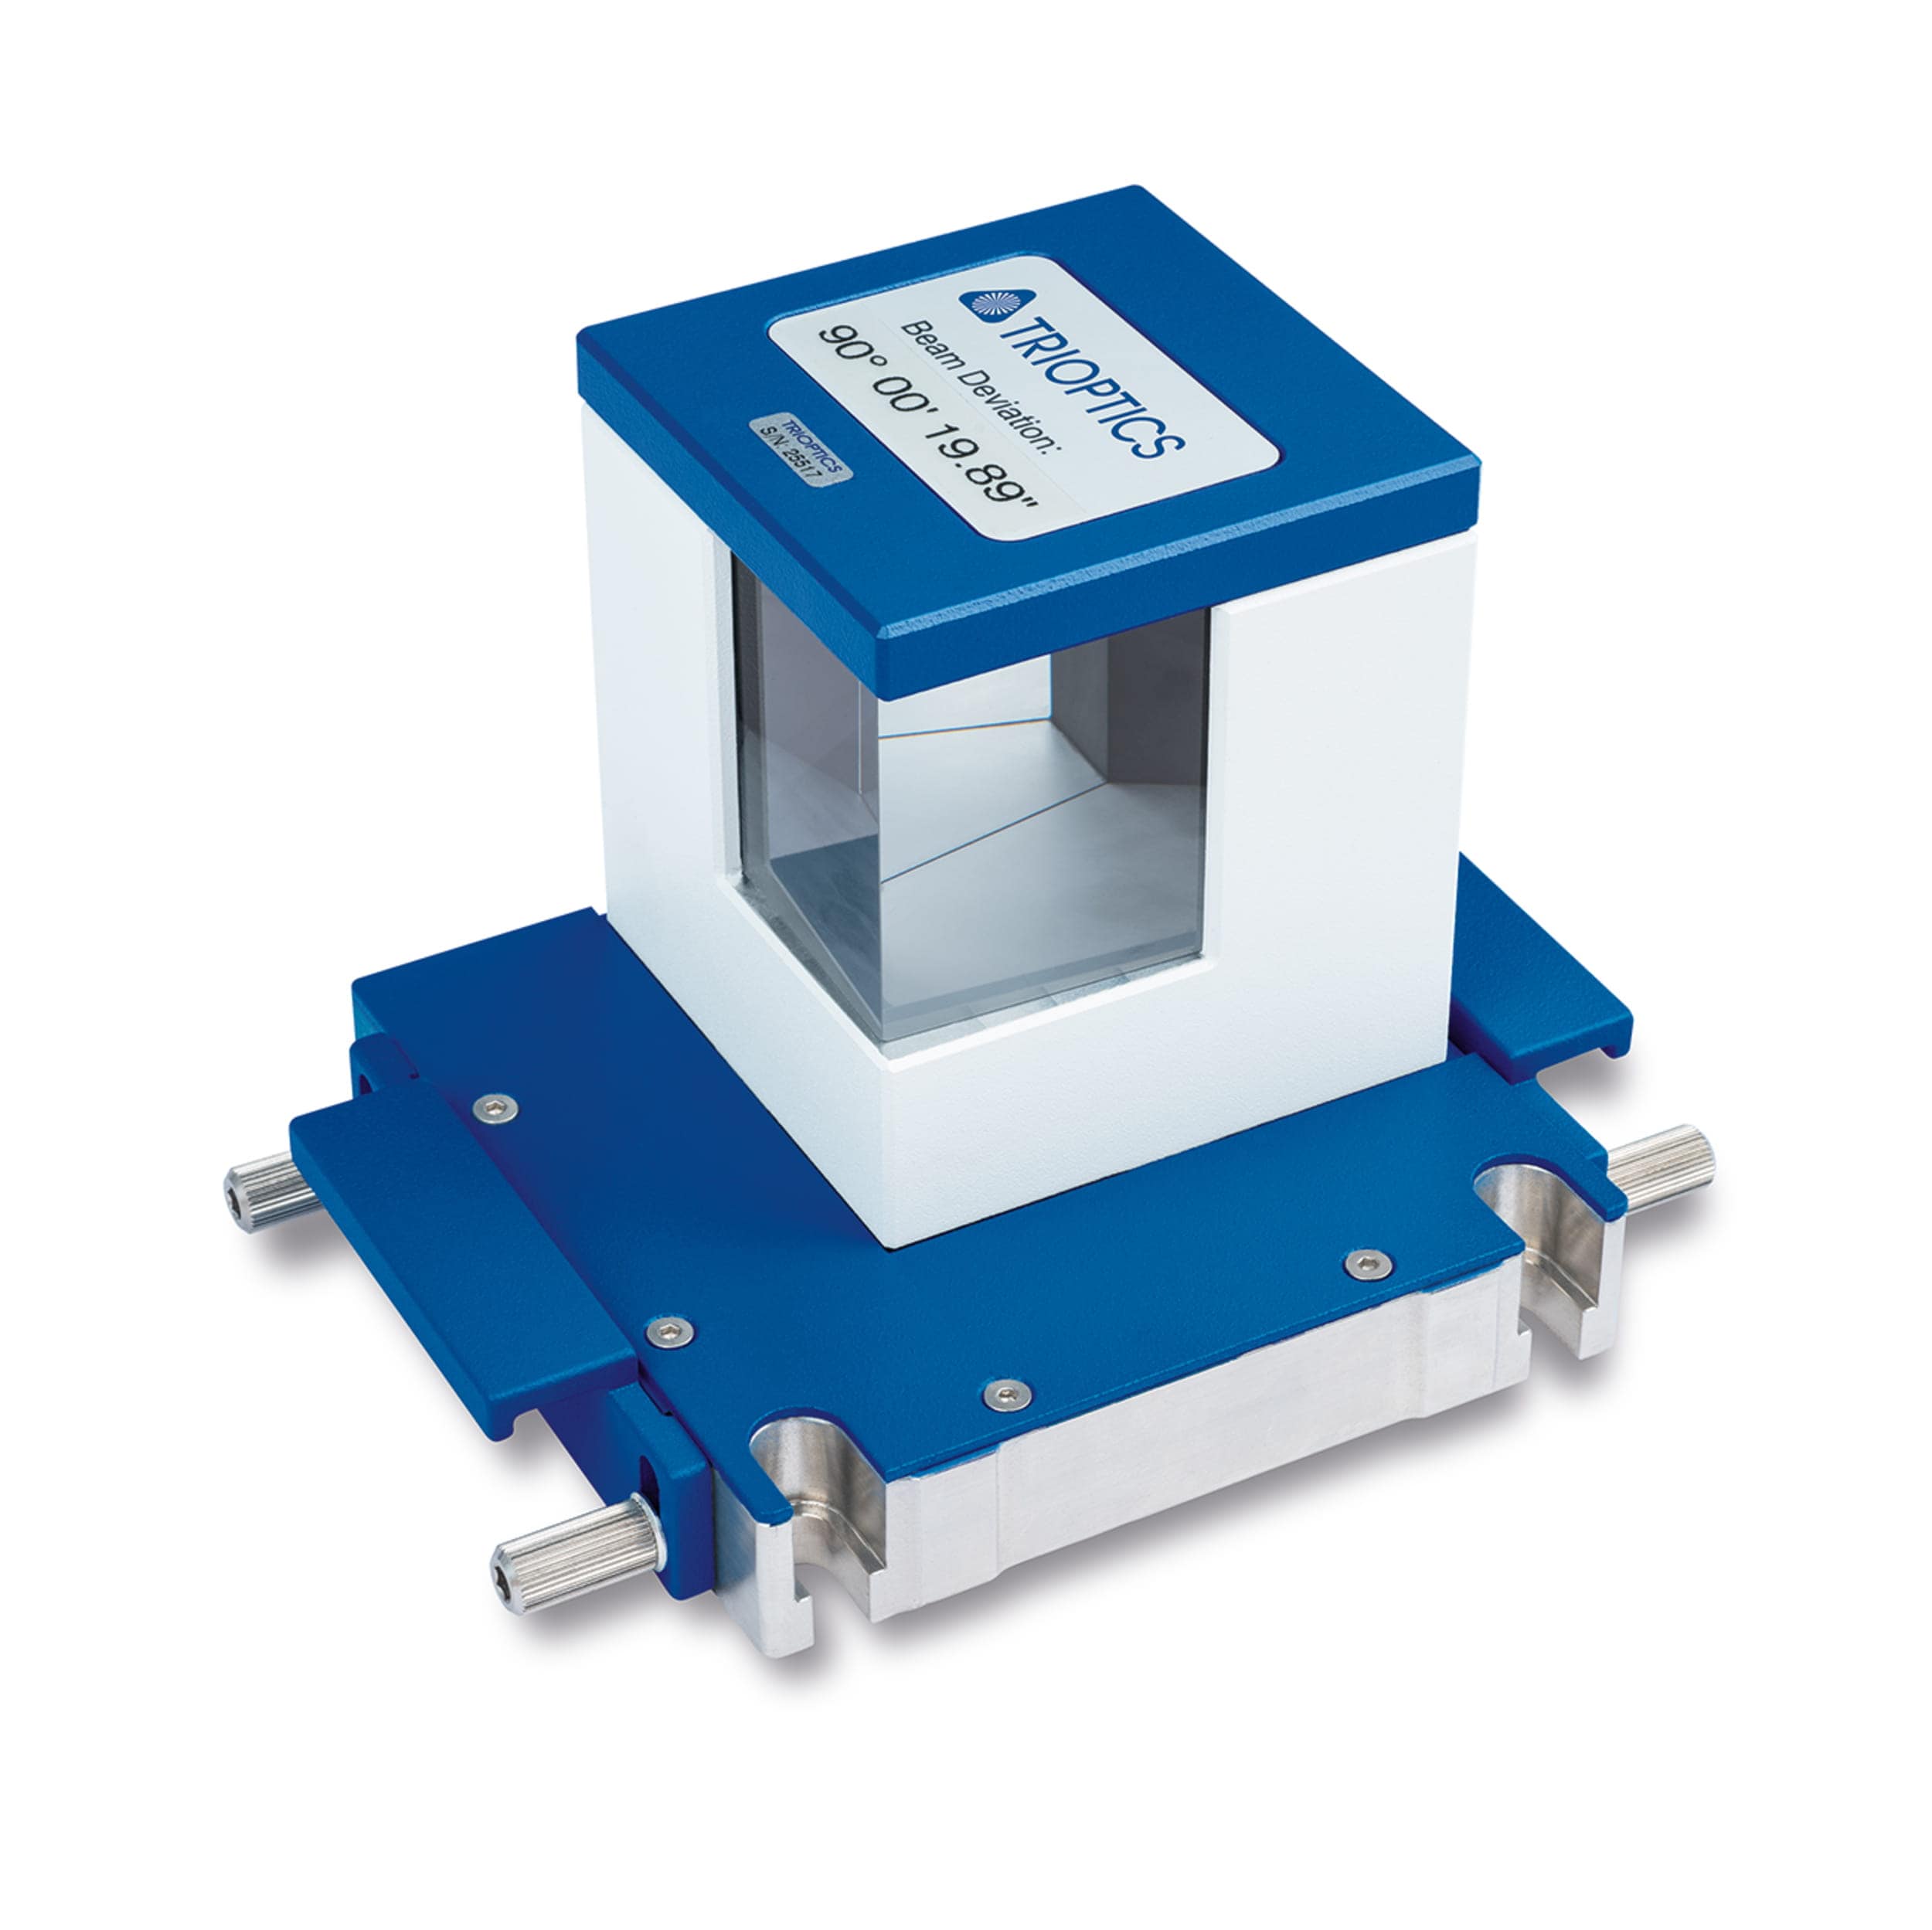
Pentaprism in holder
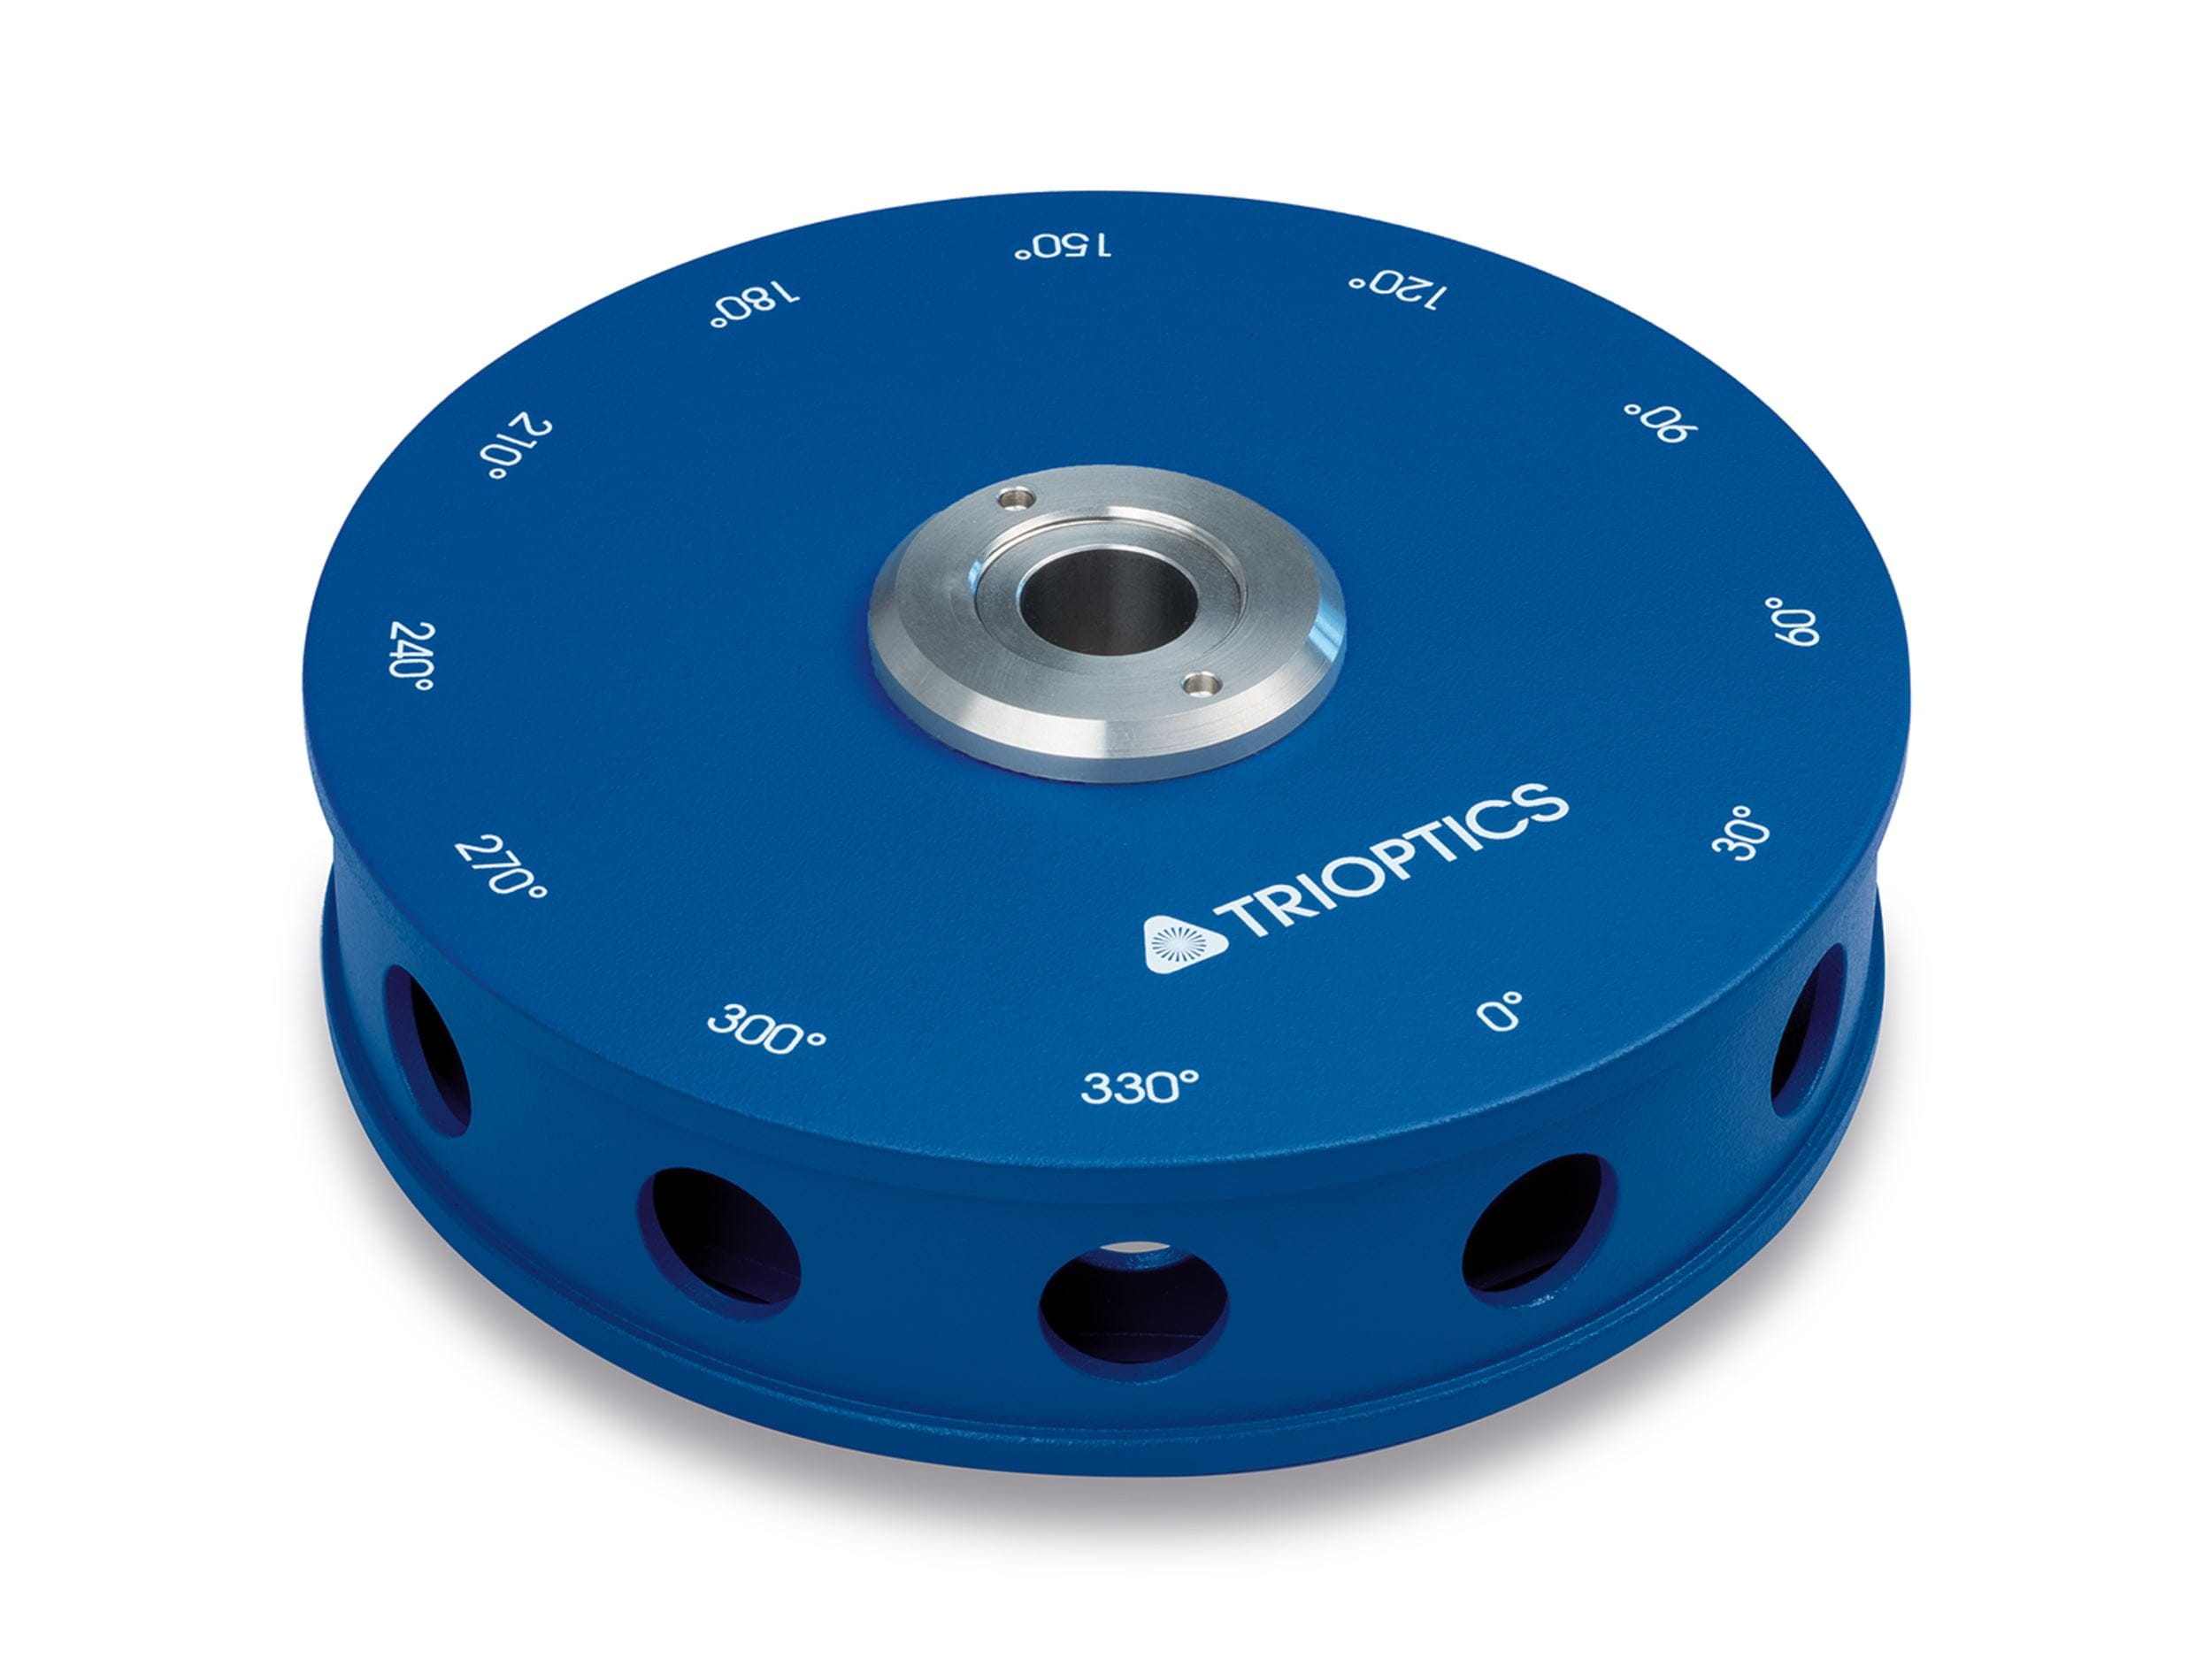
12 sided polygon
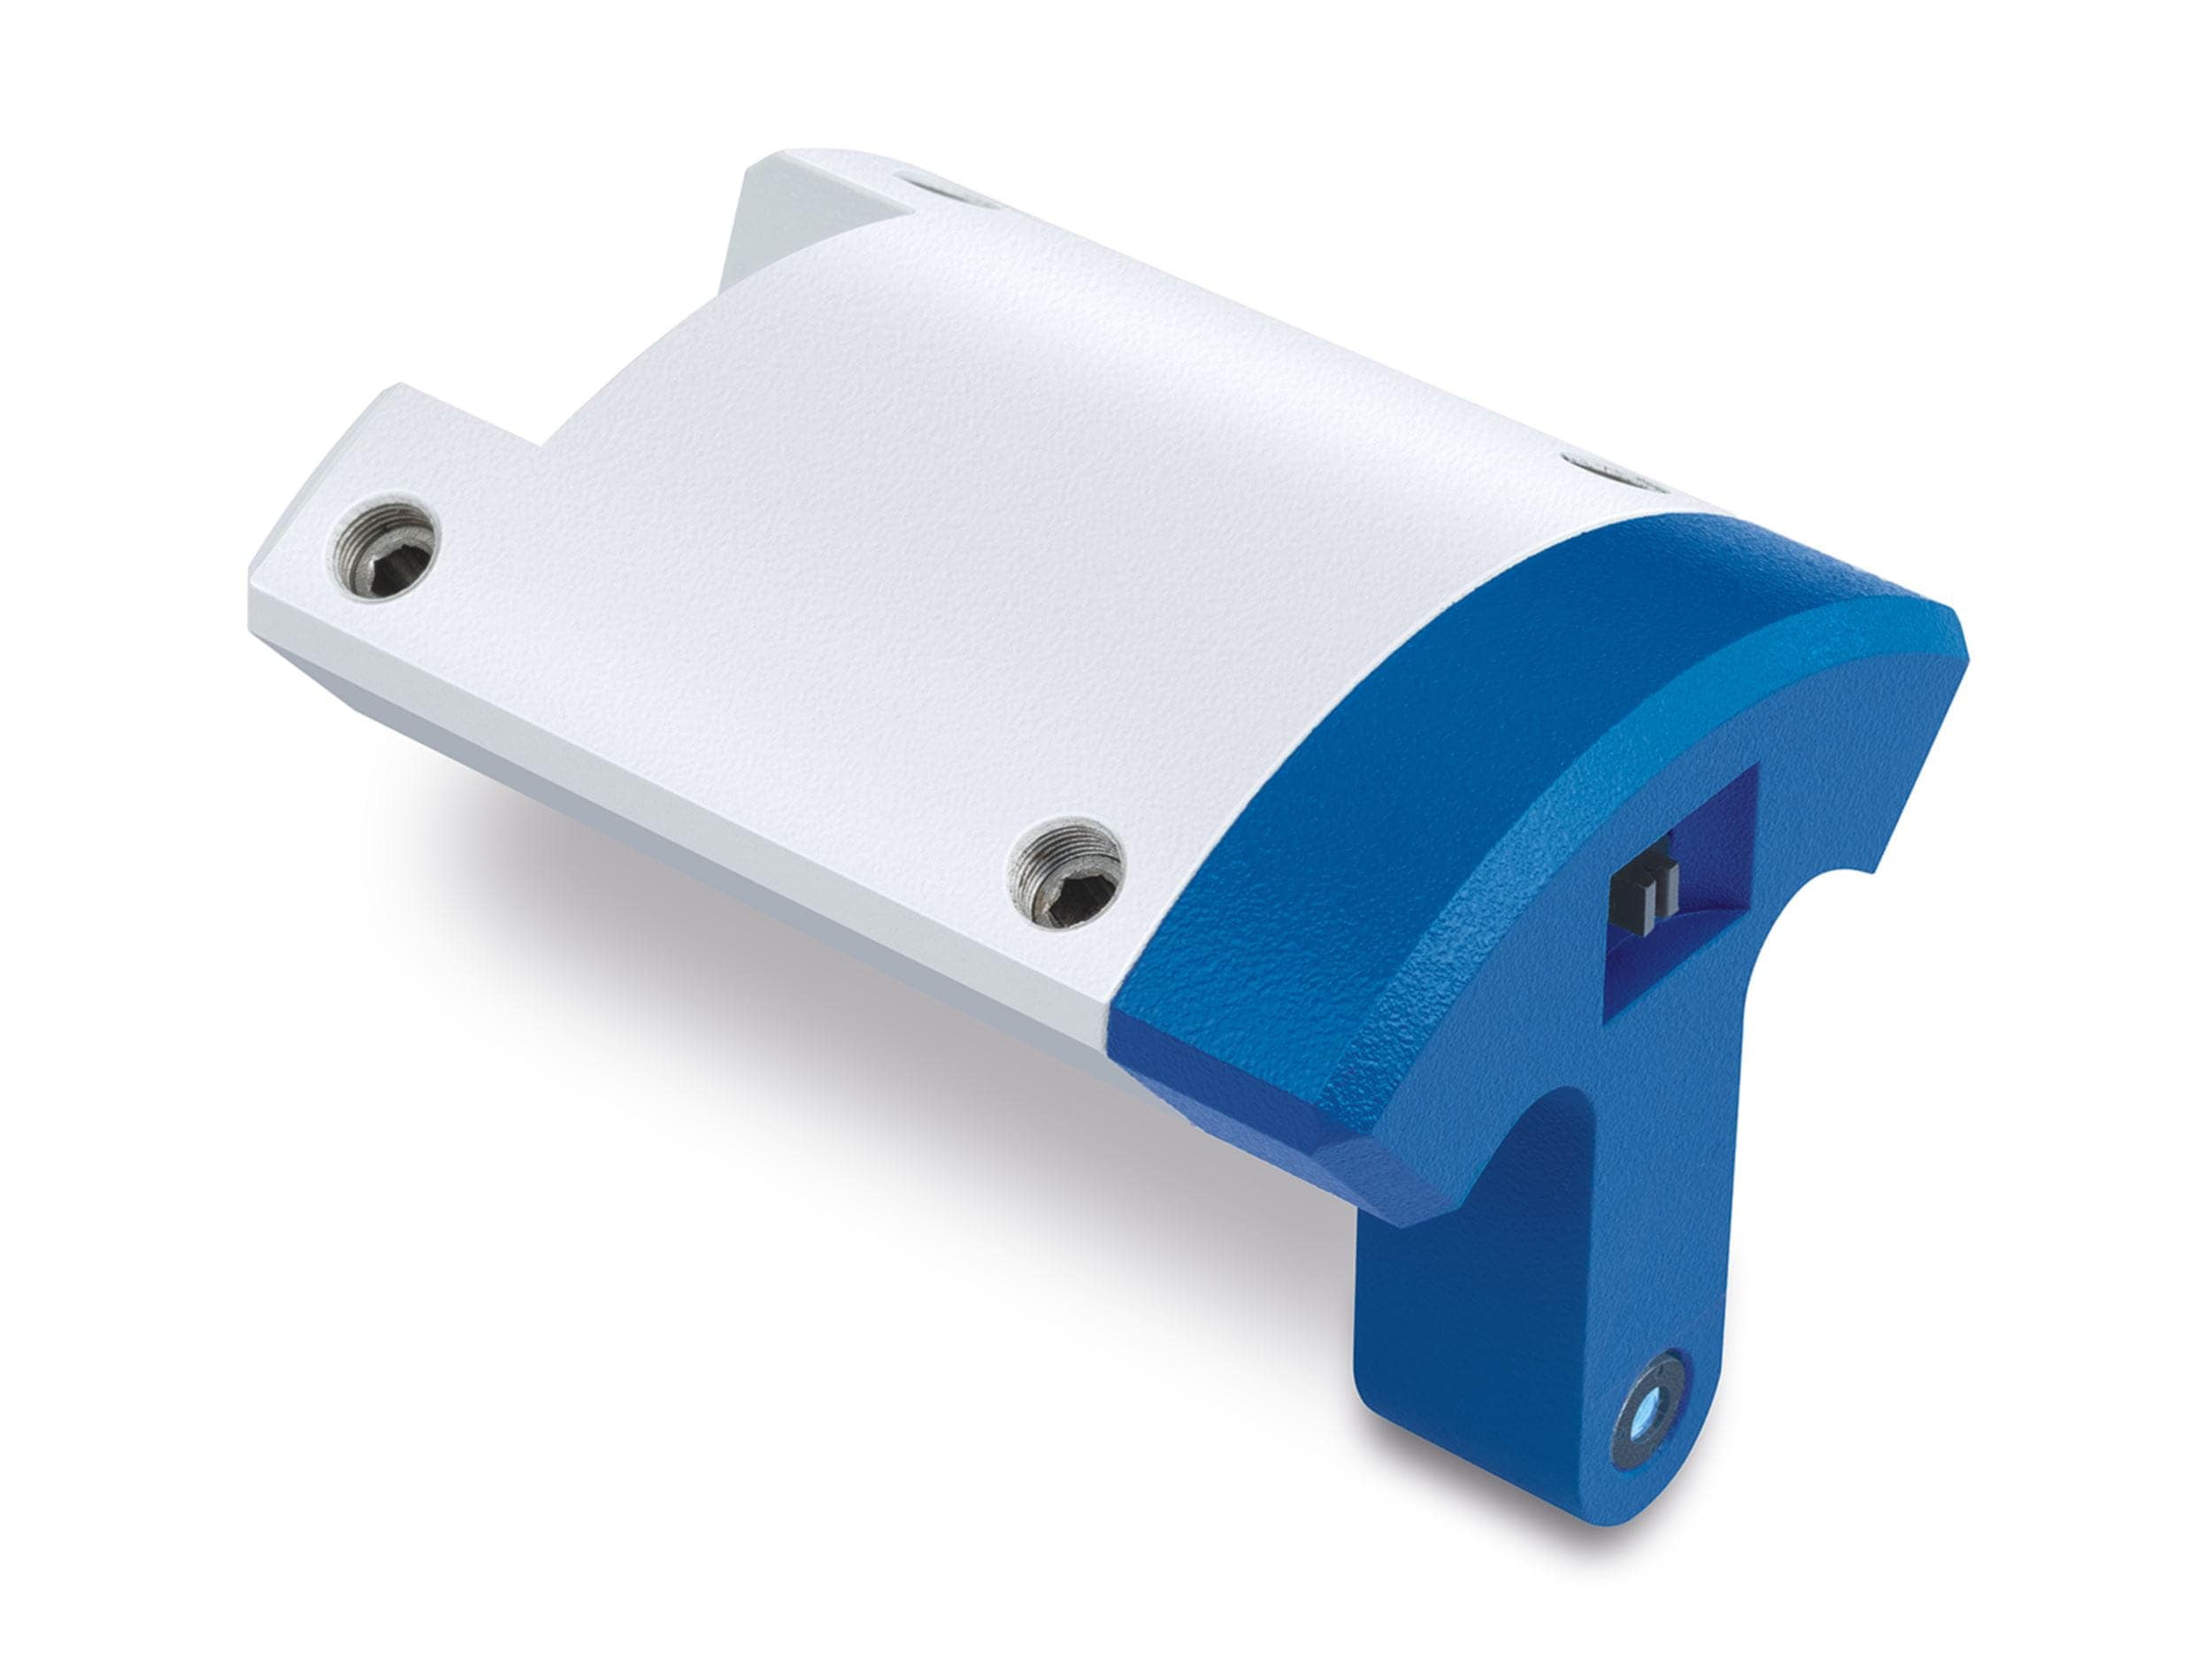
Laser alignment tool
Are you interested in a product and would like to receive a quote?
Whether you need advice or already have specific requirements, we will be happy to help you!
Use our contact form and get quick feedback from our experts.Our Newsletter – Your advantage in knowledge
Be one of the first to experience our product novelties and innovative application possibilities.


